
Start by pinpointing the drip: check the showerhead/arm joints with a dry paper towel, inspect the tub spout diverter for backflow, and look for staining or scale at fittings. Shut off the shower’s stop valves or the main, verify zero flow, and cover the drain and finishes. Snug loose joints and reseal threads with 3–5 wraps of PTFE tape. If the valve still drips, replace the washer or cartridge and retest hot/cold. Next, you’ll see the step-by-step checks.
Key Takeaways
- Identify the leak source by checking showerhead joints, arm threads, diverter backflow, trim caulk gaps, and mineral staining at fittings.
- Shut off water at shower stop valves or the main, then open the valve to confirm flow stops and relieve pressure.
- Cover the drain, protect surfaces, and organize trim screws; clean the valve bore and lubricate O-rings with silicone grease before reassembly.
- Reseal showerhead or arm threads with 3–5 clockwise PTFE tape wraps, then hand-tighten and snug with a cloth-protected wrench.
- Replace worn washers or cartridges, reassemble, restore water, and test hot/cold operation; call a plumber if leaks persist or walls may be wet.
Pinpoint Where Your Dripping Shower Starts
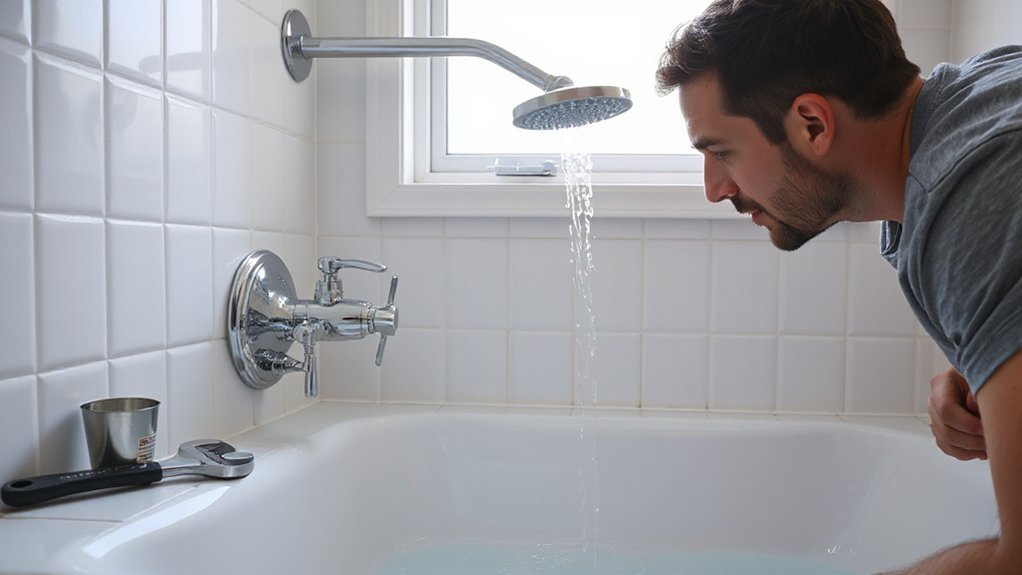
Before you replace any parts, isolate the exact source of the drip by watching when it occurs and where the water tracks. Run the shower, then shut it off; note whether dripping continues, which can indicate valve or cartridge leakage.
Check the showerhead and arm: wrap a dry paper towel at the escutcheon and along threaded joints to confirm seepage.
Inspect the tub spout diverter for backflow that mimics a “shower” drip.
Look for Caulking issues at the trim plate and tile junctions; water behind the wall violates moisture-control best practices and can damage framing.
If staining, green/white scale, or rust appears at fittings, suspect Pipe corrosion and confirm with an access panel inspection where permitted.
Document findings before disassembly.
Shut Off Water and Protect the Shower Area
Locate the shower’s integral shutoff valves if present, and close them fully. If you can’t isolate the fixture, shut off the main water supply to comply with safe service practices.
Verify the water is off by opening the shower valve and confirming flow stops. Then relieve residual pressure.
Cover the drain with a strainer or plug and protect the tub or shower pan surfaces with a drop cloth so small parts can’t fall into the trap or damage the finish.
Locate Shower Shutoff Valves
If you can’t isolate the shower’s water supply quickly, a minor drip can turn into a leak while you work, so identify the shutoff points and secure the area first.
Look for a dedicated shower shutoff near the bathroom: inside an access panel behind the valve wall, in an adjacent closet, or in the basement/crawlspace directly below.
Some installations use integral stop valves on the mixing valve body; you’ll find them behind the trim plate and they’re turned with a flathead or hex key.
Verify valve locations by tracing hot and cold lines to the shower drop.
Confirm the valve is rated for potable water and fully operational.
Lay down a non-slip drop cloth, cover the drain, and keep tools dry to reduce shock and slip hazards.
Turn Off Main Supply
Once you’ve confirmed the shower’s local shutoffs—or found none—shut down the home’s main water supply to control pressure and prevent an uncontrolled leak while you open the valve.
Locate the Main supply shutoff at the meter, curb stop, or where the service line enters the building; turn the valve fully off (clockwise for most gate/stop valves, lever perpendicular for ball valves).
Open the shower valve to relieve residual water pressure and verify flow stops.
If you’ve got a water heater, set gas control to “Pilot” or switch electric power off to prevent dry-firing while lines are depressurized.
Keep a flashlight handy, work with dry hands, and don’t force a stuck valve; call a licensed plumber if it won’t move safely.
Cover Drain And Surfaces
Before you open the valve body, cover the shower drain with a fine-mesh strainer or a rag and protect the tub or shower floor with a drop cloth so screws, clips, and small parts can’t disappear into the trap or chip finished surfaces. Tape the drop cloth edges so it won’t shift underfoot, and keep the work area dry to reduce slip hazards.
If you’re removing trim, place a towel under tools to prevent enamel or tile damage. Do quick drain cleaning around the grate and weep holes so debris won’t wash into the trap when you flush lines later.
After reassembly, perform surface sealing as required: replace cracked escutcheon gaskets, re-caulk per manufacturer specs, and keep sealant off moving valve components.
Tighten and Reseal a Dripping Showerhead
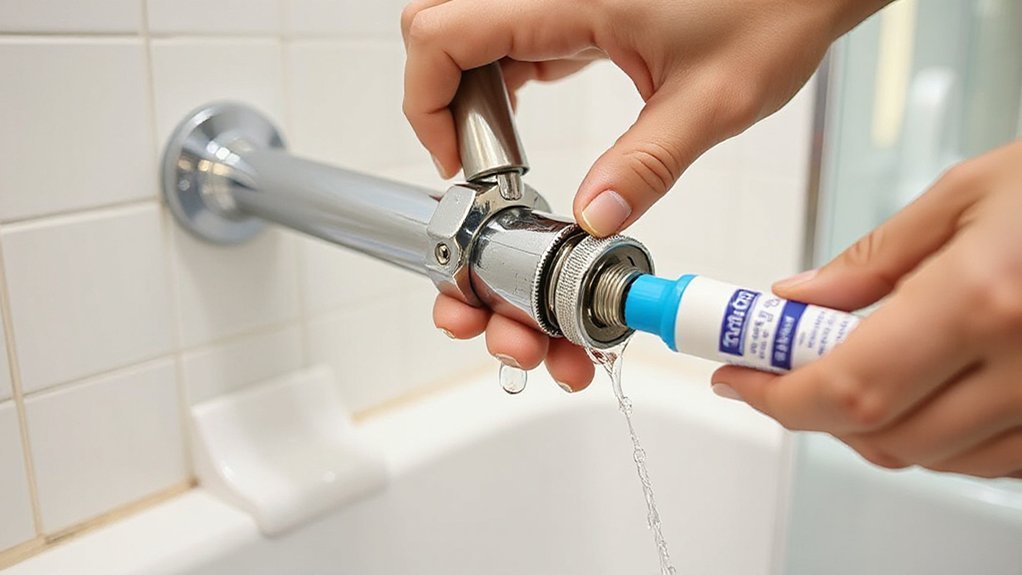
Verify the drip’s source at the showerhead, arm threads, or swivel joint so you’re addressing the correct fitting.
Use a wrench with a protective cloth to snug the showerhead connection—don’t overtighten and risk damaging the threads.
If it still weeps, remove the head and wrap PTFE plumber’s tape clockwise on clean, dry threads, then reinstall and tighten to a secure, leak-free seal.
Identify Leak Source
Where’s that drip actually coming from—the showerhead face, the swivel joint, or the threaded connection at the shower arm? Start with Leak detection: dry the head, then run water for 30 seconds and watch for first moisture.
If droplets form on the spray face after shutoff, suspect trapped debris or a worn internal seal.
If water beads at the swivel joint while running, the ball-and-socket washer may be failing.
If the wall-side area dampens, the shower arm penetration or escutcheon may be letting water migrate; that’s a building-cavity risk.
Before testing, confirm water pressure isn’t excessive; many codes expect a pressure-reducing valve above 80 psi.
Shut off, then wipe and recheck after 10 minutes.
Tighten Showerhead Connection
Now that you’ve pinpointed the leak, tighten and reseal the showerhead connection to stop seepage at the threads and prevent water from migrating behind the escutcheon. Shut off the shower valve, then open it briefly to relieve trapped pressure.
Protect the finished nut with a cloth and use an adjustable wrench to snug the showerhead or swivel nut clockwise; don’t over-torque, or you can crack the fitting or distort gaskets.
Verify the arm is secure in the drop-ear elbow and that the escutcheon sits flat to keep wall cavities dry and code-compliant.
Restore flow and inspect for drips at full hot and cold. If spray is harsh, perform a Water pressure adjustment at the main regulator.
Regular Showerhead maintenance includes checking tightness after cleaning.
Reseal With Plumber’s Tape
If tightening alone doesn’t stop the drip, reseal the threaded joint with PTFE plumber’s tape to create a watertight, code-appropriate seal.
Shut off the shower valve, then protect the finish with a cloth and use an adjustable wrench to remove the showerhead.
Inspect threads for cracks, corrosion, or cross-threading; replace damaged parts to meet safe plumbing practice.
Clean old tape and debris, then dry the male threads.
Wrap Plumber’s tape clockwise (the direction you’ll tighten) for 3–5 full turns, keeping it flat and taut so it doesn’t bunch and restrict flow.
Reinstall hand-tight, then snug 1/4 turn with the wrench—don’t overtighten.
Run water and verify no leaks.
These sealing techniques prevent drips and reduce galvanic binding.
Replace the Shower Valve Washer to Stop Drips
Although a worn washer seems like a minor part, it’s often the primary seal that stops water from bypassing the shower valve seat and causing a steady drip.
Shut off the branch supply at the stop valves or main, then verify zero flow by opening the shower. Plug the drain, remove the handle and trim, and keep fasteners organized.
For code-compliant shower valve maintenance, don’t use heat or solvents near plastic parts.
Back out the stem assembly, then inspect the rubber washer on the stem end. Match the diameter and thickness exactly, and replace the brass screw if it’s stripped or corroded.
Use proven washer replacement techniques: seat the washer flat, tighten snugly, and don’t over-torque.
Reassemble, restore water, and check for leaks.
Replace a Shower Cartridge Causing a Steady Drip
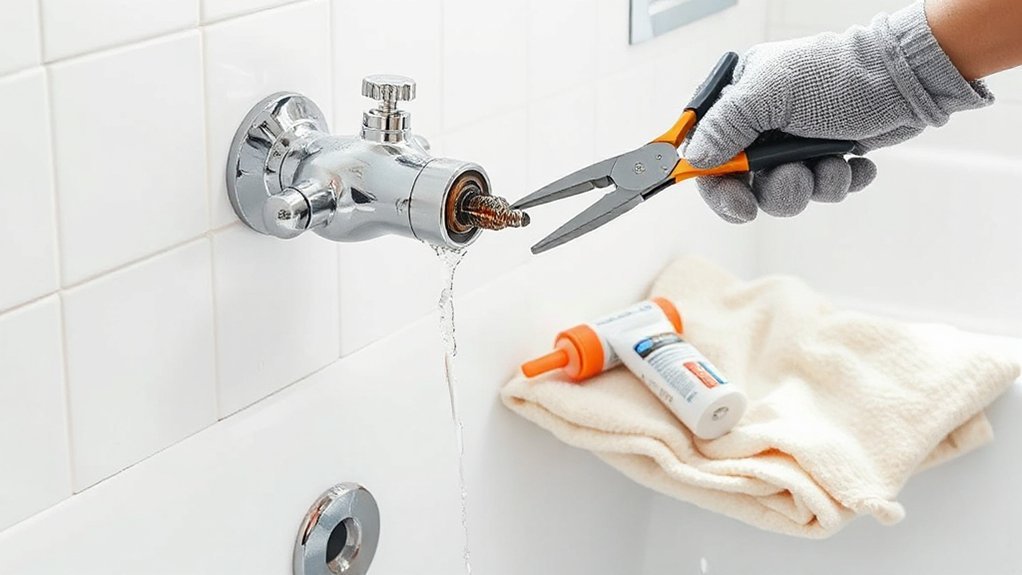
A steady shower drip that persists after a washer replacement usually points to a worn or scored cartridge that can’t seal the valve body correctly.
Shut off the water at the stop valves or main, then open the shower to relieve pressure and verify flow stops.
Remove the handle and trim, keeping the escutcheon gasket intact for preventing leaks.
Note the cartridge orientation, then pull the shower cartridge using the manufacturer’s tool to avoid damaging the valve body.
Inspect the bore for debris or mineral scale; clean it without scratching.
Lubricate O-rings with silicone grease rated for potable water, and install the new cartridge fully seated.
Reassemble, restore water, and test both hot and cold for smooth operation and no drips.
Know When to Call a Plumber for Shower Drips
When a shower drip keeps returning or the valve won’t shut off cleanly after you’ve replaced the washer or cartridge, call a licensed plumber before you risk damaging the valve body or creating a concealed leak.
You should also stop DIY work if the shutoff won’t fully isolate the fixture, if the stop valves are missing, or if you must open a wall to access soldered or crimped joints.
Code-compliant repairs require proper supports, rated materials, and tested connections; a pro can pressure-test and verify anti-scald operation on pressure-balance or thermostatic valves.
Treat any active seepage behind tile, swelling drywall, or mold odor as Emergency plumbing. That’s when to call a pro to prevent structural damage and contamination.
Conclusion
A dripping shower is a small leak with a big message: ignore it, and it becomes corrosion, mold, and higher bills. If you’ve pinpointed the source, shut off the supply, protected the work area, and corrected the showerhead, washer, or cartridge, you’ve restored the system’s seal. Recheck for leaks, confirm smooth handle operation, and verify temperature control. If valves won’t seat, piping shows damage, or codes apply, call a licensed plumber.