
Before you add a hallway radiator, you should confirm the space is truly cold, not just draughty, and check your boiler/pump can handle an extra run. Size the radiator from calculated heat loss (fabric + ventilation), then add a 10–20% margin for door cycling and infiltration. Mount it on an internal wall, away from doors, stairs, and escape routes. Plan short, accessible pipe routes, pressure-test, bleed, and balance lockshields to avoid overheating—next you’ll see how to do each step properly.
Key Takeaways
- Fix draughts and insulation first, and confirm the boiler and pump can support an extra radiator without flow or pressure issues.
- Site the radiator on an internal wall, clear of doors, stair “chimney” zones, and escape routes to avoid heat loss and obstructions.
- Size the radiator using heat-loss calculations (fabric plus ventilation), adding a 10–20% margin for door cycling and infiltration.
- Plan the shortest pipe route, avoiding electrical and structural hazards, maintaining fire-stopping, and ensuring valves and bleed points remain accessible.
- Pressure-test, bleed, add inhibitor if drained, then balance the system to achieve roughly a 10–12°C temperature drop across each radiator.
Decide If a Hallway Radiator Makes Sense
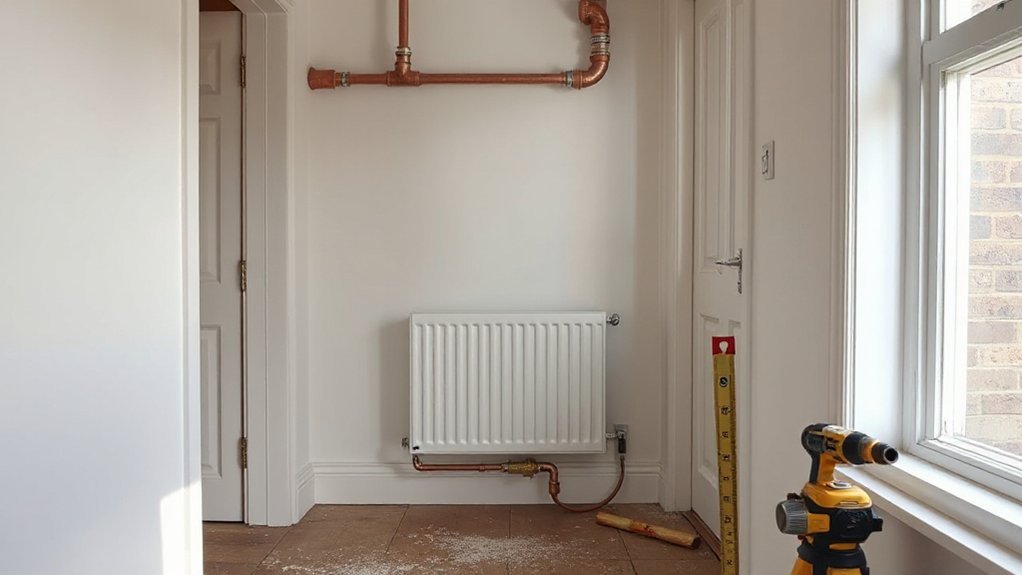
Before you cut into pipework or mount a bracket, verify a hallway radiator will actually solve a heat problem rather than create one. Check whether the hall is genuinely cold or just feels draughty due to an unsealed door, poor loft insulation, or air leakage around floorboards; fix those first to avoid wasted output.
Confirm your boiler and pump have spare capacity and that the existing circuit can be extended without unacceptable pressure drop or air traps.
Verify you can route flow and return pipes without compromising fire-stopping, electrics, or stair structure, and ensure valves won’t obstruct egress.
If wall space is limited, a Decorative radiator using Modern radiator designs can add usable heat without sacrificing clearance, but only if it won’t overheat adjacent rooms.
Size a Hallway Radiator (BTU/W) for Your Space
To size a hallway radiator safely, you’ll start by calculating heat loss from the hallway’s dimensions, insulation level, and target temperature.
You then choose a radiator with a BTU/W output that meets or slightly exceeds that load so the system heats reliably without stressing the boiler or valves.
Because hallways often see door cycling and drafts, you’ll factor in infiltration and adjacent room losses before finalizing the rating.
Calculate Hallway Heat Loss
How do you know what size hallway radiator you actually need? You calculate heat loss, then match it to your target room temperature and system flow temperature.
Measure the hallway’s length, width, and height to get volume, then note construction: external walls, glazing area, door gaps, and stairwell openings.
Rate your hallway insulation (loft above, wall type, floor over void) and record window/door U-values if available; otherwise use conservative defaults.
Estimate ventilation losses by checking draughts and assuming an air-change rate, higher for leaky front doors.
Add fabric losses (U × area × ΔT) to ventilation losses (0.33 × ACH × volume × ΔT).
Keep assumptions documented; it’s safer than guessing radiator design alone.
Choose Radiator BTU Output
Your heat-loss figure gives you the target heat output the hallway must receive at design conditions, so now you can choose a radiator BTU/W rating that actually meets it.
Match the radiator’s output to your system temperatures (flow/return and room), not the headline figure, because catalog ratings assume a specific ΔT. If your boiler runs cooler, you’ll need a larger emitter to hit the same watts.
Add a small margin for controllability, then size valves and pipework to deliver the required flow without excessive velocity or noise.
Prioritise safe surface temperatures where people pass close by, using lower-temperature operation or guards if needed.
Balance radiator aesthetics with performance: slim vertical panels can work, but check their tested output.
Correct sizing improves user comfort and avoids overheating.
Account For Drafts And Doors
Because hallways sit on the front line between indoors and outdoors, drafts from external doors, letter plates, and stairwells can blow past the radiator and strip heat faster than a basic room heat-loss number suggests. To account for Draft influence, add a safety margin to your calculated output—typically 10–20%—and confirm the radiator can still reach target temperature with the system’s flow rate and ΔT.
Check Door placement: if the radiator sits behind an opening door or in the direct air path, convection gets disrupted and cold air short-circuits the heat. Reposition to a side wall, or use a higher-output unit with a thermostatic valve and lockshield balancing.
Seal gaps, fit a brush letterbox, and guarantee pipework doesn’t cross egress routes or create trip hazards.
Choose the Best Hallway Radiator Location (Doors, Stairs, Drafts)
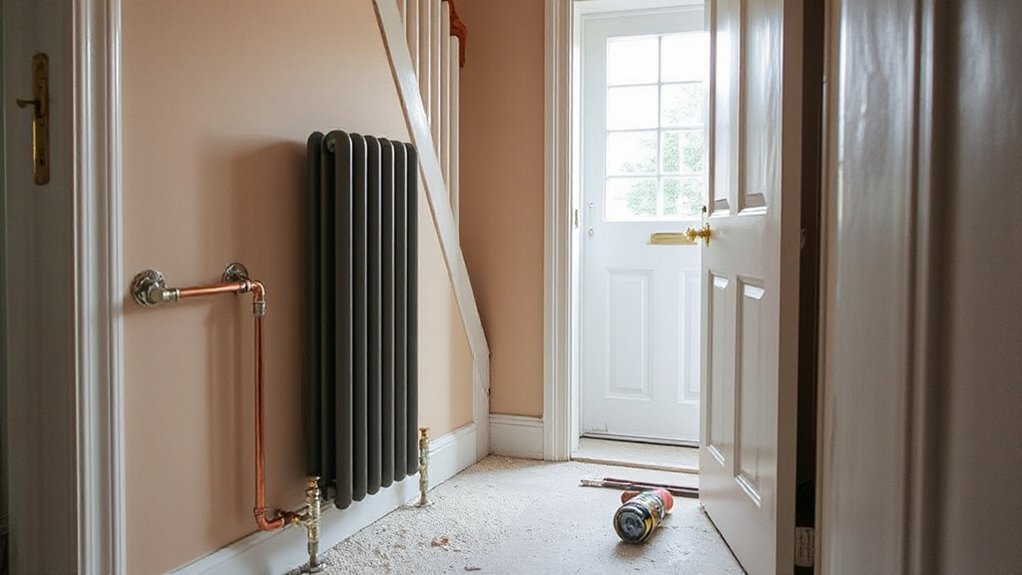
While a hallway radiator can look like a simple fit-and-forget upgrade, its location directly affects heat distribution, fire safety clearances, and how much cold air you’ll fight from doors and stairwells. Place it on an internal wall where possible; you’ll reduce heat loss and improve radiant comfort.
Keep clear of outward-opening doors and high-traffic pinch points so you don’t create impact hazards or block escape routes. Near a porch door, mount it offset from the draft line to temper incoming cold without short-cycling the room air.
For stairs, avoid the immediate stairwell “chimney” zone; heat can race upward and leave the lower hall cool. Balance interior decor and aesthetic considerations with practical clearance around furniture and handrails.
Plan Hallway Radiator Pipework (Routes, Floors, Costs)
You’ll plan the pipe route before you cut or lift anything, choosing the shortest run with safe access for drilling, clipping, and future isolation.
If the pipes need to run under the floor, you’ll identify which boards can be lifted, check for electrical cables and structural members, and protect joists and services as you work.
You’ll also price the route realistically, since longer runs, concrete floors, or extensive lifting and reinstatement can drive labour and materials costs up fast.
Pipe Routes And Access
Before you fix a hallway radiator in place, map the pipe routes and confirm access points so you don’t end up lifting extra floorboards, drilling into services, or starving nearby radiators of flow. Start by locating the nearest flow/return pair and tracing a direct, balanced run that won’t pinch pipe diameter or create tight bends.
Keep Pipe routing clear of electrical zones, gas lines, and door thresholds, and allow enough space for valve bodies and future service.
Identify Access points at junctions, tees, and isolation valves so you can bleed, drain, and isolate the branch without shutting down the whole system. If you’re extending from an existing rad, check circuit order and lockshield settings to maintain even heat output and stable system pressure.
Floor Lifting And Costs
Because hallway pipe runs often disappear under the most visible flooring, you should plan any floor lifting as a controlled, costed task rather than an on-the-day surprise.
Survey the floor build-up (boards, laminate, screed) and locate services with a detector before you cut or lift anything. Isolate the heating circuit, drain down where needed, and cap pipes so you don’t flood voids.
Protect occupants by controlling dust, securing lifted boards, and keeping walkways clear.
To manage installation costs, price labour for lifting and reinstatement separately from pipework, plus materials like new boards, clips, insulation, and underlay.
Minimise disruption by using existing voids, lifting only targeted sections, and choosing surface trunking where floors can’t be disturbed safely.
Pick TRVs, Lockshields, and Controls for Efficiency
Where efficiency and control matter most in a hallway radiator, choosing the right TRV, lockshield, and system controls lets you balance heat output without overheating a transit space or destabilizing the rest of the loop.
Prioritise a quality TRV with a liquid sensor head and a frost-protection setting; it’ll respond faster and reduce boiler cycling.
Get TRV placement right: keep the head clear of curtains, covers, or tight alcoves, and use a remote sensor if airflow is restricted.
Fit a lockshield with clear graduations so you can do precise Lockshield adjustment during balancing, limiting bypass flow and pushing heat to rooms that need it.
Pair the radiator with weather compensation or smart zoning, and set minimum boiler flow temps to cut losses and improve condensing operation.
Test, Bleed, and Check for Leaks After Installation
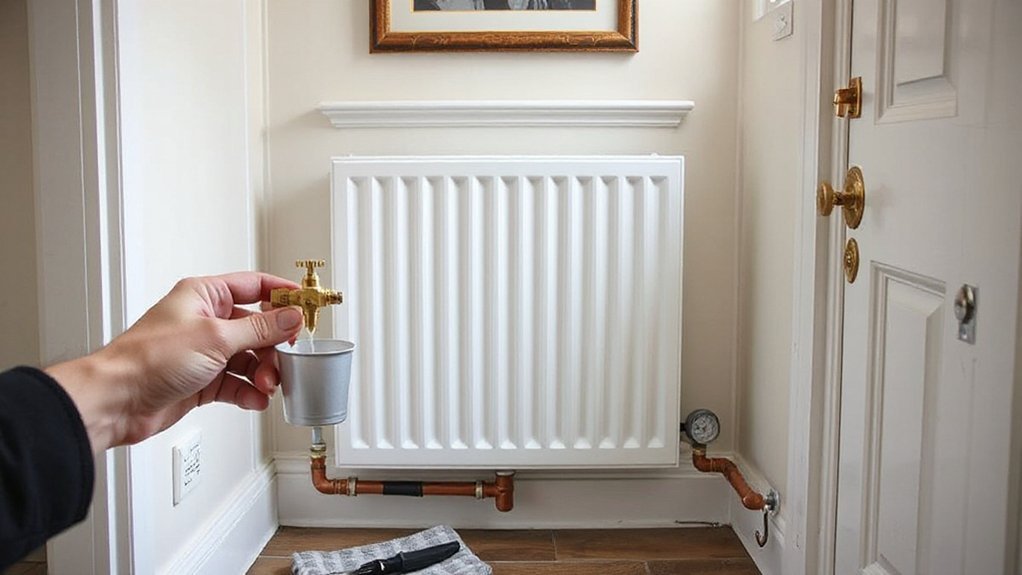
Once the radiator’s mounted and the valves are tight, you need to pressure-test the circuit, purge trapped air, and confirm every joint stays dry under both cold fill and hot running conditions.
Isolate the supply, open both valves, then refill slowly while watching the gauge; don’t exceed the system’s rated pressure. Add inhibitor if you’ve drained significant water.
Wipe every compression nut, tail, and bleed point, then wrap each with dry tissue to spot weeps. Bleed at the top vent until water runs clear, topping up pressure as you go.
Fire the boiler and recheck once hot, because expansion can reveal marginal seals. Any leak risks staining paintwork and ruining radiator aesthetics.
If persistent, depressurise, remake the joint, or consider alternative heating options temporarily.
Balance the System After Fitting a Hallway Radiator
After you’ve confirmed the system is airtight and up to pressure, balance the radiators so the new hallway unit doesn’t steal flow from the rest of the circuit. Set all TRVs fully open, run the boiler, and let temperatures stabilise.
Use an infrared thermometer or contact probe: aim for roughly a 10–12°C drop across each radiator. Start with the radiator closest to the boiler; close its lockshield, then open it a quarter turn. Move outward, opening lockshields progressively more for farther radiators.
Keep the hallway radiator slightly restricted if nearby, preventing hallway overheating and supporting aesthetic integration with comfortable, even warmth.
Recheck pump noise and boiler cycling; if you hear rushing, throttle back.
Finish with Radiator maintenance: mark lockshield positions and log readings for future tweaks.
Conclusion
You’ve now sized, sited, piped, and controlled your hallway radiator for real heat, not wasted watts. If you’re worried it’ll “steal” warmth from other rooms, you won’t—when you balance the system, set TRVs correctly, and keep lockshields matched. Prioritise safe pipe routes, isolate and drain before cutting, and pressure-test joints before refilling. Bleed, check for leaks, then recheck temperatures. You’ll gain comfort, cut drafts, and keep efficiency stable.