
Map the patio footprint, snap datum lines, and set a 1:60–1:80 fall so water drains away from the house and stays below the DPC. Choose dense vitrified porcelain with an R11-style grip for wet or shaded zones, and match slab size and colour to your architecture for a crisp, joint-light look. Bed 20mm slabs on full mortar, tap level, and keep joints dead-straight with spacers and a straightedge. Keep going to master edges, steps, and finishing.
Key Takeaways
- Plan the patio footprint and falls so water drains away from the house, keeping finished levels below the DPC.
- Dry-lay slabs and snap datum lines to confirm joint lines, cuts, steps, and thresholds before committing to mortar.
- Choose slab size, thickness, and finish to suit the space, using R11 slip-rated textures for wet or exposed areas.
- Install on a solid mortar bed, work from a fixed edge, and use spacers and straightedges to keep joints uniform and aligned.
- Use porcelain-safe grout, clean off haze promptly, and maintain with pH-neutral cleaning and leaf removal for lasting appearance.
Plan Your Porcelain Patio Layout and Drainage
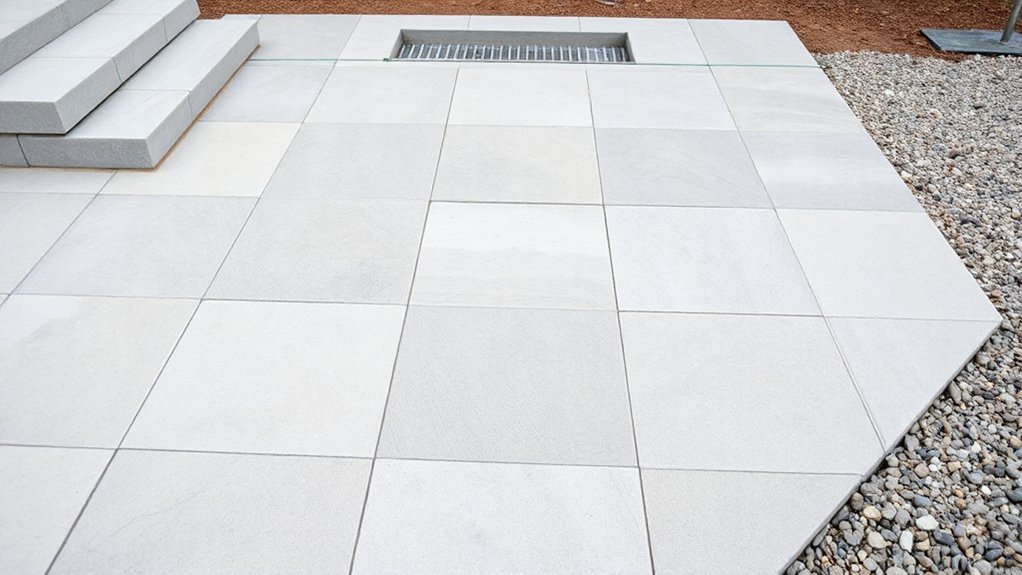
Before you order porcelain paving slabs or set out your first line, map the patio’s footprint and set your falls so water moves away from the house and doesn’t pond on the surface. Use taut stringlines and a laser level to hold a 1:60–1:80 gradient toward a channel drain, gully, or permeable edge. Keep finished levels below the DPC, and allow for slab thickness, adhesive bed, and compacted sub-base.
Dry-lay a few slabs to confirm joint lines, cuts, and any step or threshold interfaces.
Plan garden privacy by aligning the main seating zone away from overlooking windows and by leaving space for screens or planters without blocking drainage runs. Mark lighting options early, conduit routes and uplight pockets, so you don’t chase channels through cured mortar later.
Decide If Porcelain Paving Slabs Suit Your Budget
Next, you’ll want to price up porcelain paving slabs by the m², factoring in thickness, slip rating, and any trims or steps your design needs.
You should also budget for installation and labour—sub-base build-up, mortar or adhesive system, cuts, and jointing compound can shift the total as much as the slabs themselves.
Then weigh long-term value: porcelain’s low water absorption, stain resistance, and minimal maintenance can save you money on sealing, cleaning, and replacements over time.
Upfront Material Costs
A realistic budget starts with the slab price itself, and porcelain usually sits above standard concrete pavers but can compete with premium natural stone on a per‑square‑metre basis. You’ll see prices shift with thickness (often 20mm outdoors), edge rectification, and surface finish—textured, grip-rated options typically cost more than smooth indoor grades.
Factor in batch consistency and calibre, because tighter tolerances reduce visible lippage and waste. Large formats can raise the per-unit cost, but they cut joint lines for cleaner, modern geometry and stronger aesthetic appeal.
Check whether the slab is full-body or colour-through, and confirm stain and UV resistance ratings; these specs support material durability and protect your spend. Order 5–10% extra for cuts and future repairs, matching the same batch code.
Installation And Labor Expenses
Slab cost sets the baseline, but installation and labour often decide whether porcelain paving slabs stay within budget. You’ll pay for precise groundworks: excavation, geotextile, a well-compacted sub-base, and accurate falls for drainage.
Because porcelain is dense and less forgiving, installers often use a full mortar bed or pedestal system, plus primer on the back of each slab to secure adhesion.
Labour rises with tricky access, lots of cuts around steps, drains, and edges, or tight joints that demand careful spacers and clean grouting.
Factor in edge restraints, bonding products, and waste from mitres or pattern layout.
If you’re planning landscape integration, allow time for aligning levels to lawns, thresholds, and planting borders.
Heavy outdoor furniture may also require thicker slabs or extra support, increasing work.
Long-Term Value Savings
Where do porcelain paving slabs start paying you back—after the first winter, or years down the line? You’ll notice savings quickly because dense, vitrified porcelain resists staining, algae, and fading, so you won’t budget for frequent sealing, heavy chemical cleaning, or color restoration.
Its low porosity also boosts seasonal durability: freeze-thaw cycles don’t spall edges, and UV exposure won’t chalk the surface, keeping joints tighter and replacements rarer.
Plan your layout for landscape integration and you’ll reduce future rework. Because slabs stay dimensionally stable, you can align cuts to drains, steps, and thresholds without later lipping that forces relay.
Over time, fewer repairs, fewer cleaning products, and a consistently modern finish help your patio’s total cost trend downward.
Pick Porcelain Slab Size, Thickness, and Grip
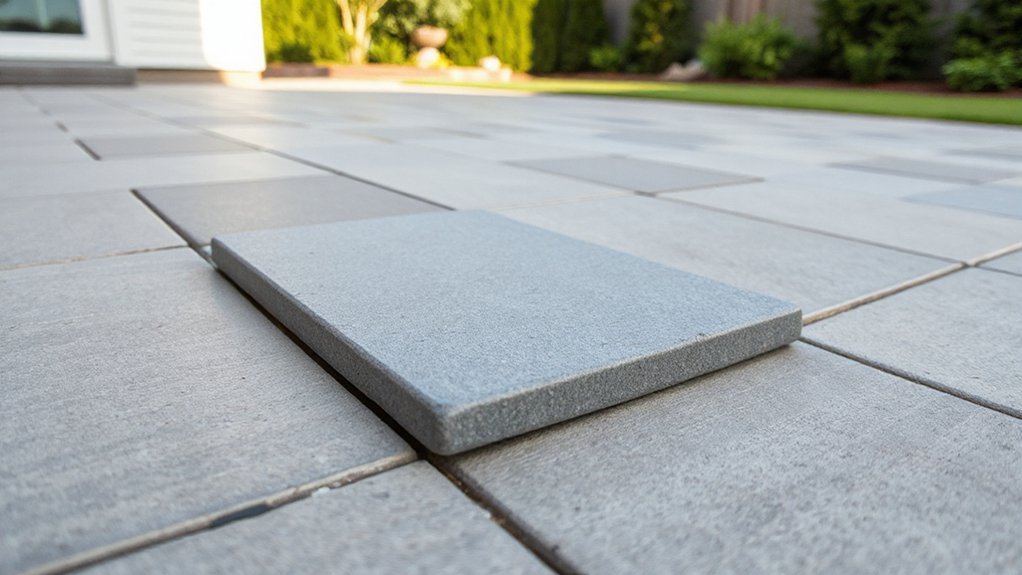
Because porcelain paving performs best when it’s matched to how you’ll actually use the patio, choose slab size, thickness, and slip rating as a set rather than in isolation. Start with your layout: larger formats reduce joints and look cleaner, while smaller slabs suit tight corners and make falls align with existing thresholds and drainage lines.
For Porcelain slab durability, match thickness to load and base build—around 20mm for pedestrian patios on a solid bed, thicker solutions where point loads, planters, or furniture legs concentrate pressure.
Then lock in grip: specify an outdoor slip rating (R11-style textures) for shaded, wet, or poolside zones, and keep smoother profiles for covered areas. You’ll still have broad aesthetic options without compromising performance.
Choose Porcelain Paving Slab Colours and Finishes
Now you’ll choose porcelain paving slab colours and finishes that suit your home’s exterior and the patio’s light levels. Coordinate your palette across slabs, grout, edging, and outdoor furniture so the space reads intentional rather than patchy.
Then match surface finish and texture—matt, structured, or stone-effect—to your design style and the underfoot feel you want.
Coordinating Colour Palettes
Even if your patio layout is nailed down, the colour palette you choose will determine whether the space reads crisp and contemporary or flat and mismatched. Start with one anchor tone that suits your architecture—cool greys for sharp lines, warm beiges for softer brickwork—then repeat it across the main field to keep the plane calm.
Lock in color coordination by sampling slabs against wall paint, fencing, and door frames in the same daylight your patio gets.
If you’re using two slab colours, set a clear hierarchy: 80/20 works well for borders or zoning around dining areas.
For pattern mixing, keep joint lines aligned and limit contrasts so the layout reads intentional, not busy.
Match grout colour to the dominant slab to avoid visual clutter.
Surface Finishes And Texture
Once you’ve settled on a palette, the surface finish and texture of your porcelain paving slabs will decide how the patio feels underfoot and how it performs in real weather.
For exposed sites, pick a structured, anti-slip finish (R11 or higher) so rain, algae, and pool splash don’t turn it slick.
On sheltered terraces, a satin or soft-lapped finish gives a cleaner look while staying practical if you keep joints tight and drains clear.
Use Textural contrast to zone the layout: a subtly ribbed dining area, smoother circulation routes, and a grip-focused threshold at doors.
Check Surface durability ratings and edge rectification, then align grout colour to hide staining and keep the surface reading crisp.
Build the Right Mortar Base for Porcelain Slabs
Because porcelain paving slabs need full, consistent support to stay level and crack-free, you’ll want to build a mortar base that’s flat, well-bonded, and designed for low-absorption tile. Start with substrate preparation: compact the sub-base, check falls, and lock in edge restraints so nothing creeps.
Screed a concrete or well-compacted bedding layer to a uniform plane, then remove dust and standing water before you bond.
For Mortar mixing, use a polymer-modified, frost-resistant mortar and measure water accurately; you’re aiming for a creamy, workable bed that won’t slump.
Spread a full mortar bed (not dabs), key it into the base with your trowel, and keep thickness consistent to avoid hollow spots.
Protect fresh mortar from sun, wind, and rain while it cures.
Lay Porcelain Paving Slabs With Tight, Straight Joints
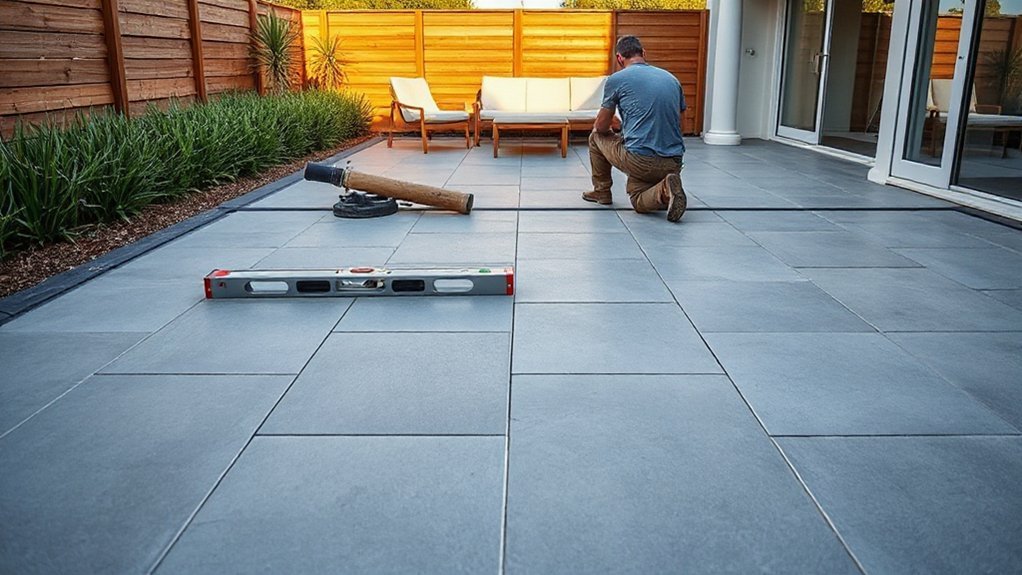
After you’ve screeded a true, fully supported mortar bed, the next job is to control your joint lines so the porcelain reads crisp and stays forgiving under foot. Snap datum lines, dry-lay a few slabs, and commit to a consistent module before you spread more mortar.
Use spacers sized for your grout system and check joint alignment every slab with a straightedge, not your eye. Tap slabs down with a rubber mallet and lift-and-add mortar where rocking appears.
Keep faces clean as you go; any grit in the joints will throw your gauge. Work from a fixed edge and continually re-square off your lines to maintain aesthetic consistency across the field. Adjust early, not after three rows.
Detail Edges, Steps, and Clean Porcelain Outdoors
While your field slabs set the visual rhythm, your edges, steps, and cleaning routine determine whether porcelain looks like a finished outdoor surface or a cut-up tile job. Handle edge detailing early: plan full slabs to boundaries, then use bullnose, mitred returns, or aluminium trims so cut faces aren’t exposed.
On steps, keep riser heights consistent, use a solid bedding, and add a projecting nosing or grip strip to manage splash and slip. Set falls away from thresholds and cap exposed upstands to stop water tracking.
Choose grout and jointing that suits porcelain’s low porosity, then rinse before haze sets. For maintenance, pH-neutral cleaner, stiff brush, and regular leaf removal prevent staining.
Pair crisp edges with outdoor lighting to highlight lines at night.
Conclusion
When you plan your layout and drainage, you set your porcelain patio up to perform. You’ve checked the budget, chosen the right slab size, thickness, and slip rating, and matched colour and finish to the site. With a full mortar bed and primed backs, you’ll get solid contact and fewer hollow spots. Keep joints tight and lines true, and treat edges and steps like trim—crisp as a cut tile, not an afterthought.