
Start by mapping your layout and traffic flow, keeping 30–36 inches clear, then edit surface clutter and assign everything a home. Upgrade fast with a larger rug, baskets, and re-floated seating, then layer lighting: a scaled overhead fixture, dimmable table or floor lamps for task zones, and picture lights or LED strips for accent. Choose warm, high-CRI LEDs (2700–3000K) and durable wide-plank LVP or engineered wood with acoustic underlayment. Keep going for smarter built-ins and styling.
Key Takeaways
- Measure the layout, keep 30–36 inches for circulation, and reposition seating around a properly sized rug to improve flow.
- Start with quick wins: declutter surfaces, add baskets or trays, and introduce closed storage pieces to reduce visual noise.
- Build layered lighting: ambient overhead, task lamps for reading zones, and accent picture or shelf lights for depth.
- Use warm, high-CRI LEDs (2700–3000K, CRI 90+) on dimmers to shift from bright daytime light to cozy evening mood.
- Upgrade flooring with durable wide-plank engineered wood or LVP, add acoustic underlayment, and hide cords with paintable wall channels.
Assess Your Living Room: Layout, Paths, Clutter
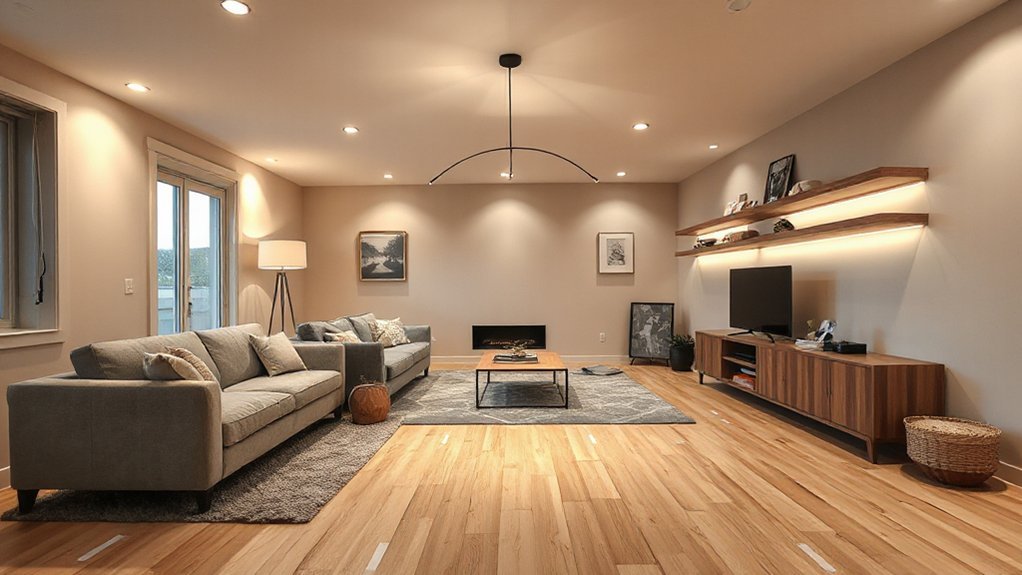
Before you buy anything new, take a clear-eyed look at how your living room actually works: map the layout, trace the natural walking paths from entry to seating to adjacent rooms, and note where you’re forced to sidestep furniture or funnel through tight gaps.
Then measure: sofa depth, rug size, clearance behind chairs, and sightlines to windows and the TV.
Sketch alternative furniture arrangements that keep 30–36 inches for circulation and anchor seating on a rug’s front third.
Audit clutter by surface: coffee table, media console, sideboards, and the “drop zone” near the door; anything without a home goes on a list.
Finally, evaluate color schemes under daytime and lamp light—warm whites, muted earths, and layered neutrals read current and calm.
Decide What to Upgrade First (Fast vs. Big Wins)
Start with fast-impact swaps that instantly sharpen the room—layer in updated lighting, crisp textiles, and a tighter color palette.
Then map your big wins around the pieces that define the look and function, like the sofa, area rug scale, and built-ins.
You’ll get a quick style lift now while budgeting and timing the high-value upgrades that make the space feel truly new.
Prioritize Fast Impact Changes
If you want your living room to feel upgraded fast, prioritize the changes that instantly shift what you see and how the space functions—then save the messy, budget-heavy moves for later.
Start with lighting swaps: add a warm-dim LED floor lamp, a plug-in picture light, or an uplight behind a plant to layer glow and erase flat shadows.
Refresh your color schemes with a tight palette—two neutrals plus one accent—through pillows, a throw, and art.
Then redo your furniture arrangement: float the sofa, anchor it with a properly sized rug, and pull chairs into a conversation zone.
Finish with quick storage wins: matching baskets, a tray on the ottoman, and one closed cabinet to hide chargers, remotes, and mail.
Plan High-Value Major Upgrades
Once you’ve nailed the quick visual fixes, map out the major upgrades that actually change how your living room performs—then sequence them by payoff.
Start with lighting infrastructure: add layered circuits, dimmers, and ceiling junctions so future pendants and sconces feel intentional.
Next, tackle flooring if it’s worn or noisy; wide-plank engineered wood or luxe vinyl in warm oak tones reads current and boosts comfort underfoot.
Then build storage: a media wall with closed bases and open shelves hides clutter while showcasing Decorative accents.
If you need speed, swap a dated fixture, add a large rug, and refine Color schemes with paint and textiles.
If you want big wins, invest in electrical, floors, and custom built-ins.
Budget these first, then style last.
Build Layered Lighting: Overhead, Task, Accent
Start with ambient overhead lighting that sets the room’s baseline—think a sculptural flush mount or a slim chandelier that matches your ceiling height and scale.
Then add focused task lighting where you actually live: an adjustable reading lamp by the sofa or a shaded floor lamp near a chair to control glare.
Finish with accent layers—picture lights, plug-in sconces, or a warm LED strip on shelves—to add depth, highlight texture, and make the space feel intentionally designed.
Choose Ambient Overhead Fixtures
Because overhead lighting sets the baseline mood for everything else in the room, choose an ambient fixture that delivers even, comfortable illumination without flattening the space. Prioritize diffused output: opal glass, fabric drums, or shaded LED discs soften glare and create an ambient glow across seating and circulation zones.
Scale matters—aim for a diameter that visually anchors the room (often 18–30 inches), and hang it so it clears sightlines while still feeling intentional.
Pick warm-dim LEDs (around 2700K) and put the circuit on a dimmer so you can shift from daytime clarity to evening coziness.
Explore fixture styles that suit your architecture: slim flush-mounts for low ceilings, sculptural pendants for height, or a modern chandelier to add rhythm without visual clutter.
Add Focused Task Lighting
Where do you actually read, work, scroll, or puzzle in your living room? Map those micro-zones, then add task lighting that targets them without flooding the whole space.
A slim floor lamp with an adjustable arm can tuck beside a sofa and aim light directly at pages. For a desk or console, choose a compact LED table lamp with a pivoting head so you can dial in focused illumination.
Look for warm, high-CRI bulbs (2700–3000K) so skin tones and textiles stay flattering, not gray. Add dimmers or touch controls to fine-tune brightness for daytime versus evening.
Keep finishes coordinated—matte black, aged brass, or soft nickel—to match your hardware and feel intentional.
Layer Accent Light Sources
Once your task lighting hits the spots you actually use, bring in accent sources to add depth and mood without bumping up overall brightness. Start with a pair of dimmable plug-in sconces to frame the sofa, or tuck an LED strip behind a media console for an ambient glow that feels architectural, not glaring.
Use accent spotlighting to guide the eye: aim a small, adjustable picture light at art, or place a discreet uplight in a tall planter to wash textured walls. Keep color temperature consistent—2700K to 3000K reads warm and modern—and control everything with smart dimmers or scene presets.
Vary heights and beam angles so shadows look intentional, and choose finishes that echo hardware: aged brass, matte black, or warm nickel.
Pick Fixtures and Bulbs (Size, Lumens, Warmth)
While your furniture sets the mood, your lighting seals it—so pick fixtures that scale to the room and bulbs that match how you actually live in it.
For fixture selection, anchor the space with a statement pendant or chandelier that’s roughly one-third the coffee-table width, then add slimmer floor and table lamps to keep sightlines airy and current.
Target 1,500–3,000 total lumens for a typical living room, then put everything on dimmers so you can shift from bright cleaning light to evening glow.
Choose bulb warmth intentionally: 2700K reads cozy and flattering, 3000K feels crisp but still residential, and anything cooler can look office-like.
Keep CRI 90+ for richer textiles, art, and skin tones throughout.
Make Lighting Look Built-In for Less
You’ve nailed fixture scale and bulb specs—now make the whole setup feel like it was planned with the house, not plugged in after the fact. Start by hiding cords: run lamp wire in paintable cord channel, then match it to your wall color. Swap plastic shades for linen or opal glass to mimic Built in lighting.
Add plug-in sconces, but mount them on backplates, center them to art, and hardwire later if you want. Use dimmer switches everywhere—plug-in dimmers for floor lamps, smart bulbs for table lamps—so light layers read intentional.
Upgrade with an oversized ceiling medallion, a clean canopy cover, and matching switch plates. These cost-effective upgrades give you a custom-looking glow without opening walls. Aim for warm, even ambience throughout.
Choose Living Room Flooring: Cozy, Tough, Quiet
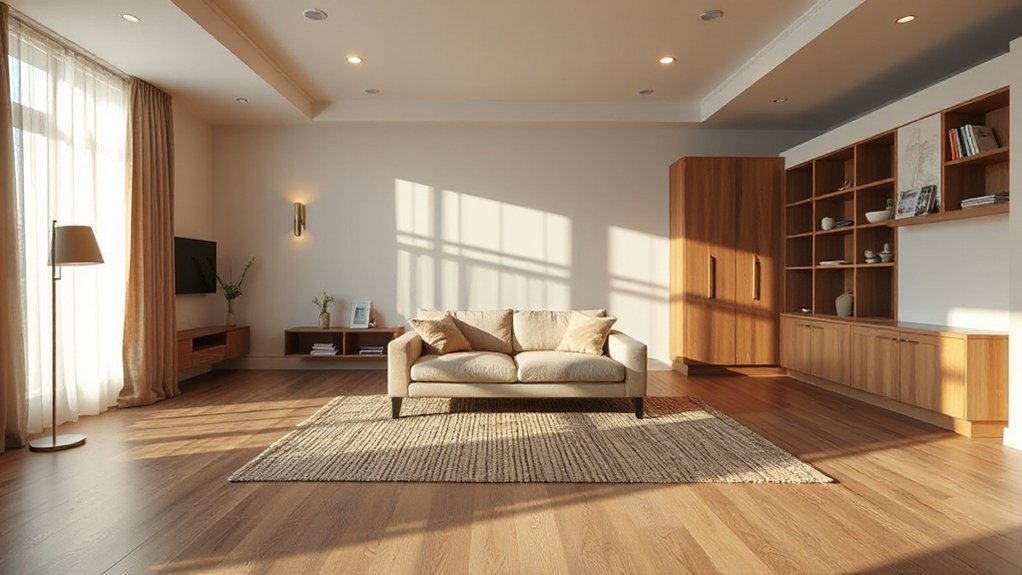
If your living room needs to feel softer underfoot without sacrificing durability, flooring does most of the heavy lifting. Choose wide-plank engineered wood for warmth and stability, or luxury vinyl plank when you need scratch resistance and easy cleaning.
For quiet, prioritize cork, padded underlayment, or dense area rugs layered over hard surfaces to dampen footsteps and TV echo.
Match finishes to your color palettes: cool oak or light maple keeps a Scandinavian scheme airy, while walnut or smoked tones sharpen moody, saturated rooms.
Use furniture placement to protect traffic lanes—float seating on a rug that’s large enough for front legs, and leave a consistent border to frame the space.
Opt for low-sheen finishes and textured grains; they hide wear and feel current.
Install New Flooring Without Full Demo
Because a full tear-out can blow up your timeline (and your budget), you can often upgrade living room flooring by installing a floating system right over what’s there—think click-lock LVP, engineered wood, or laminate—so long as the surface is flat, dry, and firmly bonded.
Start by pulling base shoe, then skim-coat low spots and spot-sand ridges; even a 1/8-inch hump will telegraph in raking light. Add a thin acoustic underlayment for a quieter, softer feel, especially in open-plan homes.
Favor wide-plank, matte finishes and warm, natural tones that pair with today’s layered textiles.
Choose eco-friendly materials: low-VOC planks, FSC-certified cores, or recycled-content LVP.
Finally, integrate smart home comfort with radiant-heat-compatible flooring and discreet floor sensors.
Add Storage That Hides Mess and Shows Style
Fresh flooring sets the tone, but smart storage keeps the room looking intentional day to day. Start with concealed storage that earns its footprint: a lift-top coffee table for remotes and throws, an ottoman with a tray top, or a low credenza that hides games and charging clutter. Choose pieces with clean lines, warm wood, or matte fronts so they read like furniture, not utility.
Balance it with decorative shelving that feels curated, not crowded. Float shelves in matching finishes, then style in tight groupings—books stacked horizontally, a ceramic vessel, and one framed print. Mix closed and open zones so your eye lands on texture, not mess.
Add baskets in a consistent weave to soften corners and keep categories tidy.
Conclusion
Step back and you’ll see your living room’s upgrade path clearly. Start with what pays off fastest: layered lighting that mixes a dimmable overhead, focused task lamps, and subtle accent glow to highlight art and texture. Choose flooring that matches your lifestyle—quiet underfoot, durable, and warm-toned for today’s relaxed, modern look. Finish with storage that disappears clutter behind clean fronts and styled open shelves. Put these moves together, and you’ll hit the ground running.