
First, confirm the crack isn’t moving: check for a “step” with a straightedge, moisture stains, and any widening after 7–14 days. Score it into a shallow V, undercut slightly, vacuum dust, wipe lightly, and seal with primer or bonding agent. For hairlines, press in paintable flexible filler and feather 50–75 mm. For wider cracks, embed fiberglass mesh in compound, skim, sand, prime, paint. Next, you’ll refine material choice and texture matching.
Key Takeaways
- Check if the crack is hairline or moving; look for widening, steps, or damp stains, and recheck after 7–14 days.
- Choose the right filler: spackle for hairline cracks, setting joint compound for medium defects, or real plaster for deep voids.
- Prep for a smooth finish by scoring a shallow V, slightly undercutting, vacuuming dust, and sealing with bonding agent or primer.
- For hairline cracks, press flexible filler in thinly, feather 50–75 mm past the crack, then sand lightly and prime.
- For wider cracks, embed fiberglass mesh tape in compound, apply feathered coats 100–150 mm out, sand smooth, prime, and paint.
Decide If Your Plaster Crack Is Cosmetic or Moving
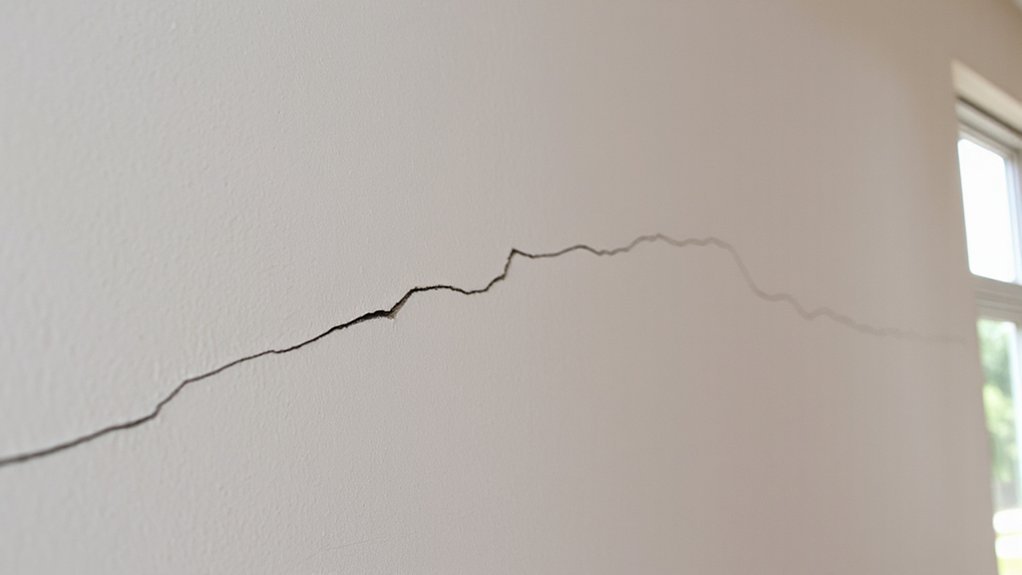
Before you mix plaster or reach for tape, determine whether the crack is purely cosmetic or still moving, because the repair method depends on that distinction. Start by mapping the crack: note length, width, and whether it follows lath lines, corners, or openings.
Hairline, uniform cracks that don’t offset surfaces usually indicate shrinkage or age, not loss of Structural stability. Check for displacement by running a straightedge across both sides; any step suggests movement.
Next, assess Moisture impact: look for staining, efflorescence, soft plaster, or recurring dampness near bathrooms, chimneys, or exterior walls. Mark both ends with pencil ticks and date them, or apply a small paper “tell-tale” with tape.
Recheck in 7–14 days; widening confirms active movement.
Pick the Right Repair Material (Filler vs Compound vs Plaster)
Once you’ve confirmed the crack isn’t actively moving, match the repair material to the substrate and the defect’s depth. Use lightweight spackle or vinyl filler for hairline surface cracks; it sands fast and minimizes shrinkage.
Choose setting-type joint compound for shallow-to-medium defects on painted plaster where you need longer working time and strong feathering.
Use real plaster (gypsum or lime-based) when the break exposes brown coat, lath keys, or deep voids; it bonds chemically and restores hardness.
For color matching, pick a repair that won’t telegraph through paint: white fillers under light colors, neutral bases for tinted topcoats.
Tool selection matters: flexible putty knife for spackle, wider taping knife for compound, and a hawk/trowel for plaster.
Prep Plaster Cracks: Open, Clean, and Seal the Area
Although a plaster crack can look like a simple line, you need to prep it like a joint so the repair bonds to solid material instead of dust and loose edges. Score the crack into a shallow V with a utility knife, widening it just enough to remove feathered edges and expose firm plaster.
Undercut slightly where you can so the patch keys in mechanically. Vacuum the groove, then brush out remaining grit; don’t leave powder that weakens adhesion.
Wipe with a barely damp sponge and let it dry fully. Seal the exposed plaster with a thin coat of bonding agent or primer to control suction and prevent flash-drying.
Mask adjacent paint to protect Surface texture. Note existing sheen and Color matching needs for later.
Fix Hairline Plaster Cracks With Flexible Filler
Why do hairline plaster cracks keep reappearing after a “quick” patch? Rigid compounds can’t tolerate seasonal movement, so the crack prints through the repair.
For crack prevention, switch to a paintable flexible filler designed for fine cracking. Load a small amount onto a flexible putty knife and press it across the crack at a shallow angle, forcing filler into the void. Then skim a tight pass 50–75 mm beyond the line to feather edges. Keep the layer thin; thick beads shrink and telegraph.
Let it cure fully per the label, then lightly sand with 180–220 grit to match the surrounding wall texture. If the surface is textured, stipple or sponge the still-damp filler to replicate the pattern before drying. Prime only after dust removal.
Repair Wide Plaster Cracks With Mesh Tape, Then Sand and Paint
When a plaster crack opens wider than a hairline, you need reinforcement—not just filler—to stop the joint from re-splitting under movement. Rake the crack into a shallow V with a utility knife, remove dust, and mist lightly.
Apply a thin coat of setting-type joint compound or plaster repair, then embed self-adhesive fiberglass mesh tape centered over the gap. Knife another coat through the mesh to fully wet it out, feathering 100–150 mm past the tape.
Let it set hard, then apply a skim coat to level and match Decorative wall textures, if needed, with a sponge or stipple brush. Sand with 120–180 grit, vacuum, prime, then paint.
In Historical restoration techniques, use compatible lime-based plaster where required.
Conclusion
Now you’ve sized up whether the crack’s just cosmetic or still moving, matched it with the right filler, compound, or plaster, and prepped the joint by opening, cleaning, and sealing it. For hairlines, you’ve pressed in a flexible filler to tolerate slight movement. For wider gaps, you’ve reinforced with mesh tape, layered compound, then sanded flat. Once you prime and paint, the finish’s smooth—no cutting corners, just a durable repair.