
You’ll get more comfort fast by optimizing layout without moving plumbing: map door swings, keep clear pathways, and choose a wall-hung or shallow vanity to open knee space. Upgrade the shower with a thermostatic valve, a 2.0 gpm rain head, and a handheld on a slide bar, then use large-format porcelain tile for easier cleaning. Add vertical and recessed storage, layer high-CRI task plus dimmable ambient lighting, and install a quiet 80–110 CFM fan with a timer for what’s next.
Key Takeaways
- Optimize layout without rerouting plumbing by mapping clearances and choosing wall-hung or shallow vanities to free floor space.
- Upgrade the shower with thermostatic controls, a rain head, and a handheld on a slide bar for spa-like comfort.
- Add vertical and hidden storage using recessed niches, mirrored medicine cabinets, and drawer organizers to reduce clutter in small bathrooms.
- Layer lighting with high-CRI vanity fixtures, dimmable ambient LEDs, and motion-sensor night lights for comfort and safe navigation.
- Improve finishes and moisture control with easy-clean large-format tiles, warm sealed wood accents, and a quiet 80–110 CFM exhaust fan.
Bathroom Renovation Layout Fixes Without Moving Plumbing
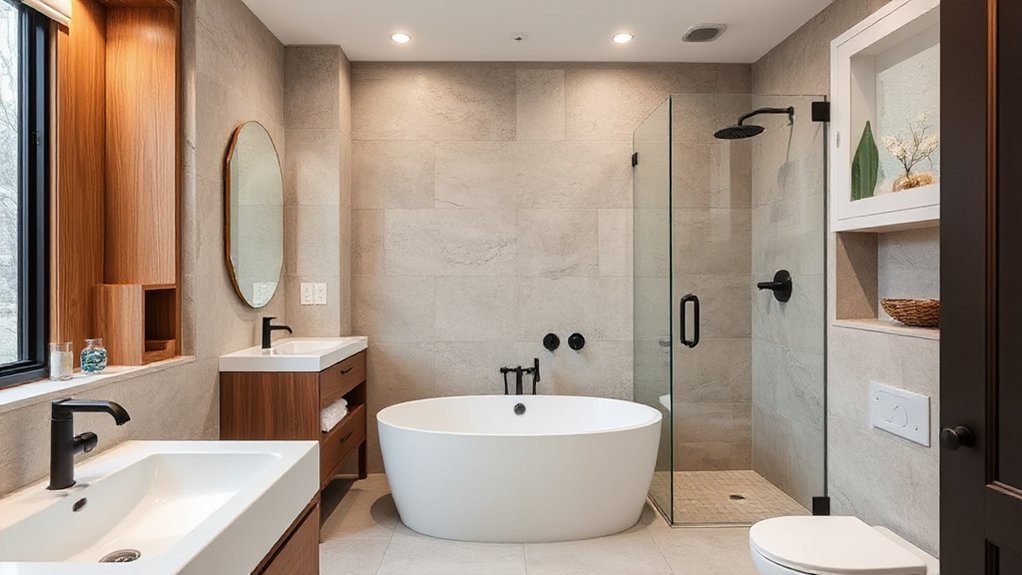
If you want a smarter bathroom layout without the cost and risk of rerouting pipes, you can still make major gains by rebalancing what’s already connected. Start by mapping door swings, clearances, and daily paths from entry to vanity to toilet, then shift fixtures within their current supply and drain reach.
Swap to a wall-hung vanity or a shallower cabinet to open knee and hip room. Replace a hinged door with a pocket or outswing to reclaim floor area. Use mirrored medicine storage and recessed niches between studs for vertical capacity without crowding.
Keep the wet wall intact to avoid a plumbing reroute, but allow small structural adjustments like moving non-load-bearing partitions, resizing openings, and aligning lighting with task zones.
Bathroom Renovation Shower Upgrades for a Spa Feel
Once your layout works hard without moving plumbing, put your upgrade budget into the shower—the one zone where small spec changes deliver the biggest “spa” payoff.
Start with a thermostatic valve and pressure-balancing cartridge so temperature stays locked even when fixtures run.
Add a Rain shower head on a correctly sized arm (8–12 inches) for full-body coverage; specify 2.0 gpm for comfort without waste.
Upgrade to a handheld on a slide bar for targeted rinse and easy cleaning.
Use large-format porcelain on walls to cut grout and improve hygiene.
If your electrical and ventilation can support it, a Steam shower generator with an insulated ceiling, vapor membrane, and dedicated exhaust timer turns daily rinses into recovery sessions.
Finish with a linear drain and slight slope for fast runoff.
Bathroom Renovation Storage Ideas for Small Spaces
In a small bathroom, you’ll reclaim floor space by specifying vertical storage—tall linen towers, wall-mounted cabinets, and recessed niches that use the full wall height.
You can also integrate hidden storage with mirrored medicine cabinets, vanity drawer organizers, and toe-kick pull-outs that keep essentials accessible but out of sight.
These upgrades reduce countertop clutter and improve daily comfort without expanding the room’s footprint.
Vertical Storage Solutions
How do you add serious storage without sacrificing elbow room? Go vertical and keep your floor clear. Install Floating shelves above the toilet or next to the mirror at eye level for daily-use items, then step them upward for backups. Specify moisture-rated materials, sealed edges, and stainless fasteners to prevent swelling and rust.
Add Overhead cabinets high on the wall to store bulk supplies while preserving sightlines; choose shallow depths (5–8 inches) so doors don’t clash with your head or lighting. Use adjustable shelf pins to fit tall bottles, and include soft-close hinges for quieter mornings.
Finish with wall-mounted towel bars or hooks stacked in a column to speed drying and reduce clutter, improving airflow too.
Hidden Storage Features
Where can you tuck away toiletries and backups without adding bulk to a tight bath? Build storage into what you already touch: the mirror, the vanity, and the wall cavity.
Specify a recessed medicine cabinet with Concealed shelving sized for bottles (3–4 in. depth) and add adjustable pins so you don’t waste vertical clearance.
Choose a vanity with toe-kick drawers for cleaning supplies and Hidden compartments behind a tilt-out false front for small items.
If you’re moving plumbing, frame a shallow niche beside the stack to create a service-friendly, code-clear chase with a hinged access panel.
Use soft-close hardware to cut noise, and line compartments with washable mats to control spills and keep daily routines smooth.
Bathroom Lighting Ideas for Task, Mood, and Night
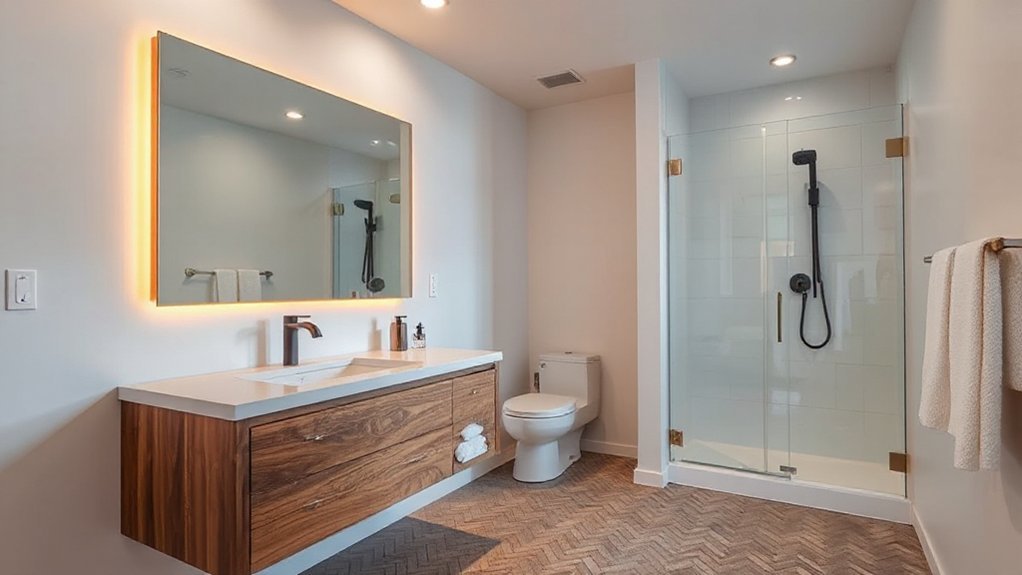
You’ll get the best daily performance by prioritizing vanity task lighting: place vertical fixtures at eye level on both sides of the mirror (or use a high-CRI, glare-controlled mirror light) to minimize shadows.
Then you’ll round out comfort with balanced ambient lighting that fills the room evenly without hot spots or harsh reflections.
For nights, add low-lumen, warm lighting on a motion sensor—at toe-kick or under-vanity height—so you can navigate safely without fully waking up.
Vanity Task Lighting Essentials
Although ambient fixtures set the overall tone, vanity task lighting does the precision work—shaving clean lines, accurate makeup, and comfortable contact lens handling. Place light at face height to eliminate under-eye shadows: mount vertical sconces 28–36 inches apart, centered on your cheeks, or use an LED bar above the vanity mirror paired with side lights.
Target 500–1,000 lux at the sink with a neutral 3,000–3,500K color temperature and 90+ CRI for true skin tones. Choose diffused lenses to reduce glare, especially with glossy tile.
Put task lighting on a dedicated dimmer so you can fine-tune brightness without losing color accuracy. Keep fixtures rated for damp locations and easy-clean finishes.
Ambient And Night Lighting
After you’ve dialed in vanity task lighting, set the room’s baseline comfort with layered ambient light plus a low-output night option. Use a sealed ceiling fixture or recessed LEDs to deliver even, shadow-free fill, sized for the room and rated for damp locations. Put it on dimmer switches so you can drop levels for baths, glare control, or early mornings without killing visibility.
For night guidance, add LED strips under the vanity toe-kick, along a recessed shelf, or inside a niche. Choose warm-white (2200–2700K) at 1–5 watts, aimed at the floor to protect dark adaptation and reduce stumble risk. Add a motion sensor or timer, keep drivers accessible, and separate night from ambient circuits for maximum comfort.
Warm Bathroom Finishes: Wood Tones, Brass, Earthy Tile
When cool white tile and chrome start to feel clinical, warm finishes bring balance and comfort without sacrificing performance. Choose Wood accents in sealed oak or teak for vanities, open shelves, or a mirror frame; they soften acoustics and feel warmer to the touch. Keep profiles slim to preserve clearance around doors and swings.
Specify brass fixtures in a brushed or PVD-coated finish for faucets, drains, and hardware; they add visual warmth while resisting fingerprints and tarnish. Pair them with earthy tile—clay, sand, or terracotta tones—in matte or lightly textured surfaces for better slip control.
Use larger-format tiles to reduce grout lines and simplify cleaning, or add a warm mosaic band to define zones without shrinking the room.
Bathroom Renovation Ventilation Upgrades to Stop Moisture
Warm wood tones and brass feel best in a bathroom that stays dry, so upgrade ventilation to control humidity at the source. Size airflow to your room: target 1 CFM per sq ft, or use 80–110 CFM for most baths, then vent outdoors with smooth, insulated duct to prevent backdraft and condensation.
Prioritize quiet operation (≤1.5 sones) so you’ll actually run it. Place the grille near the shower, add a timer or humidity sensor, and keep the door undercut for make-up air.
During exhaust fan installation, seal penetrations and slope horizontal duct runs slightly to the exterior. Finish with moisture resistant paint on ceilings and walls to slow vapor absorption and reduce peeling.
Conclusion
You don’t need a full re-plumb to get a smarter bathroom. Keep the layout, then upgrade the shower for spa-grade comfort, add tight-footprint storage, and layer lighting for task, mood, and safe night use. Choose warm wood tones, brass, and earthy tile to soften hard surfaces without sacrificing cleanability. Finally, improve ventilation with a right-sized fan and timer so humidity leaves fast, like a well-tuned exhaust system, protecting finishes and daily comfort.