
You’ll start by confirming it’s cast iron, then photograph and inspect for cracks, bulges, pitting, and missing plugs while measuring thread type and unions so you don’t force mismatched fittings. Next, flush outdoors on blocks with hot water, backflushing and probing tappings until clear, then dry fully. Strip paint safely with ventilation and a P100 respirator, using gel stripper or infrared heat. Sand, degrease, prime for heat, paint, refit valves, bleed, pressurize, and check leaks—there’s more ahead.
Key Takeaways
- Identify the radiator as cast iron, photograph it, and inspect for cracks, missing plugs, and damaged threads or fittings.
- Measure pipe thread type and sizes, including unions and vent location, to ensure compatible valves and avoid forcing mismatched threads.
- Flush the radiator outdoors with hot water, agitation, and backflushing until clear, probing tappings to remove sludge and blockages.
- Strip old paint safely with a respirator, gel stripper or infrared heat, then sand, degrease, and mask threads before priming.
- Apply heat-rated primer and enamel in thin coats, reinstall valves with fresh sealing materials, then fill, bleed air, and leak-test.
Check Radiator Type, Damage, and Fittings
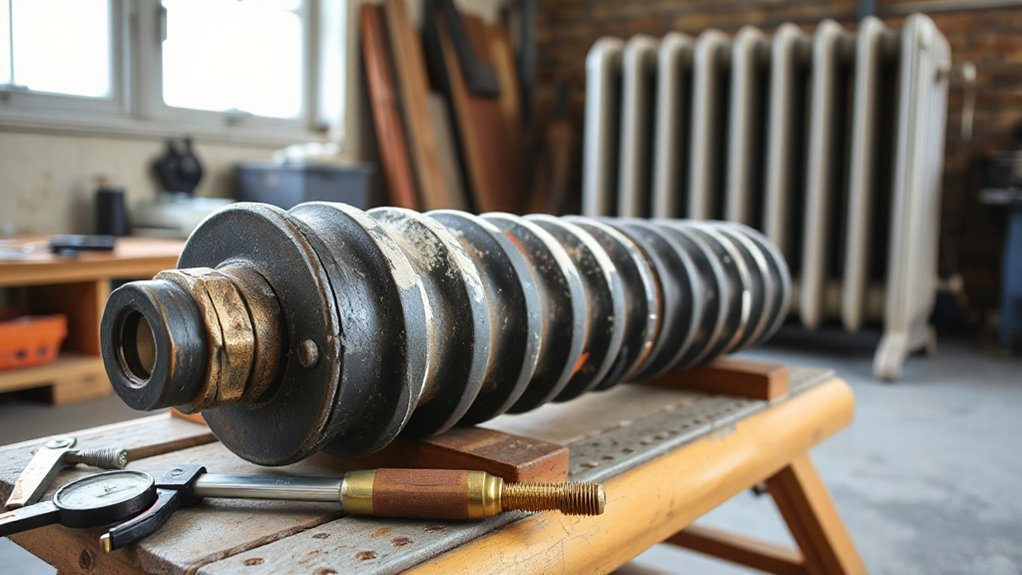
Before you strip paint or loosen a single union nut, identify exactly what you’re working on and document its condition. Confirm the radiator material is cast iron (not steel or aluminum) by checking weight, casting lines, and a magnet test. Photograph every side, note the number of sections, and record any stamping, vent location, and valve orientation for reassembly accuracy.
Inspect for damage methodically: look for hairline cracks around tappings, feet, and push nipples; check for bulging sections, missing plugs, and heavy pitting. Use a bright light and mirror, and mark defects with tape.
Verify fitting compatibility by measuring pipe thread size and type (NPT vs BSP), union dimensions, and center-to-floor height. Don’t force mismatched threads; plan adapters or correct valves.
Flush the Cast Iron Radiator and Clear Blockages
Once you’ve confirmed the radiator’s type and fittings, flush it to remove rust scale, sludge, and casting sand that can restrict flow and trap moisture. Set it outdoors on blocks, cap one end, and position a drain pan.
Follow Safety precautions: wear gloves, eye protection, and a respirator if dust is present.
Use Cleaning tools like a garden hose, pressure nozzle, and a flexible radiator brush.
Fill the sections with hot water, agitate by rocking the unit, then drain fully. Repeat until water runs clear.
If flow stalls, probe gently through the tappings with a plastic rod, not steel, to avoid gouging threads.
Backflush from the opposite end, and clear trapped debris with a shop vac at the outlet.
Dry it completely.
Strip Paint Safely From the Cast Iron Radiator
Although old radiator paint can look stable, it often hides lead and fails under heat, so strip it with controlled methods rather than sanding or dry scraping. Set up outdoors or in a ventilated area, lay 6-mil plastic, and keep a spray bottle to mist dust. Wear a P100 respirator, chemical-resistant gloves, goggles, and disposable coveralls—basic safety precautions.
For paint removal, choose a low-odor gel stripper or infrared heater that softens layers without scorching iron. Work in small sections, apply stripper, dwell per label, then lift paint with a putty knife and nylon brush for crevices. Collect residue into a lined container, seal it, and dispose per local rules.
Wipe surfaces with damp rags; don’t rinse into drains.
Sand, Clean, and Prime for Radiator Paint
After you’ve stripped the bulk of the old coating, you need to smooth, degrease, and seal the iron so the new radiator paint bonds under heat.
Start with a vacuum and stiff brush to remove residue from fins and seams.
Sand by hand or with a detail sander: 80–120 grit to knock down pits and edges, then 180–220 grit for an even tooth.
Wear eye protection, gloves, and a P100 respirator; cast-iron dust and old paint particles are hazardous.
Wipe with mineral spirits or a degreaser, then rinse and dry completely—moisture will flash-rust.
Mask threads and openings.
Apply a high-heat, rust-inhibiting metal primer in thin, complete coverage, choosing one that supports your Color options and historical accuracy.
Paint, Refit Valves, and Test for Leaks
When the primer cures, you can move straight into paint and reassembly without contaminating the surface.
Start with careful Color selection: choose a heat-rated enamel compatible with your primer and system temperature.
Mask threads, vents, and union faces so you don’t trap paint where seals must bite.
For paint application, spray light, even coats, keeping the nozzle moving to prevent runs between fins; ventilate well and wear a respirator and gloves.
Let each coat flash off, then cure per label before handling.
Refit valves and the air vent using new fiber washers or PTFE tape where specified, then snug unions without over-torquing.
Reinstall, fill slowly, bleed air, and pressurize.
Check all joints with soapy water; fix bubbles immediately.
Conclusion
You’ve now checked the type, assessed damage, flushed debris, stripped paint safely, and prepped every surface before repainting and refitting valves. Work slowly, ventilate well, and keep PPE on until cleanup’s complete. Here’s why the details matter: the U.S. EPA estimates proper air-sealing and insulation can cut home energy use by about 15%—and a fully restored, leak-free radiator helps guarantee that heat you’ve paid for actually reaches the room.