
Close the door slowly and stop at the first bind; mark the contact line with painter’s tape and run a sheet of paper around the perimeter to find pinch points. Support the door, then tighten hinge screws (top first) and replace any stripped ones with longer #8/#9 screws into the stud. Check for even reveals and shim or realign hinges if it’s sagging. If the latch drags, shift the strike plate slightly. Next, you’ll see when planing helps.
Key Takeaways
- Close the door slowly and use painter’s tape or paper to pinpoint where it rubs or pinches in the jamb.
- Tighten all hinge screws, starting at the top, and replace stripped screws with longer #8/#9 screws into the stud.
- Check door reveals for uneven gaps; realign or shim hinges so hinge barrels line up and the door hangs square.
- Correct sag or rubbing by supporting the door, improving hinge pull with longer screws, or lightly sanding/planing the tight edge.
- Reposition the strike plate so the latch seats cleanly; shift it slightly, elongate holes if needed, and retest until it latches smoothly.
Find Where Your Interior Door Sticks
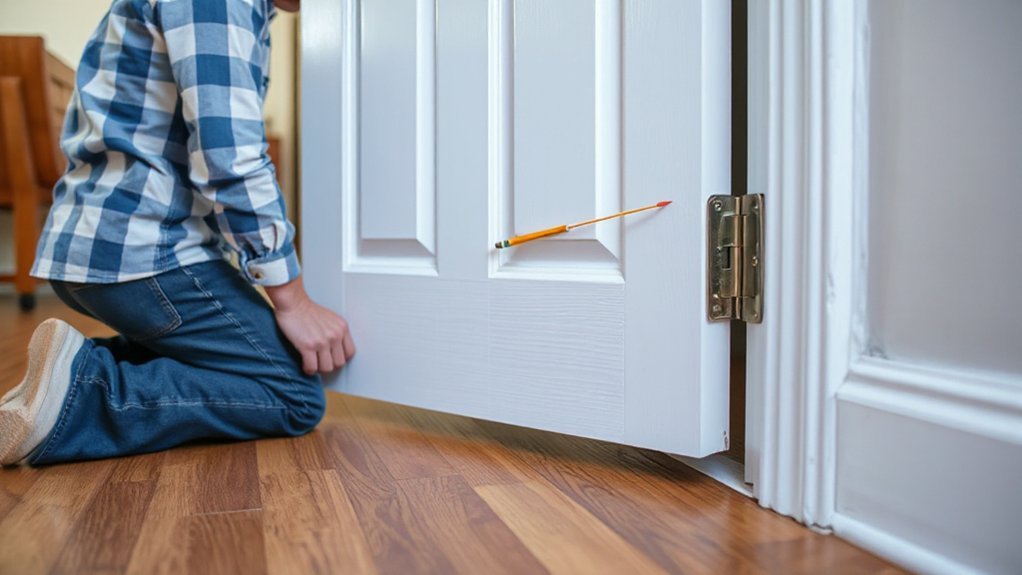
Before you reach for tools, pinpoint the exact spot where the door binds. Close the door slowly and watch the reveal between the slab and jamb; stop the moment resistance starts. Use painter’s tape to mark the contact line on the jamb or edge.
Run a thin strip of paper around the perimeter; where it snags or tears, you’ve found the pinch point. Inspect for rub marks, shiny burnishing, or a scraped door paint finish, especially near the latch stile and top corner.
Check that Decorative hardware isn’t striking the jamb or trim; verify knobs, levers, and strike plates clear. Keep fingers clear of pinch zones, and support the door while testing. Document locations before adjustments.
Check Hinge Screws and Door Gaps First
Before you plane or sand anything, check the hinges: support the door, then tighten every hinge screw with the correct driver to prevent stripping.
Next, inspect the door gaps along the hinge side, latch side, and head jamb, looking for uneven reveals or rubbing points.
If the gaps change as you move the door, you’ve likely got loose hardware or misalignment that you can correct first.
Tighten Loose Hinge Screws
If your interior door rubs or sticks, start by inspecting the hinge screws and the gaps around the door because even slight hinge movement can throw the door out of alignment.
Open the door halfway, support it with a wedge or shims, and keep fingers clear of pinch points.
Using the correct screwdriver or bit, tighten each hinge screw clockwise until snug—don’t over-torque and strip the wood.
If a screw spins, remove it and drive a longer #8 or #9 wood screw into the stud behind the jamb for a solid bite.
Tighten top hinge screws first, then middle and bottom.
Recheck closing action and listen for hinge squeaks.
Confirm door handle issues and door lock mechanisms operate smoothly afterward.
Inspect Door Gap Alignment
Where exactly does the door go out of square—at the latch edge, the hinge edge, or the header? Close it slowly and watch the reveal (gap) all around. You want an even 1/8 in. gap at the jambs and a consistent head gap. If the latch-side gap pinches at the top or bottom, mark the tight spot with painter’s tape.
Next, check hinge alignment. With the door half-open, look for a stepped hinge barrel or gaps between hinge leaves and the door frame. Run a straightedge along the hinge barrels; they should line up.
Tighten any loose screws, then test again. Keep fingers clear of the hinge knuckles, and support the door if you remove screws.
Tighten or Shim Hinges to Fix Door Sag
Although a sagging interior door often feels like a latch problem, you can usually correct it at the hinge side by tightening fasteners or adding a thin shim to realign the slab. Support the door with a wedge or helper so it can’t drop.
Inspect each hinge leaf for loose screws, then drive them snug by hand to avoid stripping. If holes are worn, replace one short screw per hinge with a 3-inch screw into the stud for better pull.
If sag remains, remove the hinge-pin, swing the leaf open, and insert a cardstock or veneer shim behind the jamb-side leaf; reinstall and test closure.
Recheck strike alignment after door lock maintenance or handle replacement, since hardware changes can shift loading slightly.
Fix an Interior Door That Rubs the Frame
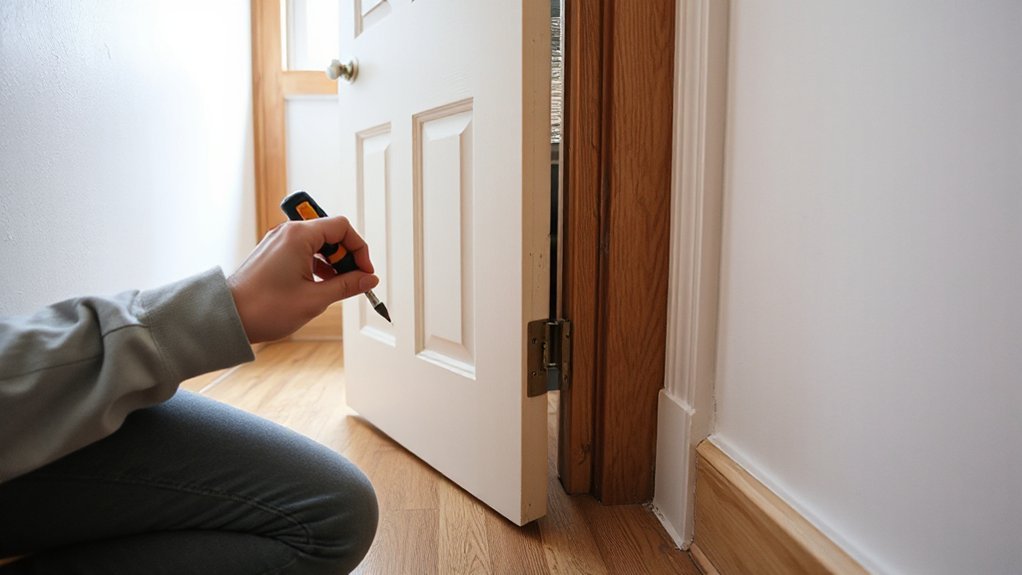
Tight hinges and a properly aligned strike fix many sagging doors, but rubbing usually means the slab’s contacting the jamb or head as it swings. Mark the rub spot with painter’s tape, then open and close the door to confirm the contact line.
Wear safety glasses and a dust mask. If the rub is on the latch side, remove the door by pulling hinge pins, then plane or sand the edge lightly, keeping the bevel consistent; take off minimal material and test-fit often.
If the rub is at the head or hinge side, check for a proud hinge leaf or loose jamb stop; tighten screws and set hardware flush. Reinstall the door, verify uniform reveal, and reinstall any Decorative hardware and door accessories without binding.
Adjust the Strike Plate so the Latch Catches
Close the door slowly and watch where the latch bolt hits the strike plate; if it contacts the plate edge or misses the hole, you’ve confirmed misalignment.
Keep your fingers clear of the jamb, then loosen the strike plate screws and shift the plate up, down, in, or out until the latch seats fully in the opening.
Retighten the screws and test the latch several times, adjusting in small increments until it catches smoothly without forcing the door.
Identify Latch Misalignment
When the door sticks or won’t latch, start by confirming the latch bolt is missing the strike plate opening. Close the door slowly and watch where the bolt contacts the plate: above, below, or to one side. Mark the contact point with painter’s tape or a pencil, then open the door and inspect the marks against the strike opening.
Next, check for Latch engagement by holding the latch retracted and testing the door’s swing for binding. If the door moves freely but the bolt still hits metal, you’ve got true misalignment, not hinge drag.
Measure the offset between bolt centerline and strike opening center. Keep fingers clear of the jamb, and don’t force the knob—controlled pressure prevents splinters and injury during Misalignment correction.
Reposition Strike Plate
If the latch bolt hits the strike plate instead of dropping into the opening, reposition the strike plate to match your alignment marks. Close the door gently and confirm where the latch contacts.
Open the door, remove the strike-plate screws, and keep them for reinstallation. Score paint lines with a utility knife to prevent splintering, then shift the plate up, down, in, or out until the latch aligns with the hole.
Tighten screws, test the latch, and recheck alignment. If needed, elongate screw holes with a file; wear eye protection and cut away from your body.
Chisel the mortise slightly only if the plate won’t sit flush. Reinstall Decorative hardware neatly to address Privacy concerns and guarantee a secure close.
Plane or Rehang the Door for Bigger Problems
Although minor rubbing often disappears with a hinge tweak, a door that binds hard along the jamb or drags across the floor usually needs either planing or a full rehang.
Mark the tight spots with painter’s tape, then remove the door and set it on sawhorses. Wear eye and hearing protection and secure the workpiece.
If the door material is hollow-core, plane lightly and stop before you expose the skin; for solid wood, take controlled passes with a sharp hand plane or power planer, keeping the edge square.
Test-fit often. Seal the fresh edge, then do paint touch ups so moisture won’t swell the fibers again.
If the gap is uneven top to bottom, rehang: reset hinges, shim, and square the jamb.
Conclusion
You’ve tracked the bind point, snugged hinge screws, and confirmed even door gaps—but the final test is next. Swing the door slowly and listen: a faint scrape means you still need a thin shim or a careful plane pass. Keep fingers clear of hinges, wear eye protection, and clamp the door before trimming. If the latch hesitates, nudge the strike plate and retest. Close it again… and wait for that clean click.