
First, confirm whether you’ve got low pressure or just low flow by timing how fast a 1‑gallon container fills upstairs versus downstairs. Turn off power to any pump, then clean the showerhead, hose filter, and tap aerators, and flush out limescale. Make sure the stopcock is fully open, check the PRV setting, and confirm boiler/combi inlet filters and service valves aren’t blocked. If flow restrictors are removable and allowed, swap to a suitable high‑pressure head. If the attic still lags, a compliant shower pump may help—next you’ll see how to decide.
Key Takeaways
- Verify whether it’s low pressure or restricted flow by timing a 1‑gallon fill upstairs and downstairs simultaneously.
- Ensure the main stopcock and any local isolator valves are fully open, and check any PRV settings and inlet filters.
- Clean tap aerators and showerheads by descaling and flushing debris, and confirm washers and O-rings are seated to prevent leaks.
- Remove or replace shower flow restrictors where permitted, and fit a high-pressure showerhead matched to your system type.
- If upstairs remains weak but downstairs is fine, consider a correctly specified shower pump with strainers and anti-vibration mounts.
Confirm Low Pressure vs Low Flow Upstairs
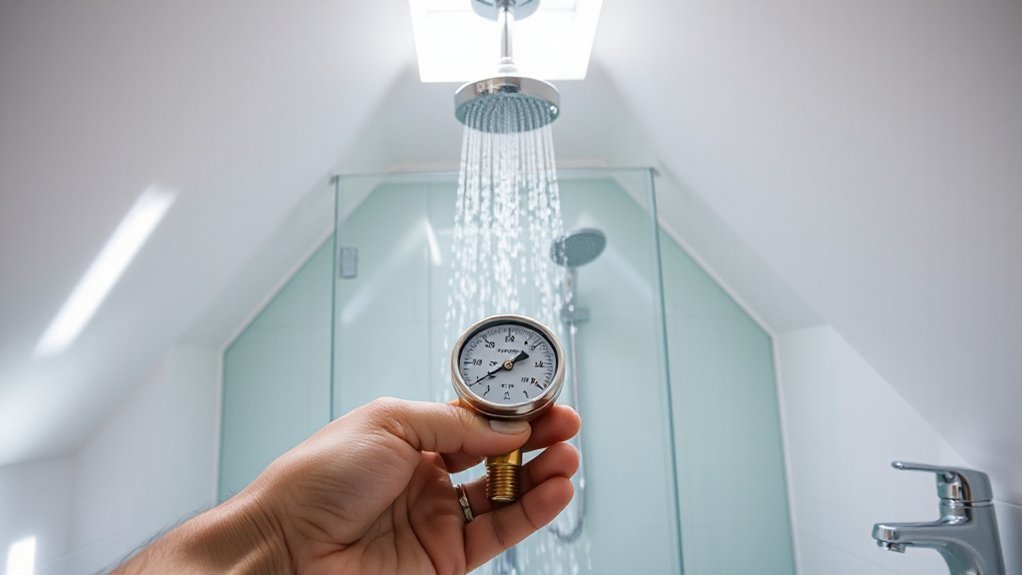
Before you change valves or add a booster, confirm whether you’ve got low pressure (insufficient PSI at the fixture) or low flow (restricted gallons per minute) in the attic ensuite, because the fixes aren’t the same.
Check Water pressure differences by comparing the attic cold tap to a downstairs tap at the same time. If both drop, you’re seeing a whole-house supply or regulator issue, not a branch problem.
For flow rate clarification, time how long it takes to fill a 1-gallon container at the attic basin; repeat downstairs.
If attic gallons per minute are much lower but pressure feels similar, suspect a restriction in the branch line or shutoff, not a PSI deficit.
Shut off power to any pump before testing, and avoid removing fittings under pressure.
Clean the Attic Showerhead and Tap Aerators
Even if the attic ensuite’s branch pressure checks out, a scaled-up showerhead or clogged tap aerator can choke flow at the point of use and make the shower feel weak.
Start by isolating the fixture with its service valve, then cover the drain to prevent small parts dropping in. Unscrew the showerhead, remove the rubber nozzle insert if present, and soak components in white vinegar for 30–60 minutes; brush mineral scale, rinse, and reassemble with the correct washer.
For taps, remove the aerator with a strap wrench, clean the mesh and flow restrictor, and flush debris briefly before refitting. Don’t over-tighten—protect chrome for aesthetic enhancement.
Restored spray improves water conservation without new pipework.
Check Stopcock, PRV, and Boiler/Combi Pressure
If the upstairs attic ensuite still feels underpowered, trace the restriction back to the controls that set whole-house pressure: the main stopcock, any pressure‑reducing valve (PRV), and your boiler/combi settings.
Confirm the stopcock is fully open; turn it anti‑clockwise until it stops, without forcing it.
Next, locate any PRV near the incoming main; check its setpoint and gauge if fitted. For safe pressure regulation, adjust only within manufacturer limits and local code (typically around 3 bar/45 psi).
If you’re unsure, stop and call a licensed plumber.
For combi boilers, verify cold mains pressure and check the boiler’s inlet filter and service valves are open.
Don’t confuse sealed‑system heating pressure with domestic hot-water pressure.
Document each valve adjustment and recheck flow.
Remove Flow Restrictors and Upgrade the Showerhead
Next, check for flow restrictors in the showerhead, hose, or mixer inlet. Then isolate the water supply and remove them only if your local water regulations allow it.
Clean any debris from the filters and O-rings, then refit everything to the manufacturer’s torque and sealing guidance to prevent leaks.
If pressure still feels weak, install a rated high-pressure showerhead that matches your system type (combi/high-pressure vs gravity-fed) to improve spray without overstressing pipework.
Locate And Remove Restrictors
Because many upstairs ensuite showers lose pressure at the last few inches of the system, start by checking for flow restrictors you can safely access at the showerhead and hose connections.
Shut off the shower, then wrap a cloth around fittings and use an adjustable wrench to avoid damaging chrome. Unscrew the head or hose and look for small plastic discs, mesh screens, or O-ring inserts that limit flow.
Remove only removable Flow restrictors; don’t drill or modify parts that could violate local water-efficiency rules.
Rinse screens under running water, then reassemble with the washer seated flat to prevent leaks.
If your valve includes Pressure regulators, don’t alter them—adjustments belong at the main regulator and may require a licensed plumber.
Test for leaks and stable temperature afterward.
Install High-Pressure Showerhead
Once you’ve confirmed the showerhead and hose connections are clear of debris and removable restrictors, you can boost usable pressure by installing a high-performance showerhead designed to maintain spray force at lower flow rates.
Choose a model certified to local standards (for example, WRAS/WaterSense where applicable) so you stay code-compliant and support Water conservation.
If your old head has a removable flow insert, only remove it if permitted in your area; otherwise, replace the head rather than modifying it.
Shut off the shower valve, protect finishes, then unthread the head with a strap wrench.
Wrap the shower arm threads with PTFE tape, thread on the new head, and hand-tighten.
Check for leaks and confirm a strong, even spray worthy of a Luxury bathroom.
Check Attic Pipework, Isolator Valves, and Limescale
Next, you’ll inspect the attic pipe runs for kinks, crushed sections, poor joints, or undersized pipe that can choke flow. You’ll also confirm any insulation and supports are intact to prevent damage and freezing.
You’ll then test each isolator valve serving the ensuite to make sure it’s fully open, operates smoothly, and isn’t partially closed or seized.
Finally, you’ll remove limescale from showerheads, tap aerators, and accessible fittings using a suitable descaler and proper ventilation, restoring flow without risking leaks or damage.
Inspect Attic Pipe Runs
Where’s the pressure getting lost—at the fixture, or somewhere along the attic run? Start by tracing the hot and cold feeds across the loft. Look for kinks, flattened plastic, tight bends, or undersized branches that can throttle flow.
Check for damp staining, green/white crusting, or pinhole leaks at joints—any seep can drop pressure and risks timber damage. Confirm pipes are clipped, supported, and protected where they pass through joists to prevent abrasion, per UK guidance.
In cold lofts, add or refit pipe insulation and keep attic ventilation clear so insulation doesn’t trap moisture against pipes.
Finally, inspect taps, shower heads, and aerators for limescale; soak removable parts in descaler and flush the line to clear debris safely.
Test Isolator Valve Position
Although the pipe run may look fine at a glance, a partially closed isolator valve can choke flow enough to mimic “low pressure” at the shower or basin.
First, locate the Isolator valve(s) serving the ensuite—often under the basin, near the cylinder, or on the branch in the attic. Before touching anything, confirm you’re adjusting the correct valve and that pipework is supported; don’t force seized fittings.
Test by turning the valve fully open (typically anti-clockwise for screw-slot types, in-line for quarter-turn levers), then run the cold and hot taps and flush the WC to compare flow.
If you find improvement, make a careful Position adjustment back and forth to verify it’s not slipping.
Finally, recheck for drips and restore any access covers safely.
Remove Limescale Buildup
If your valve positions check out but the ensuite still feels weak, how often do you look for limescale restricting the flow? In hard-water areas, scale narrows pipework and clogs shower heads, mixer cartridges, and inline strainers, cutting pressure upstairs.
Isolate the supply at the local service valve, confirm the circuit is dead by opening the tap, then remove and descale the shower head and tap aerators. Soak parts in a manufacturer-approved descaler or diluted white vinegar, rinse thoroughly, and refit with new seals if they’re perished.
If you’ve got accessible attic pipework, check for partially blocked flexi tails or kinked runs and replace as needed.
For Limescale prevention, consider Water softening or a scale inhibitor on the incoming main, installed to local regulations.
Add an Attic Shower Pump (When It’s Worth It)
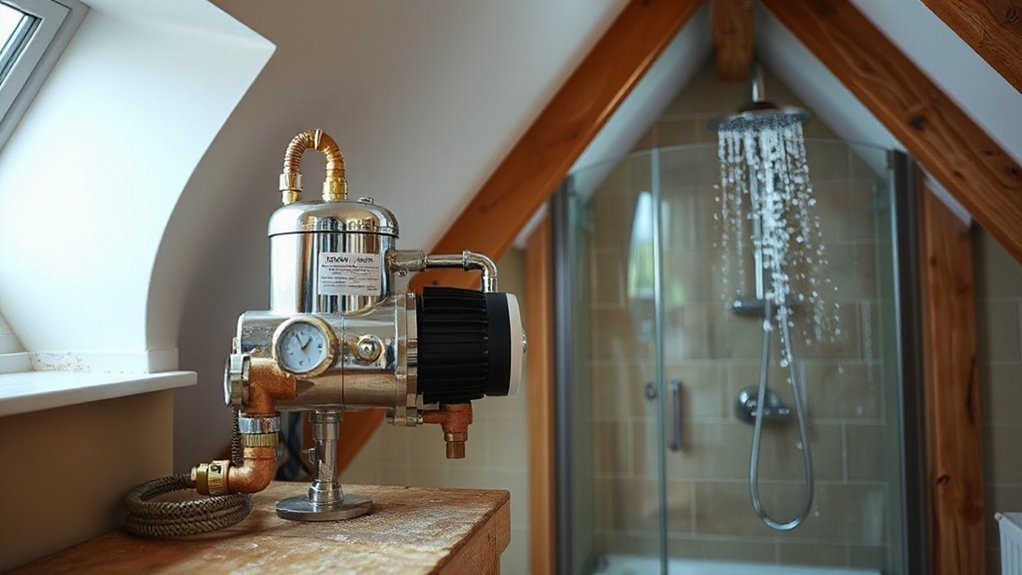
When your attic ensuite sits at the top of the run and the pressure still feels weak after you’ve ruled out simple fixes, adding a dedicated shower pump can deliver a stable, code-compliant boost at the outlet. It’s worth it when your supply is adequate downstairs but drops only at the attic shower, or when a combi/low-flow system can’t maintain flow under demand.
Choose a pump rated for your system (gravity or mains), with built-in negative head protection if needed. Install it on a solid base, with isolation valves, strainers, and correct electrical bonding, then keep access for servicing.
Because attics face temperature swings, protect pipework with Attic insulation and prevent condensation with Ventilation improvements. Follow local noise limits, fit anti-vibration couplers, and test for leaks.
Conclusion
Start by confirming you’ve got true low pressure, not just low flow, then tackle the easy wins: descale the showerhead, clean aerators, and make sure the stopcock, PRV, and combi settings are fully open and correctly set. If you remove restrictors, stay within local water regs. Check attic pipework and isolators for half-closed valves or limescale. Add a shower pump only when needed—like fitting a seatbelt, it’s safest when correctly sized and installed.