
You’ll get a bright, practical basement by fixing moisture first: stop bulk water, extend downspouts, seal penetrations, and keep humidity at 30–50% with a dehumidifier. Remove moldy materials, HEPA-vacuum dust, and avoid unvented combustion appliances; test for radon if needed. Plan your layout around stairs, posts, and HVAC with clear egress paths and service access. Use low-profile LEDs, light paint, and moisture-resistant finishes. Keep going to see smart layout and lighting moves.
Key Takeaways
- Stop water entry, seal penetrations, and keep basement humidity at 30–50% with dehumidifiers and hygrometers.
- Plan the layout around posts, stairs, and mechanicals, preserving clear egress paths and service access to all equipment.
- Maximize perceived height by keeping soffits tight and straight, using low-profile flooring, and painting walls and ceilings light, flat colors.
- Brighten the space with evenly spaced low-profile LED downlights, dimmers, and high-CRI lamps, plus wall-wash lighting to reduce shadows.
- Choose moisture-resistant finishes like LVP or tile, use treated bottom plates and fireblocking, and keep key shutoffs and junctions accessible.
Fix Basement Moisture and Air Quality First
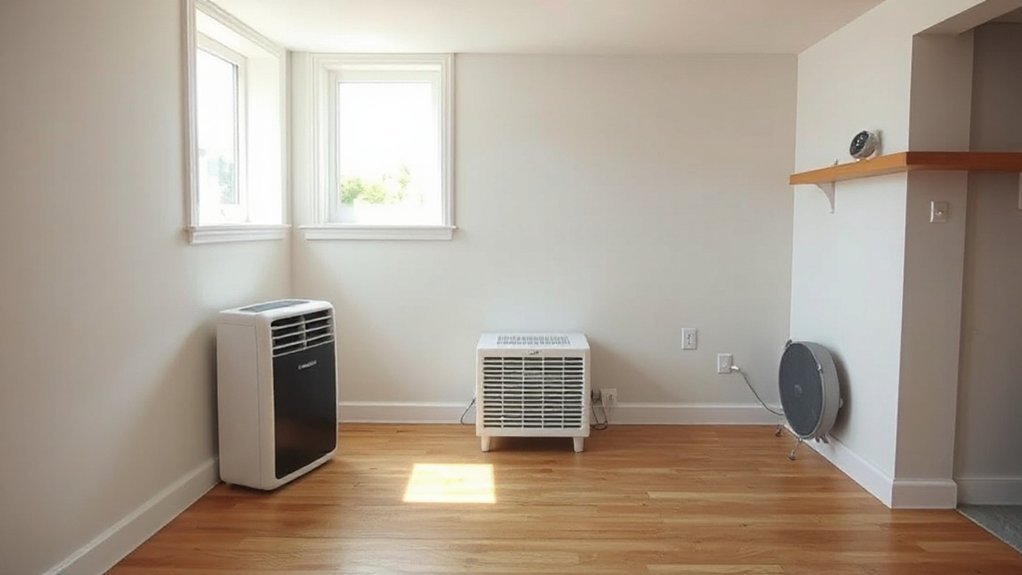
Before you frame a wall or lay new flooring, you need to control basement moisture and clean up the air, because both can ruin finishes and create health and safety issues.
Start with moisture control: fix bulk water entry, extend downspouts, and confirm the slab and wall surfaces stay dry after storms. Seal penetrations, then install a continuous vapor retarder where your assembly requires it, and keep relative humidity at 30–50% with a properly drained dehumidifier. Use a hygrometer to verify conditions.
For air quality, remove moldy materials, HEPA-vacuum dust, and avoid unvented combustion appliances. Apply code-appropriate Ventilation techniques: provide continuous mechanical exhaust or balanced ventilation, and route ducts to the exterior with backdraft dampers. Test radon and mitigate if needed.
Plan a Basement Layout Around Stairs, Posts, and HVAC
With moisture and air quality under control, you can lock in a basement layout that works with the immovable parts: the stair, structural posts and beams, and HVAC equipment and duct runs.
Start by mapping clear egress paths, then keep corridors wide and free of obstructions.
Prioritize Staircase design that meets tread/riser consistency, handrail height, headroom, and landing requirements, and don’t narrow the bottom run with built-ins or doors.
Treat Post placement as fixed: wrap posts only with noncombustible, removable covers, and align partitions to create straight walls and clean door openings.
Place mechanical rooms where service access stays code-clear, and maintain required clearances around furnaces, water heaters, panels, and cleanouts.
Route ducting to avoid sharp turns and preserve airflow performance.
Make a Low-Ceiling Basement Feel Taller
Although you can’t change joist depth or duct drops without major structural work, you can make a low-ceiling basement read taller by controlling headroom-critical elements and keeping everything inside code limits.
Confirm minimum Ceiling height and required clearances at stairs, landings, and egress routes, then keep ducts, beams, and soffits tight to structure and aligned to avoid random drops. Where you must build soffits, run them straight and stop them short of door openings to preserve headroom.
Choose a flat, light Wall color on both walls and ceiling to reduce shadow lines, and keep trim shallow so it doesn’t visually lower the lid. Use low-profile flooring assemblies and maintain required stair rise/run and handrail heights.
Add Basement Lighting That Brightens Every Corner
Since basements often suffer from limited daylight and deep shadows, you’ll get the biggest improvement by layering lighting—ambient, task, and accent—so no corner relies on a single fixture.
Start with evenly spaced, low-profile LED downlights on a switch, then add wall sconces or cove lighting to wash surfaces and reduce shadows.
For task areas, use dedicated fixtures over desks, laundry, or hobby benches, and keep them on separate controls.
Add dimmers rated for your LED loads, and choose high-CRI lamps for color enhancement and accurate visibility.
Follow NEC basics: protect circuits with GFCI where required, use listed fixtures in damp locations, and maintain required clearances.
Label breakers, and don’t overload boxes.
Pick Basement Flooring, Walls, and Ceilings That Last
Once you’ve brightened the space, choose finishes that can handle basement realities—moisture, temperature swings, and occasional seepage—without hiding problems or creating mold.
Start at the slab: confirm moisture levels, add a code-accepted vapor barrier where required, and use stylish flooring options like LVP, porcelain tile, or sealed concrete; avoid carpet and solid hardwood.
If you install sleepers or subfloor panels, keep them off damp concrete and maintain edge gaps for drying.
For walls, frame with treated bottom plates, leave a capillary break, and use closed-cell foam or mineral wool with the correct fire-rated covering.
Choose Decorative wall finishes rated for below-grade use.
On ceilings, keep access to shutoffs, junction boxes, and cleanouts, and fireblock penetrations.
Set Up Basement Zones for How You’ll Use It
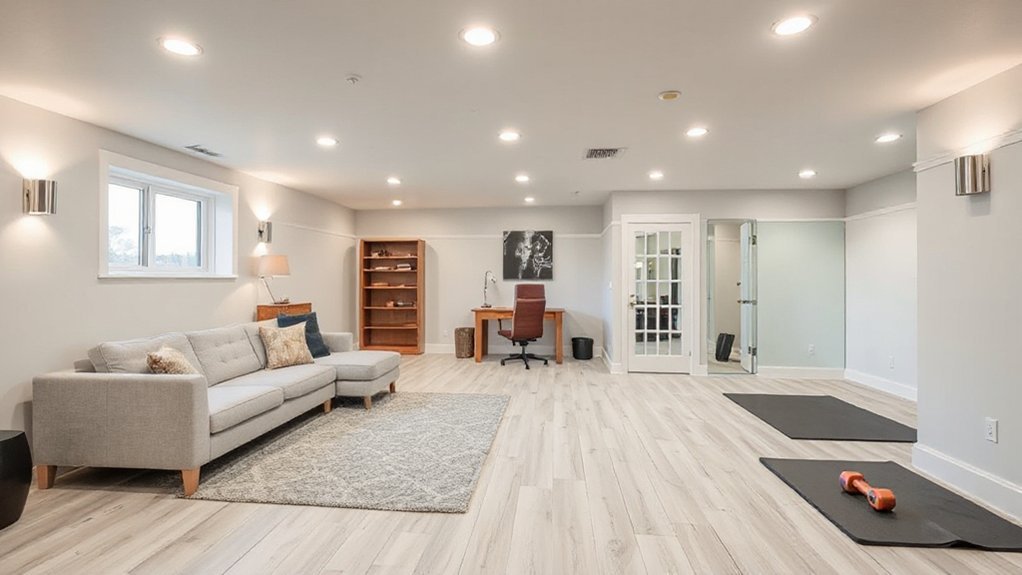
Start by defining your primary activity areas—such as living, work, fitness, or guest space—so you can assign clear boundaries and confirm each zone meets egress, ceiling height, and clearance requirements.
Next, plan traffic-flow paths that keep walkways unobstructed, maintain access to exits and service panels, and separate quiet areas from mechanical noise.
Finally, add storage and utilities in dedicated locations that don’t block shutoffs, sumps, or ventilation, and label or protect them to reduce trip, moisture, and fire risks.
Define Primary Activity Areas
Three clear zones usually make a basement remodel safer and more functional: where you move (paths and stairs), where you live (seating, play, or work areas), and where you support the space (storage, mechanical, and laundry).
Start by naming your primary uses, then assign each to a defined footprint so safety systems match the risk.
Place Entertainment zones where you can meet ceiling-height requirements and keep required egress windows or doors unobstructed.
For Workout areas, choose a dry, well-ventilated spot and plan for impact-rated flooring and a GFCI-protected receptacle for equipment.
Keep the support zone accessible for service clearances around the furnace, water heater, and electrical panel, and don’t store combustibles nearby.
Use moisture-resistant finishes at slab level and label shutoffs for quick response.
Plan Traffic Flow Paths
How will people move through your basement without cutting through hazards or blocking required exits? Map your primary entry points, stair landing, and any egress window well, then sketch direct Movement pathways between activity zones.
Keep Traffic patterns clear of door swings, low beams, and floor level changes. Maintain code-required clear widths for corridors and stairs, and don’t narrow routes with furniture placement.
Provide a continuous, slip-resistant walking surface and avoid area rugs that can curl.
Separate loud or active zones from quiet ones by routing paths along perimeter walls instead of through seating or work areas.
Add lighting at turns and stairs, and verify switches are reachable from each entry. Recheck paths with doors fully open.
Add Storage And Utilities
Once you’ve mapped safe traffic paths, lock in dedicated zones for storage and utilities so you don’t block access to egress points, shutoffs, or service panels. Keep a clear working aisle to the electrical panel, water heater, sump, and cleanouts, and label valves and breakers for fast emergency response.
Use Custom shelving to lift bins off the slab, prevent moisture damage, and maintain clearance from vents, combustion air intakes, and heat sources. Anchor units to studs or masonry with rated fasteners, and avoid storing combustibles near furnaces or boilers.
For Utility installation, follow manufacturer spacing, provide GFCI where required, protect wiring in conduit, and maintain access for inspection and servicing. Add task lighting and a drip pan or floor drain where equipment demands.
Conclusion
Start by sealing moisture, improving ventilation, and confirming safe egress, because comfort follows compliance. Then plan around stairs, posts, and HVAC so clearances stay correct and access stays easy. Raise the feel with lighter finishes, tighter soffits, and consistent sightlines; brighten the space with layered LEDs, switched zones, and GFCI/AFCI-protected circuits. Choose durable flooring, mold-resistant walls, and fire-rated ceilings. Finally, zone for work, play, and storage, and you’ll get a basement that’s safe, bright, and built to last.