Garden & Outdoor

smart garden zone transformation
Garden & Outdoor

Transforming a Small Garden With Smart Zoning and Hardscape Features

You’ll transform a small garden fastest by zoning it around your daily routes and giving hardscape multiple jobs. Put harvest plants along pass-by paths, and tuck storage, compost, or pollinator corners out of prime sightlines. Trace desire lines from doors to bins, then add gentle curves that extend views toward a single focal anchor. Define areas with consistent edging radii and subtle level shifts. Choose one durable, slip-resistant path material, then add bench-walls, hidden hose storage, and trellises—next you’ll see how each zone locks together.

Key Takeaways

  • Zone the garden by daily routines, placing micro-areas for coffee, herbs, bins, and watering along natural walking routes.
  • Establish clear desire-line pathways and sightlines, using gentle curves and focal anchors to create depth without clutter.
  • Define zones with consistent edging and subtle level changes, like raised beds and slightly sunken seating, to add structure and scale.
  • Choose a durable primary hardscape material for main paths, then use secondary finishes to signal transitions and match home architecture.
  • Add multifunctional hardscape features—bench walls, under-seat storage, hose hiding, slim paths, and trellises—to save space and improve usability.

Map Small Garden Zones to Your Daily Routines
align zones with routines

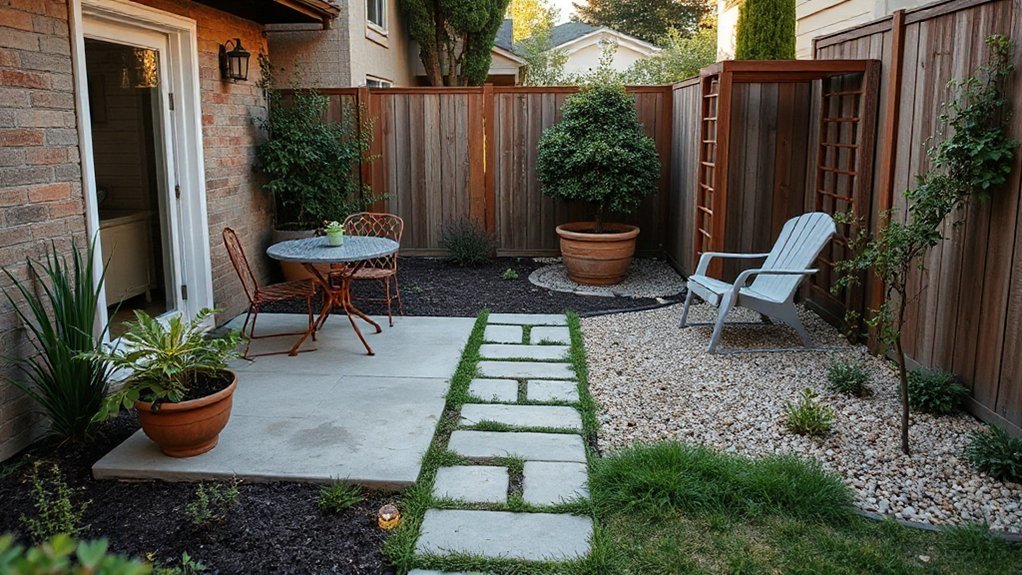
If you align your small garden’s zones with what you already do each day, you’ll use the space more often and waste less effort. Start by listing routine touchpoints: morning coffee, quick herb clipping, kid pickup, bin day, evening watering.

Anchor each action to a dedicated micro-zone sized to the task, not to an idealized plan.

Place harvest crops where you’ll pass daily, and reserve lower-traffic corners for storage, compost, or pollinator habitat.

Let sun, wind, and hose reach set boundaries; you’ll reduce dragging tools and stressing plants.

Use plant selection to match each zone’s conditions: drought-tough edging, shade herbs, heat lovers against masonry.

Plan seasonal planting by rotating short-lived crops into high-use beds while perennials stabilize the rest year-round.

Lay Out Small Garden Flow With Paths and Sightlines

Because a small garden reads in one glance, your paths and sightlines do most of the design work: they decide where you walk, what you notice first, and which areas feel reachable instead of cramped. Start by tracing your natural desire lines from door to patio, tap, shed, or compost, then set a clear primary route.

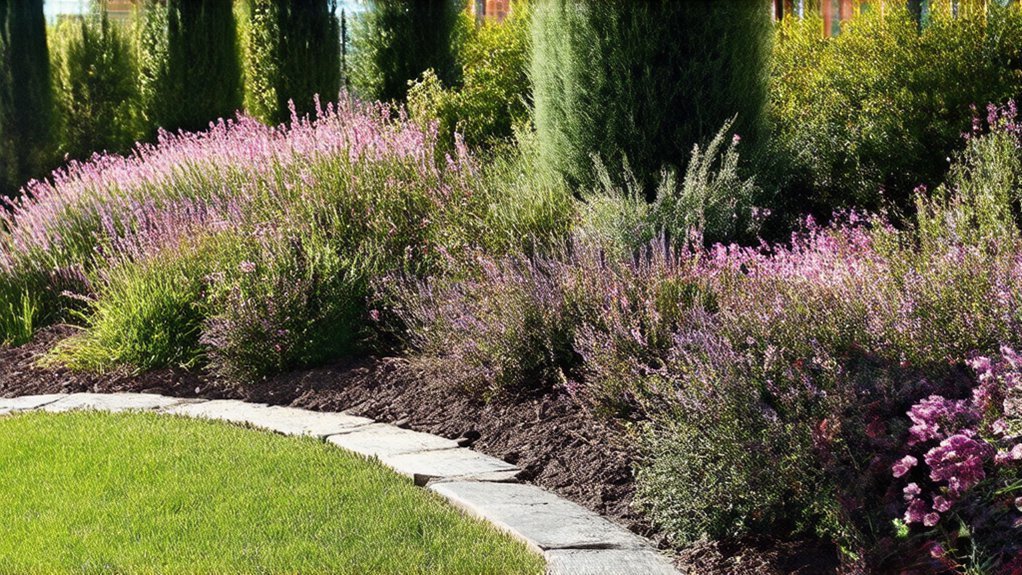
Keep turns purposeful: a slight curve can hide the end point and stretch perceived depth, but tight zigzags feel fussy. Aim key views at anchors—an urn, small tree, or water bowl—and keep clutter out of that cone.

Use plant selection to frame, not block: low groundcovers near edges, airy stems midline, taller screens at boundaries. Add garden lighting to pull you forward at dusk and keep steps legible.

Define Small Garden Zones With Edging and Level Changes

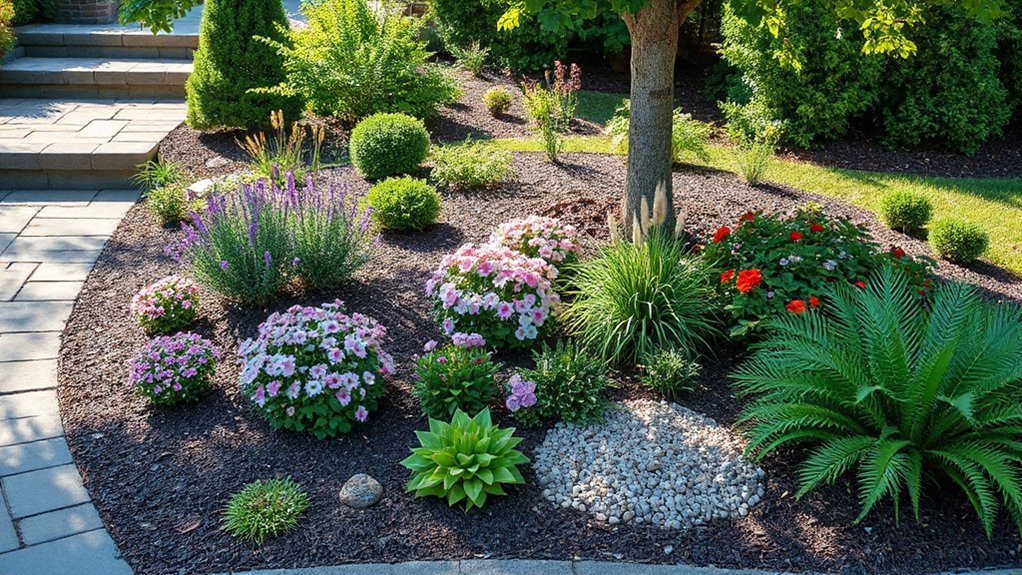
Even when the footprint stays the same, you can make a small garden feel organized and larger by drawing crisp boundaries with edging and subtle level shifts. Start by mapping use: a seat nook, a working garden bed, and a narrow circulation strip. Run edging lines to reinforce those shapes, keeping curves intentional and radii consistent so the eye reads order.

Next, use grade to separate planting zones without adding clutter. Raise a garden bed 4–8 inches to improve drainage and signal “tended area,” or drop a sitting pad slightly to create enclosure. Keep shift safe: one low step or a gentle 2% slope works in tight yards.

Align edges with door thresholds and key views to lock the layout in place.

Choose Hardscape Materials for Budget and Style

Once you’ve drawn clear zones, your hardscape choices should reinforce them while matching the site’s wear patterns and your budget. Start with the paths and thresholds that take the most traffic, then pick durable, slip-resistant surfaces there: clay pavers, broom-finished concrete, or compacted gravel with stabilizer.

Use one primary material to unify the layout, and a secondary finish to signal passages without clutter.

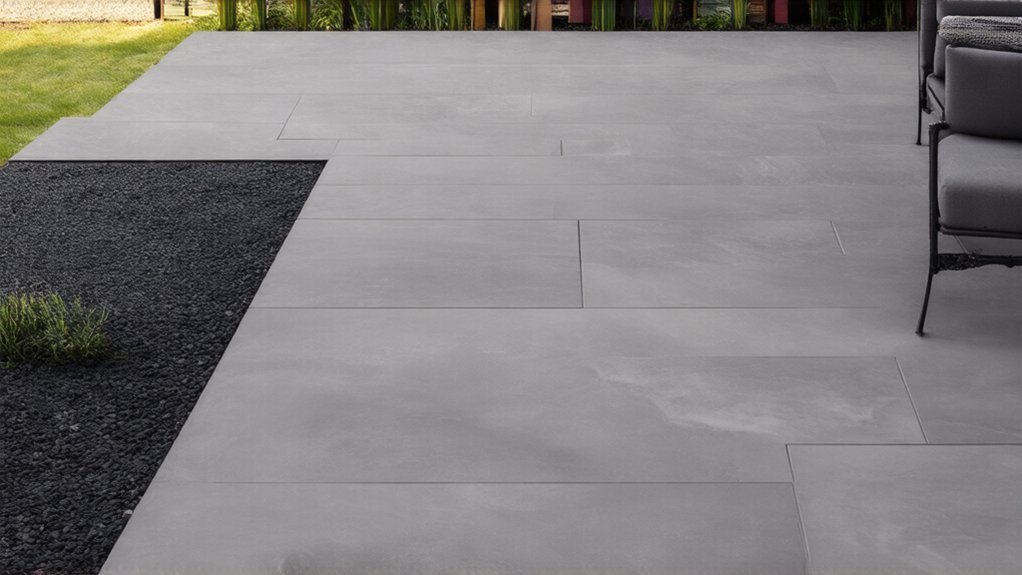
Let your architecture set the palette: warm brick suits older homes, while large-format porcelain reads crisp and modern. Check drainage and soil movement before you buy; flexible bases handle settling better.

Coordinate garden lighting with joint lines and edges so fixtures feel intentional. Your plant selection should echo textures—fine foliage softens rough stone, bold leaves balance smooth slabs.

Add Space-Saving Small Garden Hardscape Features

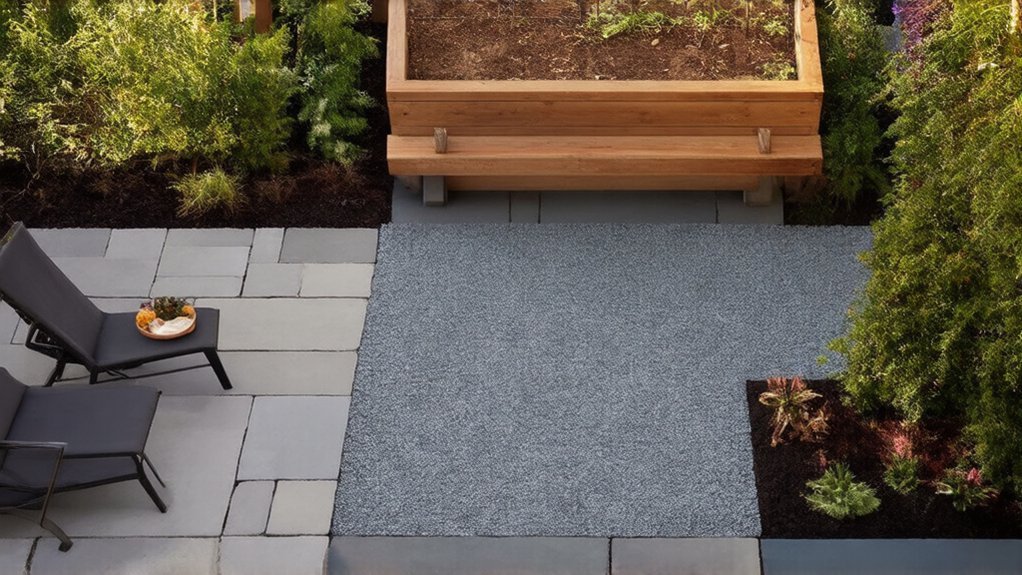
When every square foot has to work, you can turn hardscape into furniture, storage, and circulation at the same time. Build a low retaining wall that doubles as a bench and edge it with a narrow cap for setting tools or drinks.

Tuck lidded storage into stair risers or under a seat so hoses and cushions stay off the patio.

Use slim pavers or gravel strips to define a single, direct path; keep joints tight to reduce trip points and simplify sweeping.

Add Vertical gardening by mounting trellis panels to fences or on the sunny side of a shed, then anchor planters to the base.

Choose Water feature options that fit: a wall-mounted spout into a basin, or a self-contained bubbling urn that masks street noise.

Conclusion

When you map zones to your routines, you stop forcing a small garden to “fit” and start letting it work. Paths pull you forward; sightlines pull your attention. Edging and subtle level shifts draw clean borders without shrinking the space. Choose hardscape materials that match your budget and your architecture, then layer in space-saving features—bench walls, slim planters, folding surfaces. Like a well-edited story, every line stays because it earns its place.…
durable all season timber deck
Garden & Outdoor

How to Install a Timber Deck That Lasts Through All Seasons

You’ll build a timber deck that lasts by mapping the footprint, setting finished height, and planning drainage with a slight fall away from the house. Call utility locates, dig footings below frost depth, and pour plumb concrete bases with approved galvanized or stainless post hardware. Frame square, use joist hangers and structural screws, and add mid-span blocking. Install climate-suited boards with consistent gaps, keep under-deck ventilation clear, seal cut ends, and schedule annual wash-and-reseal checks. Keep going to refine each step.

Key Takeaways

  • Plan deck height, square layout, and a 1:100 fall so water drains away from the house.
  • Set footings below frost depth in undisturbed soil, add gravel drainage, and use galvanized or stainless post bases.
  • Build a square, level frame with joists at 12–16 in. centers, approved hangers, structural screws, and mid-span blocking.
  • Install durable, stable boards with consistent gaps (3–5 mm dry; wider wet-treated), stagger butt joints, and ensure under-deck ventilation.
  • Use corrosion-resistant screws, pre-drill ends, seal all cut end-grain immediately, and inspect, wash, and re-seal annually.

Plan Layout, Levels, and Water Runoff

plan measure drain align

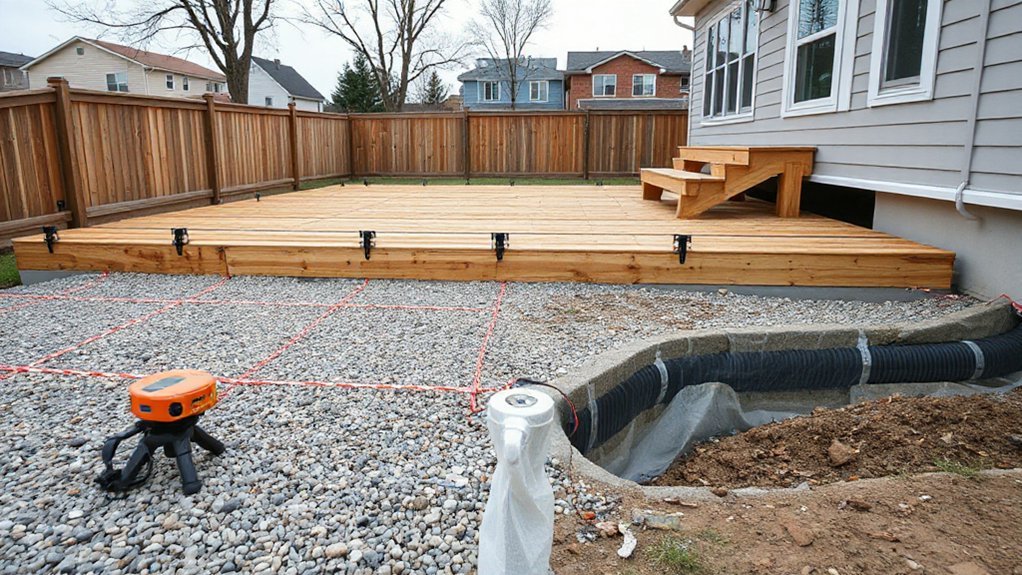
Before you cut timber or set footings, map the deck’s footprint, finished height, and drainage path so you don’t lock in problems you can’t easily correct later. Stake corners, run stringlines, and verify squareness by diagonal checks.

Set the finished deck height to maintain door thresholds and required step rises, and confirm clearance to vents and services. Establish a fall away from the house (about 1:100) and plan where water discharges so it won’t pond against foundations or erode soil.

Mark joist direction to minimize waste and align with traffic flow for better landscape integration. Identify lighting options now, including cable routes and fixture setbacks, so you don’t drill through beams later.

Recheck measurements.

Set Footings and Posts for a Solid Base

Once you’ve locked in the deck’s footprint and finished levels, set the footings and posts with precision because they carry the entire structure and control how true the frame stays over time. Call utility locates, then mark centers and dig below frost depth to undisturbed soil.

Bell or widen the base where codes allow, compact the bottom, and place a gravel pad for drainage. Set sonotubes plumb, then pour concrete to grade and embed approved post bases or anchor bolts.

Keep hardware hot-dip galvanized or stainless to prevent corrosion. Brace posts while you plumb and align them to stringlines, then cut to consistent height.

Check setbacks for landscaping integration and plan post locations for aesthetic considerations. Wear eye, hearing, and dust protection throughout.

Build a Level Joist Frame (Spacing & Blocking)

After your posts sit plumb and cut to height, you can build a level joist frame by setting the ledger and rim beam square. Then laying out joist spacing from a single reference edge helps ensure your measurements stay consistent.

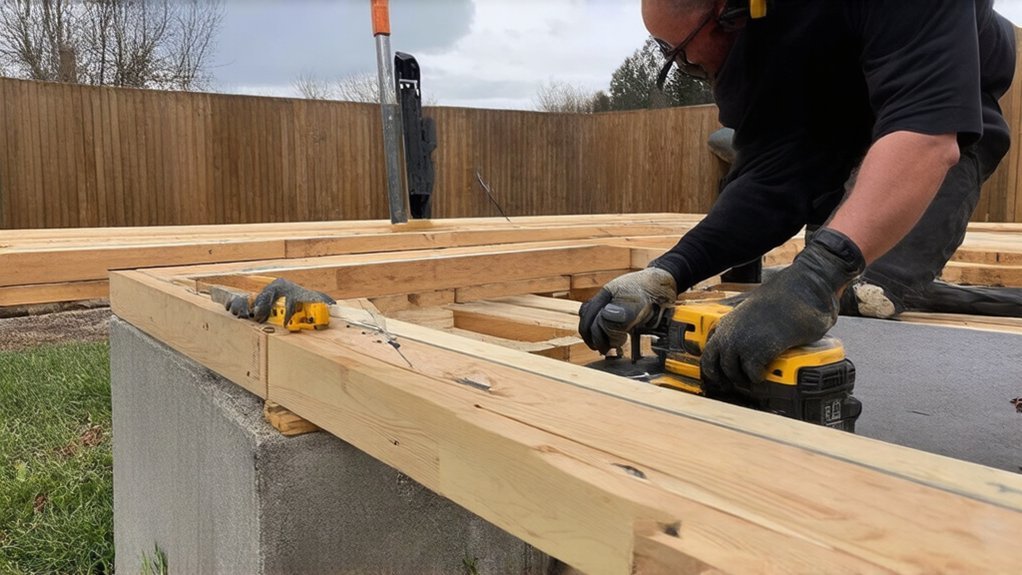
Snap a level line, clamp components, and fasten with approved hangers and structural screws, not nails alone. Mark joists at 16 in. or 12 in. on-center as required.

Crown each joist up, and seat it fully in the hanger. Check for level across every third joist and correct with shims only where allowed.

Add blocking techniques at mid-span and over beams to prevent roll and reduce bounce; stagger blocks for easier fastening.

Keep hands clear of pinch points, and wear eye protection when cutting and drilling.

Choose Deck Boards That Suit Your Climate

Where you build your deck largely determines which deck boards will stay stable, safe, and low-maintenance over time.

In wet or coastal zones, choose naturally durable species (cedar, ipe) or capped composite to resist rot, corrosion staining, and surface checking.

In hot, high-UV regions, prioritize lighter colors and UV-stabilized finishes to reduce heat buildup and splinter risk.

In freeze-thaw climates, select boards with low moisture movement and strict grading; reject end checks, wane, and loose knots that can propagate cracks.

Make material comparisons using published decay ratings, Janka hardness, and warranty terms, not marketing claims.

If you want decorative patterns, verify your board thickness and hardness can handle tighter fastener spacing without splitting.

Confirm treatment chemistry suits your hardware.

Install Decking With Proper Gaps and Ventilation

Even if your framing is perfectly square, you’ll still get buckling, squeaks, and premature rot if you don’t install decking with consistent gaps and clear airflow. Set spacing with a gauge, not your eye: use about 3–5 mm for kiln-dried boards, and allow wider gaps for wet-treated boards as they shrink.

Keep gaps uniform at butt joints, and stagger joints so water can’t funnel into one seam. For drainage considerations, maintain a slight fall away from the house and keep board edges clear of debris.

Ventilation matters underneath: don’t block the perimeter; keep soil and mulch low to promote crossflow. For pest prevention, seal dark voids, keep plants trimmed back, and avoid trapping leaf litter.

Wear eye protection.

Pick Fixings That Resist Rust and Loosening

rust resistant secure deck fixings

Because deck boards act like springs as they swell, shrink, and take foot traffic, you need fixings that won’t corrode or back out over time. Choose stainless steel or hot-dip galvanized rust resistant screws rated for treated timber; avoid electroplated fasteners that fail in wet, salty, or chemically treated environments.

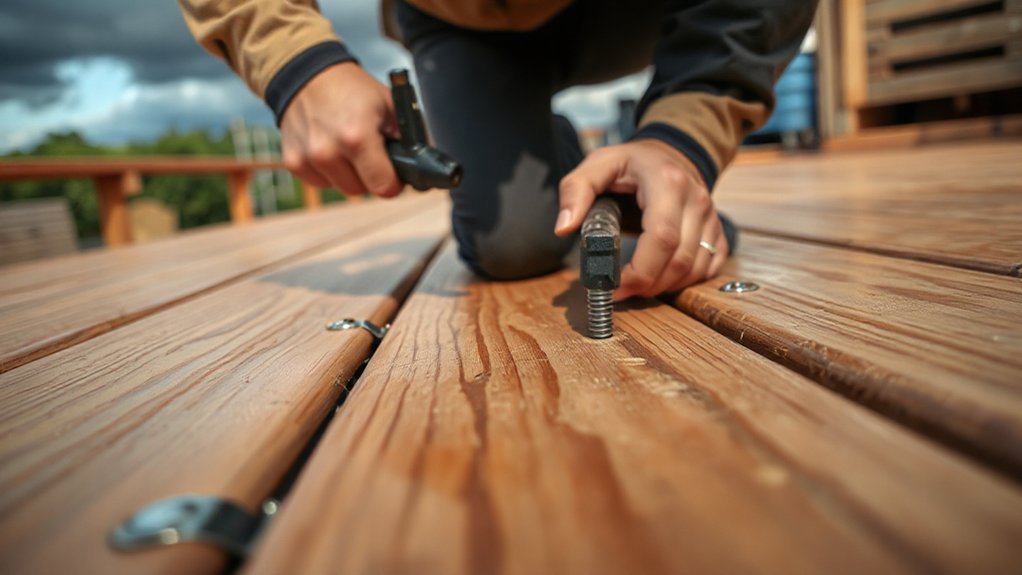
Use structural screws for ledgers and joist connections where required, and match manufacturer load ratings. Pre-drill near board ends to prevent splitting and maintain clamp force. Drive screws perpendicular and set heads flush, not countersunk, so fibers don’t crush.

Apply loosening prevention techniques: use two screws per joist, keep consistent edge distance, and re-check torque as you go. Wear eye protection and gloves.

Seal Cut Ends and Maintain the Deck Annually

Rust-resistant screws keep boards tight, but you still need to protect every exposed timber fiber you create during cutting and drilling. Brush off dust, then Seal ends immediately with an end-grain preservative or compatible sealer; treat notches, bolt holes, and board ends before installation.

Wear gloves and eye protection, and keep liquids off footing pads and fasteners. Wipe runs so you don’t trap grit that’ll abrade coatings.

After the deck’s built, schedule annual maintenance. Each spring, wash with a low-pressure rinse and a deck-safe cleaner, then let moisture content drop before recoating.

Inspect for lifted fibers, splitting around fixings, and black staining near joints; sand lightly and re-seal exposed end grain. Replace cracked boards and re-torque loose hardware.

Conclusion

You’ve laid out drainage like a riverbed, anchored footings like bedrock, and squared your joists so the frame stays true. You’ve matched boards to your climate, left ventilation gaps so moisture can’t ambush the timber, and chosen fixings that won’t corrode or creep. Seal every cut end; it’s armor, not optional. Then inspect yearly—tighten, clean, recoat—so your deck weathers seasons like a well-calibrated machine.…

perennials evergreens structure
Garden & Outdoor

Garden Border Ideas: Mixing Perennials, Evergreens and Structural Plants

Start by mapping sun/shade and testing soil drainage, pH, and fertility, then measure your border for access and scale. Choose a clear style and a tight colour palette. Anchor the design with long-lived evergreens in layered tiers, spacing them for mature width. Add structural silhouettes (globes, columns, fans) to mark corners and curves. Layer perennials in 2–3 height bands and repeat key plants every 1.5–3 m for rhythm and season-long bloom. Next, you’ll see how to fine-tune combinations and winter structure.

Key Takeaways

  • Assess sun, shade, and soil drainage first, then plan border depth, access, and sightlines to match plant choices and layout.
  • Build a backbone with long-lived evergreens in layered tiers, spaced for mature size and varied textures to prevent congestion.
  • Add structural plants with strong silhouettes to anchor corners and curves, creating rhythm through repeated forms and intentional pruning.
  • Layer perennials in 2–3 height tiers, using repeated drifts with staggered bloom times for continuous color and minimal bare soil.
  • Design for winter by keeping evergreen volume, seed heads, and woody stems visible, supported by clean edging, mulching, and selective staking.

Assess Sun, Shade, Soil, and Border Size

evaluate site conditions thoroughly

Before you choose plants or edging, evaluate the site conditions that will control how your border performs: map daily sun and shade patterns, identify soil texture and drainage, and confirm pH and fertility with a simple test.

Record hours of direct light at key points; buildings and trees shift exposure seasonally, so note winter and summer differences.

Check Soil drainage by digging a 30 cm hole, filling it twice, and timing infiltration; slow percolation flags compaction or a perched water table.

Assess structure with a hand-texture test and look for rooting depth limits.

Measure border length, depth, and access routes so you can stage plants, tools, and irrigation.

Finally, list microclimates and required shade tolerance zones so selections won’t fail under canopy drip or reflected heat.

Choose a Garden Border Style and Colour Palette

Next, you’ll define your garden border style—formal and geometric, relaxed and cottage-like, or modern and minimal—to set plant structure and edging requirements.

Then you’ll select a harmonious colour palette by choosing a dominant hue, 1–2 supporting colours, and a consistent foliage tone to control contrast and seasonal continuity.

With these parameters fixed, you can specify plant mixes that meet your site conditions while delivering a cohesive visual outcome.

Define Border Style

How do you want your border to read from the house and along the path—formal and architectural, or loose and naturalistic? Start by mapping sightlines and circulation: the style must support how you move and where you pause.

For a formal scheme, you’ll use repeated forms, clipped evergreens, and strong verticals, backed by crisp garden edge design (steel, brick, or cut turf) to hold geometry.

For a naturalistic scheme, you’ll mass perennials in drifts, soften transitions, and let structural plants punctuate rather than dominate.

Audit constraints next: boundary length, sun/shade bands, and viewing distance. Then choose Border style variations by setting a rhythm—modules, repeated anchor plants, and predictable height steps from front to back.

Select Harmonious Color Palette

Although your border style sets the structure, your colour palette controls legibility from key viewpoints and determines whether the planting reads as calm, energetic, or cohesive. Start by evaluating backdrop and light: cool hues recede in shade, warm hues advance in sun. Limit your core scheme to two to three dominant colours plus one accent to maintain Color harmony across seasons.

Use plant pairing to control transitions. Pair repeatable evergreen forms with perennials in adjacent tones, then punctuate with structural plants in high-contrast colours at focal nodes. Manage value (light/dark) as carefully as hue; strong value contrast improves visibility from doors, paths, and windows.

Finally, map bloom sequence so the palette doesn’t swing abruptly between months—swap in foliage colour, berries, and stems to keep continuity and reduce maintenance decisions.

Use Evergreens as Your Garden Border Backbone

Start by selecting evergreen anchor plants that match your border’s mature height, spread, and light conditions, so you lock in year-round structure.

Then layer additional evergreens in staggered tiers—tall to low and coarse to fine texture—to build depth and controlled visual rhythm.

You’ll get a stable backbone that keeps the border readable in every season while supporting seasonal perennials and annual accents.

Choose Evergreen Anchor Plants

When you build your border around evergreen anchor plants, you lock in year-round structure and reduce the “empty season” problem in winter.

Start with Evergreen selection based on mature size, growth rate, and site limits (light, soil texture, drainage, and wind). Choose one or two long-lived, low-maintenance forms—compact conifers, clipped box, yew, or holly—so you don’t overcomplicate pruning cycles or create crowding later.

Apply Border planting techniques that prioritize stability: set anchors first, align them with key sightlines, and space for full canopy width plus maintenance access.

Plant slightly high in heavy soil, firm the rootball, and mulch without burying stems.

Add irrigation for the first two seasons to secure establishment and color retention.

Layer Evergreens For Depth

Evergreen anchor plants give your border fixed points, but you’ll get a fuller, more professional look by building a layered evergreen backbone between and around those anchors. Start with mid-height shrubs (60–120 cm) to stitch gaps, then add low mounding evergreens (20–45 cm) at the front edge to soften lines and suppress weeds. Use upright forms sparingly to create rhythm and guide sightlines.

For reliable Evergreen layering, alternate leaf texture and tone: fine conifers behind broadleaf evergreens, dark greens beside variegates. Maintain clear spacing at maturity to prevent congestion and disease.

With Structural plant placement, keep the tallest masses on corners or behind focal perennials, then step down toward paths for clean access, consistent maintenance, and year-round depth.

Add Structural Plants to Shape the Garden Border

Although flowering perennials bring seasonal color, structural plants set the border’s framework so it reads as intentional year-round. Use Structural plant placement to establish fixed reference points: repeat clipped evergreens, architectural grasses, or upright yuccas at measured intervals to create rhythm and guide sightlines. Anchor corners, gates, and path junctions with one dominant form, then echo it to prevent visual drift.

Apply Border shaping techniques by choosing strong silhouettes—globes, columns, fans—and aligning them to the border edge you want to emphasize. Keep spacing proportional to mature width so forms don’t merge and lose definition.

If you’re working along a curve, stagger structural plants to reinforce the arc rather than fighting it. Maintain crisp outlines with selective pruning and consistent mulched negative space between anchors.

Layer Garden Border Heights From Front to Back

Structural anchors give your border fixed reference points; height layering then turns those points into a readable planting plan from every viewing angle. Set your tallest plants at the back (or center in island beds) to screen fences and frame focal elements, then step down in 2–3 clear tiers to the path edge.

Use a 60/30/10 height ratio: 60% mid-layer for seasonal bulk, 30% low layer for edging and access, 10% tall layer for vertical emphasis. Keep front plants under 30 cm to prevent sightline blockage; place mid-layer at 40–80 cm; reserve 100–180 cm for back layers.

Plan Wildflower combinations in the mid tier for texture, and specify Butterfly attractants near the viewing edge for monitoring and maintenance access.

Repeat Key Plants for a Cohesive Garden Border

When you repeat a small set of “key” plants at regular intervals, you create visual rhythm that ties the entire border together and makes the layered heights read as one intentional design.

Choose 2–4 anchor species: one structural evergreen, one upright accent, and one mid-mass filler, then place them every 1.5–3 m depending on mature spread.

Use consistent plant pairing each time (for example, the same grass beside the same shrub) so the eye recognizes patterns quickly.

Maintain border symmetry by mirroring placements across gates, paths, or focal points, even if you vary quantities for site constraints.

Keep spacing uniform, align repeats with utilities and irrigation zones, and cluster in odd numbers for legibility.

You’ll get cohesion without over-planting.

Pick Perennials for Season-Long Garden Border Colour

season long colorful perennial border

To keep a garden border in colour from spring through frost, you’ll need perennials that stagger their bloom times and hold strong foliage between flushes. Start with early performers like hellebores and pulmonaria, then bridge gaps with hardy geraniums, salvias, and catmint. Finish strong with echinacea, rudbeckia, asters, and sedums for late-season saturation.

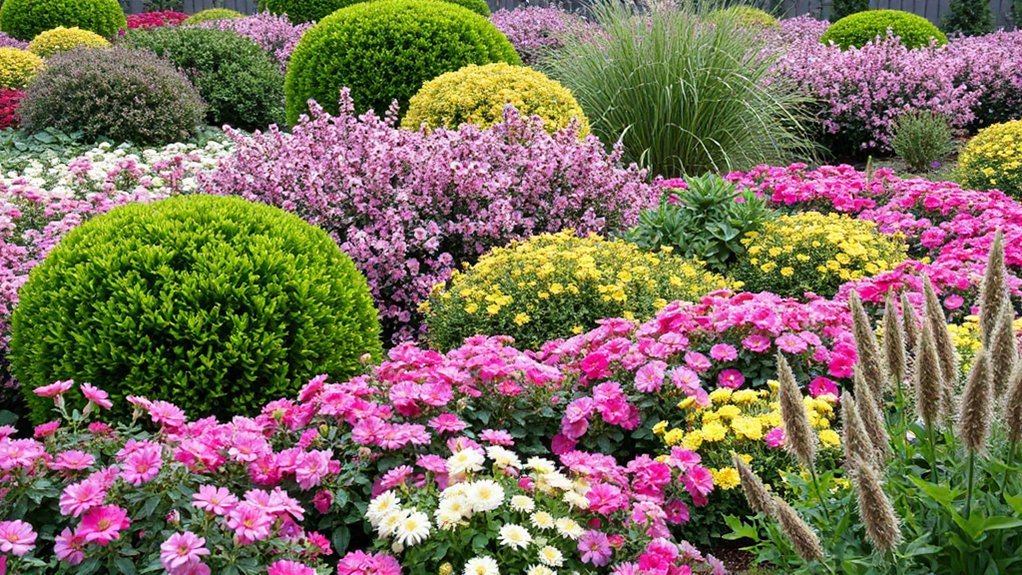
Use Seasonal flower combinations by pairing complementary hues and repeating a few anchor colours every 3–5 feet. Apply border planting techniques: place taller bloomers mid-to-back, mass plants in odd-number drifts, and interlock clump-formers to reduce bare soil.

Prioritize cultivars with long bloom or reliable rebloom, and deadhead strategically to extend peak colour.

Keep Your Garden Border Strong in Winter

How do you keep a border looking intentional after the last blooms fade? You build a winter framework: evergreen volume, structural stems, and clean edging that reads as deliberate design even under Winter snow. Anchor your plan with compact conifers, clipped box alternatives, or evergreen grasses set at repeating intervals to maintain rhythm.

Next, specify frost resistant plants that hold form: hellebores, bergenia, carex, and sedum heads you leave standing. Add woody structure with dogwood, viburnum, or hydrangea for winter silhouettes.

Manage performance: cut back only what collapses, tie flopping stems, and mulch to stabilize root zones. Finally, confirm sightlines from key windows and paths so winter texture stays visible and balanced.

Conclusion

Now you’ve assessed light, soil, and scale, and you’ve locked in a palette that won’t fight itself. You’ve built your border on evergreens, added structural anchors, layered heights, and repeated key plants for visual continuity. Perennials then deliver controlled, season-long colour—without gaps. But don’t stop yet. The final test comes when temperatures drop: if your framework holds, your border still reads as designed. Get winter right, and everything clicks.…

modern porcelain patio design
Garden & Outdoor

Creating a Modern Patio Space With Porcelain Paving Slabs

Map the patio footprint, snap datum lines, and set a 1:60–1:80 fall so water drains away from the house and stays below the DPC. Choose dense vitrified porcelain with an R11-style grip for wet or shaded zones, and match slab size and colour to your architecture for a crisp, joint-light look. Bed 20mm slabs on full mortar, tap level, and keep joints dead-straight with spacers and a straightedge. Keep going to master edges, steps, and finishing.

Key Takeaways

  • Plan the patio footprint and falls so water drains away from the house, keeping finished levels below the DPC.
  • Dry-lay slabs and snap datum lines to confirm joint lines, cuts, steps, and thresholds before committing to mortar.
  • Choose slab size, thickness, and finish to suit the space, using R11 slip-rated textures for wet or exposed areas.
  • Install on a solid mortar bed, work from a fixed edge, and use spacers and straightedges to keep joints uniform and aligned.
  • Use porcelain-safe grout, clean off haze promptly, and maintain with pH-neutral cleaning and leaf removal for lasting appearance.

Plan Your Porcelain Patio Layout and Drainage

plan drainage and layout

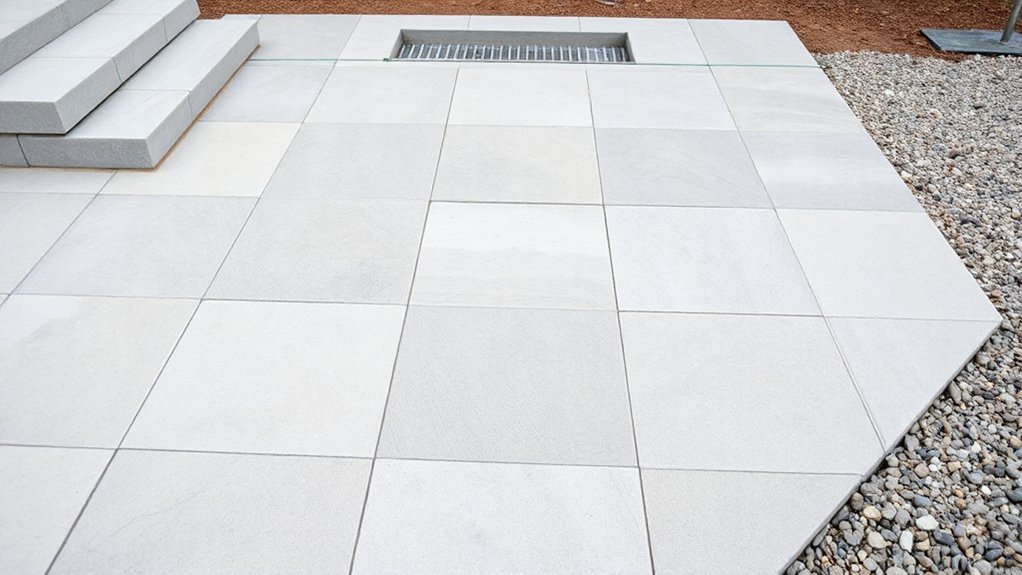
Before you order porcelain paving slabs or set out your first line, map the patio’s footprint and set your falls so water moves away from the house and doesn’t pond on the surface. Use taut stringlines and a laser level to hold a 1:60–1:80 gradient toward a channel drain, gully, or permeable edge. Keep finished levels below the DPC, and allow for slab thickness, adhesive bed, and compacted sub-base.

Dry-lay a few slabs to confirm joint lines, cuts, and any step or threshold interfaces.

Plan garden privacy by aligning the main seating zone away from overlooking windows and by leaving space for screens or planters without blocking drainage runs. Mark lighting options early, conduit routes and uplight pockets, so you don’t chase channels through cured mortar later.

Decide If Porcelain Paving Slabs Suit Your Budget

Next, you’ll want to price up porcelain paving slabs by the m², factoring in thickness, slip rating, and any trims or steps your design needs.

You should also budget for installation and labour—sub-base build-up, mortar or adhesive system, cuts, and jointing compound can shift the total as much as the slabs themselves.

Then weigh long-term value: porcelain’s low water absorption, stain resistance, and minimal maintenance can save you money on sealing, cleaning, and replacements over time.

Upfront Material Costs

A realistic budget starts with the slab price itself, and porcelain usually sits above standard concrete pavers but can compete with premium natural stone on a per‑square‑metre basis. You’ll see prices shift with thickness (often 20mm outdoors), edge rectification, and surface finish—textured, grip-rated options typically cost more than smooth indoor grades.

Factor in batch consistency and calibre, because tighter tolerances reduce visible lippage and waste. Large formats can raise the per-unit cost, but they cut joint lines for cleaner, modern geometry and stronger aesthetic appeal.

Check whether the slab is full-body or colour-through, and confirm stain and UV resistance ratings; these specs support material durability and protect your spend. Order 5–10% extra for cuts and future repairs, matching the same batch code.

Installation And Labor Expenses

Slab cost sets the baseline, but installation and labour often decide whether porcelain paving slabs stay within budget. You’ll pay for precise groundworks: excavation, geotextile, a well-compacted sub-base, and accurate falls for drainage.

Because porcelain is dense and less forgiving, installers often use a full mortar bed or pedestal system, plus primer on the back of each slab to secure adhesion.

Labour rises with tricky access, lots of cuts around steps, drains, and edges, or tight joints that demand careful spacers and clean grouting.

Factor in edge restraints, bonding products, and waste from mitres or pattern layout.

If you’re planning landscape integration, allow time for aligning levels to lawns, thresholds, and planting borders.

Heavy outdoor furniture may also require thicker slabs or extra support, increasing work.

Long-Term Value Savings

Where do porcelain paving slabs start paying you back—after the first winter, or years down the line? You’ll notice savings quickly because dense, vitrified porcelain resists staining, algae, and fading, so you won’t budget for frequent sealing, heavy chemical cleaning, or color restoration.

Its low porosity also boosts seasonal durability: freeze-thaw cycles don’t spall edges, and UV exposure won’t chalk the surface, keeping joints tighter and replacements rarer.

Plan your layout for landscape integration and you’ll reduce future rework. Because slabs stay dimensionally stable, you can align cuts to drains, steps, and thresholds without later lipping that forces relay.

Over time, fewer repairs, fewer cleaning products, and a consistently modern finish help your patio’s total cost trend downward.

Pick Porcelain Slab Size, Thickness, and Grip

choose slabs for durability

Because porcelain paving performs best when it’s matched to how you’ll actually use the patio, choose slab size, thickness, and slip rating as a set rather than in isolation. Start with your layout: larger formats reduce joints and look cleaner, while smaller slabs suit tight corners and make falls align with existing thresholds and drainage lines.

For Porcelain slab durability, match thickness to load and base build—around 20mm for pedestrian patios on a solid bed, thicker solutions where point loads, planters, or furniture legs concentrate pressure.

Then lock in grip: specify an outdoor slip rating (R11-style textures) for shaded, wet, or poolside zones, and keep smoother profiles for covered areas. You’ll still have broad aesthetic options without compromising performance.

Choose Porcelain Paving Slab Colours and Finishes

Now you’ll choose porcelain paving slab colours and finishes that suit your home’s exterior and the patio’s light levels. Coordinate your palette across slabs, grout, edging, and outdoor furniture so the space reads intentional rather than patchy.

Then match surface finish and texture—matt, structured, or stone-effect—to your design style and the underfoot feel you want.

Coordinating Colour Palettes

Even if your patio layout is nailed down, the colour palette you choose will determine whether the space reads crisp and contemporary or flat and mismatched. Start with one anchor tone that suits your architecture—cool greys for sharp lines, warm beiges for softer brickwork—then repeat it across the main field to keep the plane calm.

Lock in color coordination by sampling slabs against wall paint, fencing, and door frames in the same daylight your patio gets.

If you’re using two slab colours, set a clear hierarchy: 80/20 works well for borders or zoning around dining areas.

For pattern mixing, keep joint lines aligned and limit contrasts so the layout reads intentional, not busy.

Match grout colour to the dominant slab to avoid visual clutter.

Surface Finishes And Texture

Once you’ve settled on a palette, the surface finish and texture of your porcelain paving slabs will decide how the patio feels underfoot and how it performs in real weather.

For exposed sites, pick a structured, anti-slip finish (R11 or higher) so rain, algae, and pool splash don’t turn it slick.

On sheltered terraces, a satin or soft-lapped finish gives a cleaner look while staying practical if you keep joints tight and drains clear.

Use Textural contrast to zone the layout: a subtly ribbed dining area, smoother circulation routes, and a grip-focused threshold at doors.

Check Surface durability ratings and edge rectification, then align grout colour to hide staining and keep the surface reading crisp.

Build the Right Mortar Base for Porcelain Slabs

Because porcelain paving slabs need full, consistent support to stay level and crack-free, you’ll want to build a mortar base that’s flat, well-bonded, and designed for low-absorption tile. Start with substrate preparation: compact the sub-base, check falls, and lock in edge restraints so nothing creeps.

Screed a concrete or well-compacted bedding layer to a uniform plane, then remove dust and standing water before you bond.

For Mortar mixing, use a polymer-modified, frost-resistant mortar and measure water accurately; you’re aiming for a creamy, workable bed that won’t slump.

Spread a full mortar bed (not dabs), key it into the base with your trowel, and keep thickness consistent to avoid hollow spots.

Protect fresh mortar from sun, wind, and rain while it cures.

Lay Porcelain Paving Slabs With Tight, Straight Joints

maintain precise joint alignment

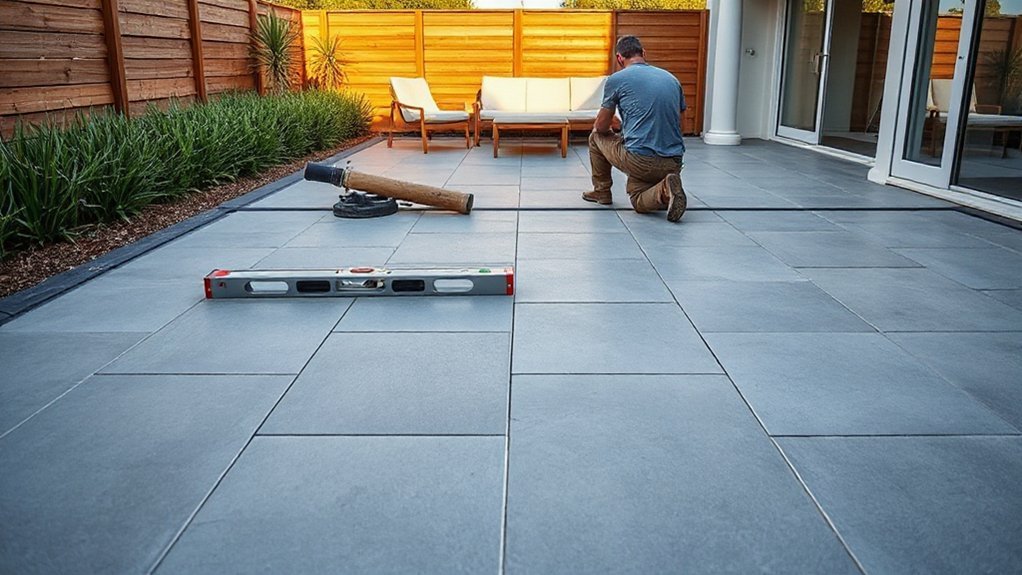
After you’ve screeded a true, fully supported mortar bed, the next job is to control your joint lines so the porcelain reads crisp and stays forgiving under foot. Snap datum lines, dry-lay a few slabs, and commit to a consistent module before you spread more mortar.

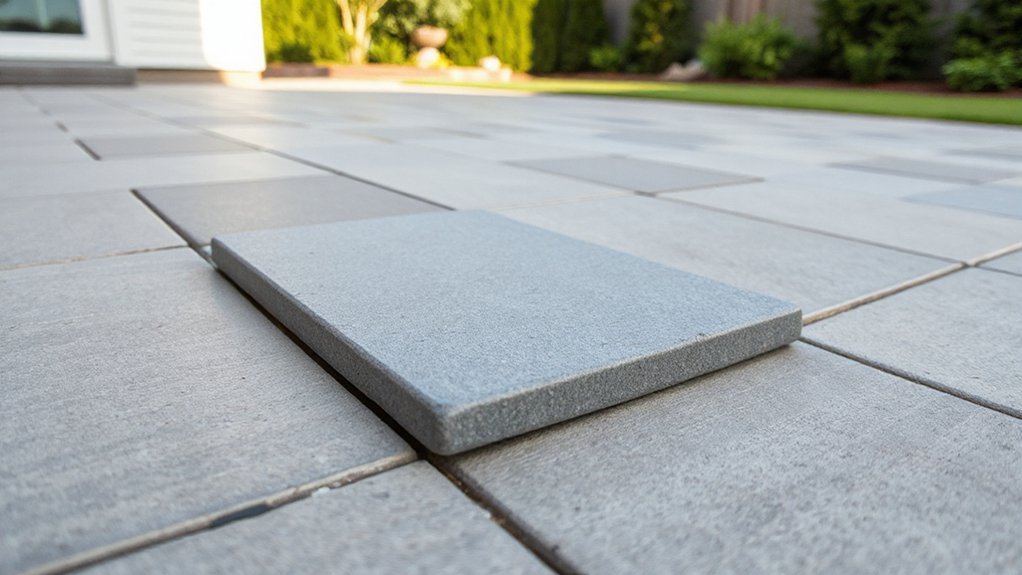
Use spacers sized for your grout system and check joint alignment every slab with a straightedge, not your eye. Tap slabs down with a rubber mallet and lift-and-add mortar where rocking appears.

Keep faces clean as you go; any grit in the joints will throw your gauge. Work from a fixed edge and continually re-square off your lines to maintain aesthetic consistency across the field. Adjust early, not after three rows.

Detail Edges, Steps, and Clean Porcelain Outdoors

While your field slabs set the visual rhythm, your edges, steps, and cleaning routine determine whether porcelain looks like a finished outdoor surface or a cut-up tile job. Handle edge detailing early: plan full slabs to boundaries, then use bullnose, mitred returns, or aluminium trims so cut faces aren’t exposed.

On steps, keep riser heights consistent, use a solid bedding, and add a projecting nosing or grip strip to manage splash and slip. Set falls away from thresholds and cap exposed upstands to stop water tracking.

Choose grout and jointing that suits porcelain’s low porosity, then rinse before haze sets. For maintenance, pH-neutral cleaner, stiff brush, and regular leaf removal prevent staining.

Pair crisp edges with outdoor lighting to highlight lines at night.

Conclusion

When you plan your layout and drainage, you set your porcelain patio up to perform. You’ve checked the budget, chosen the right slab size, thickness, and slip rating, and matched colour and finish to the site. With a full mortar bed and primed backs, you’ll get solid contact and fewer hollow spots. Keep joints tight and lines true, and treat edges and steps like trim—crisp as a cut tile, not an afterthought.…

low maintenance gravel garden design
Garden & Outdoor

How to Build a Low‑Maintenance Gravel Garden That Looks Great All Year

Start by mapping sun, shade, and drainage, then adjust grades and pick drought-tough plants where water lingers. Excavate, lay permeable woven geotextile (overlap 6–8 inches), and install hard edging to stop migration. Build 75–100 mm of angular stone: a 25–40 mm base topped with 50–60 mm decorative gravel. Add drip irrigation on the soil surface under 2–3 inches of gravel, and maintain with monthly raking, annual top-ups, and twice-yearly re-edging. Next, you’ll see plant palettes and layout tricks that keep it sharp in every season.

Key Takeaways

  • Assess sun, shade, and drainage, then choose drought‑tolerant, grit‑shedding plants grouped by similar light and soil depth.
  • Install woven permeable geotextile (not plastic), overlapping seams 6–8 inches and pinning tightly to block weeds while letting water through.
  • Build 3–4 inches total gravel: 1–1.5 inches angular base plus 2–2.5 inches decorative gravel, matched to paths or plant beds.
  • Use durable edging (steel, aluminum, stone, or concrete) set on compacted stone to stop gravel migration and keep crisp lines.
  • Add drip irrigation under gravel and maintain annually by raking debris, topping up thin spots, and leaving seedheads for winter structure and wildlife.

Plan Your Gravel Garden for Sun, Drainage, and Use

site planning for gravel gardens

Before you order gravel or pick plants, map your site’s sun exposure, drainage patterns, and how you’ll actually use the space, because these three factors determine your gravel depth, base prep, and plant palette.

Spend a full day logging sun hours; full-sun zones handle heat-loving perennials, while shade pockets need woodland textures or a Plant container plan for movable color.

Test drainage with a 12-inch hole: if water lingers past 4 hours, you’ll favor drought-tolerant species and route runoff with subtle grading, not hard edges.

Define traffic: set primary paths where you’ll walk, and keep seating pads level for stable furniture.

For wildlife habitat, cluster nectar plants near cover, and reserve a dry, undisturbed corner for overwintering insects and shelter.

Prep for a Weed-Resistant Gravel Garden (Barrier + Depth)

To keep your gravel garden weed-resistant, you’ll start with the right barrier—typically a permeable woven geotextile that blocks shoots while still letting water drain.

Next, you’ll set your layer plan and depth: a compacted sub-base where needed, then enough gravel to suppress light (often 2–4 inches for paths, deeper for high-traffic areas).

If you match barrier specs and gravel depth to your soil and use case, you’ll cut maintenance without compromising drainage.

Choosing The Right Barrier

How do you stop weeds without trapping water or starving your soil? You choose a permeable barrier that blocks light yet lets air and moisture move freely. Prioritize professional-grade woven geotextile: it resists punctures, stays stable under foot traffic, and delivers consistent weed control.

Avoid plastic sheeting; it prevents drainage, promotes anaerobic soil, and forces runoff to edges. Landscape fabric varies widely, so check GSM weight, UV stability, and tear strength rather than relying on labels.

Overlap seams by 6–8 inches, stagger joints, and pin tightly so gaps don’t open during raking. Cut clean X-slits for planting, then snug the fabric around stems.

Match barrier materials to site conditions—roots, slopes, pets—so performance stays predictable long-term.

Gravel Depth And Layers

Exactly how deep should you go with gravel if you want long-term weed resistance without drainage problems? Aim for a total of 75–100 mm (3–4 in) of compacted gravel above your barrier, adjusted to soil and foot traffic.

Start with a 25–40 mm (1–1.5 in) sublayer of angular 20 mm base gravel; rake level and compact to lock particles and reduce voids weeds exploit.

Add a 50–60 mm (2–2.5 in) top layer of 10–14 mm decorative gravel for a stable, tidy finish.

Keep the barrier overlapped 150 mm and extend it under edging so gravel can’t migrate.

Choose gravel color that matches hardscape, then use boulders or steel edging as decorative accents without puncturing the barrier.

Choose Gravel Size and Color That Won’t Migrate

Although gravel seems like a purely aesthetic choice, the size and color you select directly control migration, tracking, and long-term maintenance.

For stable walking surfaces, specify angular 3/8-inch minus (decomposed granite or crushed stone fines) or 1/4–3/8-inch crushed rock. Rounded pea gravel rolls and drifts under foot traffic. Match size to use: smaller for paths, slightly larger (up to 1/2-inch) around drought plants where you won’t step often.

Evaluate Gravel texture: angular particles lock, reduce rutting, and resist wind displacement.

Choose Gravel color based on heat and glare: lighter tones reflect and reduce plant stress; darker tones hide debris but can raise soil temperatures.

If tracking is a concern, avoid ultra-fine screenings near entries and patios.

Install Gravel Garden Edging That Actually Holds

durable edging for gravel

To keep gravel from creeping into beds and walks, you’ll need edging that won’t flex, rot, or heave—think steel, aluminum, or concrete rather than thin plastic.

Set it to a consistent height and line, then anchor it with the manufacturer’s spikes or stakes at tight spacing, especially on curves and shifts.

If you secure joints and lock the edging into compacted base, you’ll get a clean boundary that holds through traffic, rain, and freeze-thaw.

Choose Durable Edging Material

When you install a gravel garden, your edging does the real work of keeping stone in place and preventing migration into beds, lawns, and hardscape joints. Choose a profile that resists flexing, heaving, and mower impacts, and that maintains a clean reveal after seasonal freeze-thaw cycles.

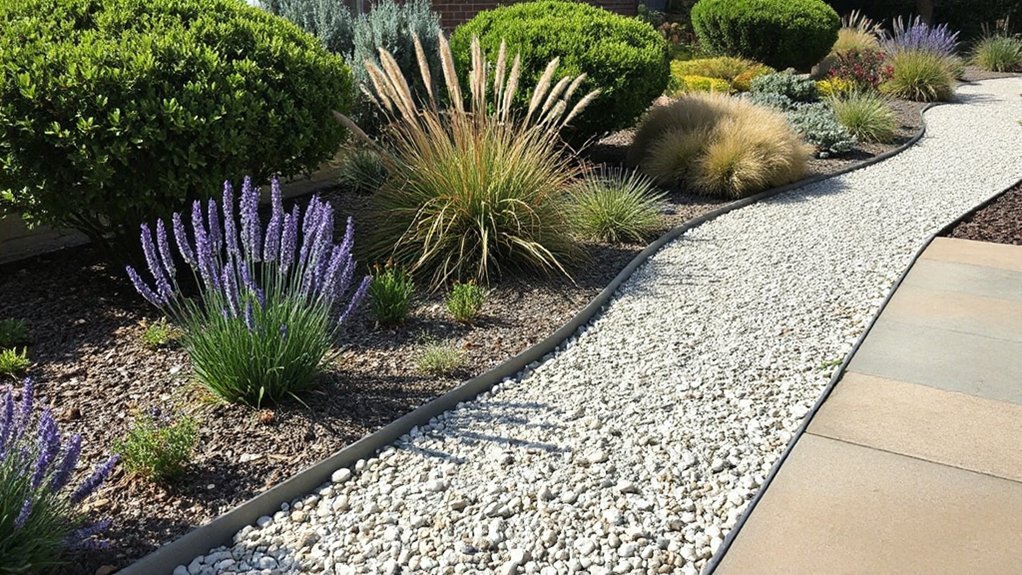
Steel edging (powder-coated or corten) delivers the highest rigidity for straight runs and crisp curves. Aluminum suits lighter-duty borders but can deform in traffic zones. Concrete or stone setts add mass and read as decorative edging, though you’ll need consistent heights to avoid trip points.

For sustainable materials, specify FSC-certified timber sleepers or reclaimed brick, and avoid thin plastic rolls that UV-brittle and warp. Match material to site loads and maintenance expectations.

Anchor Edging Securely

Durable edging only performs as specified if you lock it into the subgrade so it can’t rack, lift, or creep under gravel pressure, foot traffic, and freeze–thaw movement.

Excavate a straight trench to the manufacturer’s depth, then compact the base with a hand tamper. Set edging on a thin leveling layer of crushed stone, not loose soil, and check grade with a stringline.

Drive stakes through prepunched slots every 12–18 inches, closer on curves and at joints, and angle stakes slightly toward the gravel to resist outward thrust.

Backfill and compact both sides in lifts to eliminate voids. Leave clean access points for flower arrangements and plan conduit clearances for garden lighting before final lock-in.

Build a Firm Base for Paths, Patios, and Seats

Although gravel gardens thrive on a relaxed, natural look, your paths, patios, and seating areas need a properly engineered base so they don’t rut, rock underfoot, or sink after rain.

Excavate to undisturbed subsoil, typically 150–250 mm for foot traffic, deeper for heavy garden furniture. Grade a 1–2% fall away from buildings, then compact the subgrade with a plate compactor.

Install a permeable geotextile to separate soil from aggregate and prevent fines migration.

Place 75–150 mm of well-graded crushed stone (Type 1/road base) in two lifts, compacting each lift to refusal.

Add a 25–40 mm bedding layer of screenings, then set pavers or stabilizing grids.

Finish with gravel and decorative accents, then re-compact lightly.

Choose Gravel Garden Plants for Four-Season Interest

Even if gravel does most of the weed suppression and drainage work for you, plant selection determines whether the space looks intentional in every season or collapses into a summer-only display.

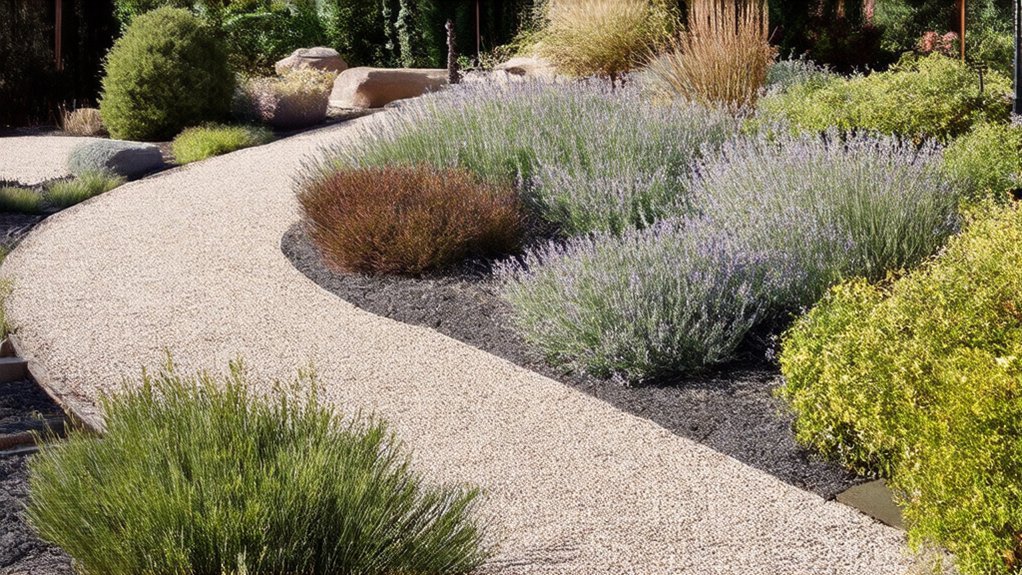
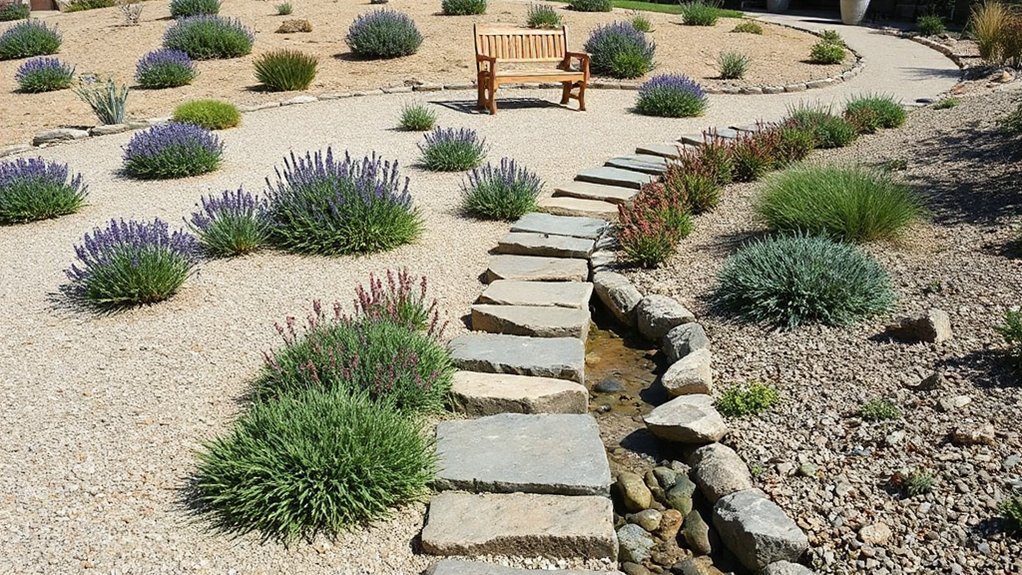
Start with a structural backbone: evergreen mounds (lavender, santolina), upright grasses (calamagrostis, festuca), and compact shrubs for winter form and wind filtering.

Layer in long-blooming perennials (salvia, yarrow, gaura) for summer color and pollinator traffic.

Then add fall performers with seedheads and foliage (sedum, echinacea, ornamental alliums) to extend texture.

Specify plants with tough crowns and narrow leaves that shed grit, and group by sun exposure and soil depth.

For Wildlife habitat, keep some seedheads standing through winter.

Use Organic mulching at plant collars, not across gravel.

Set Up Drip Irrigation Under Gravel (Without Clogs)

gravel covered drip irrigation setup

Once you’ve chosen plants that tolerate lean, fast-draining conditions, you still need a watering method that targets root zones without turning your gravel into a soggy, weedy surface.

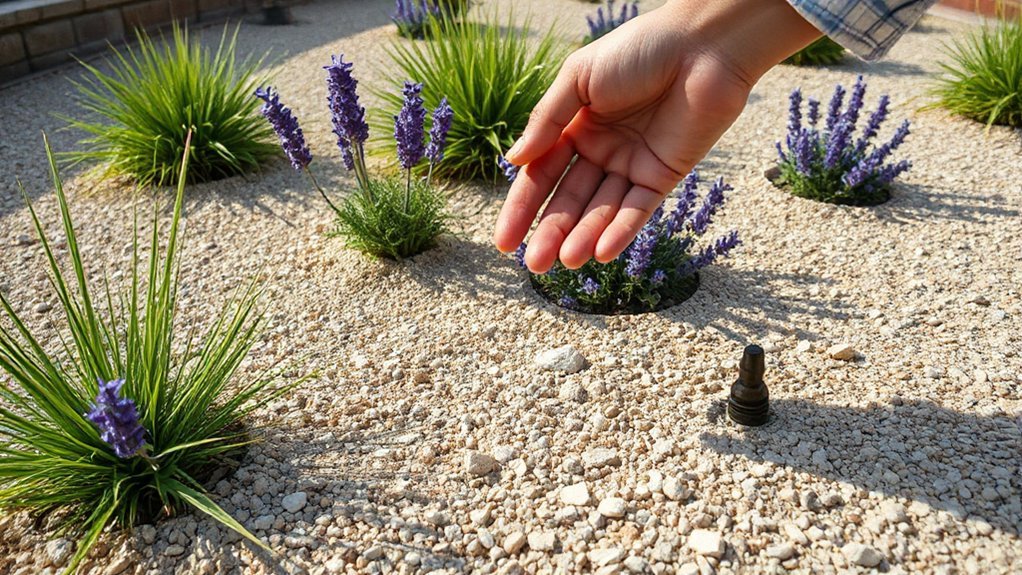
Run 1/2-inch poly tubing on the soil surface, pin it, then cover with 2–3 inches of gravel; keep emitters directly over root zones, not buried in fines. Use pressure-regulated, inline dripline (0.6–0.9 gph) and add a 150-mesh filter plus a flush valve at each line end to prevent sediment buildup.

Include an air/vacuum relief valve on slopes to stop suctioned grit. Set a conservative watering schedule: deep, infrequent cycles, then adjust by season and plant establishment.

Plan drip system maintenance with monthly filter checks and line flushing.

Maintain a Clean Gravel Garden: Rake, Top-Up, Re-Edge

After you’ve installed plants and irrigation, treat the gravel layer like a finish surface that needs light, routine grooming to stay weed-resistant and crisp. Rake monthly with a stiff fan rake to lift leaf litter and redistribute stones, keeping a consistent 2–3 in. depth over fabric. Spot-vacuum fines from around crowns so airflow stays high and rot risk stays low.

Top-up annually where traffic or runoff thins coverage; match stone size and color to prevent patchwork. Re-edge twice a year: cut back turf, reset steel or aluminum edging, and compact the gravel shoulder to lock lines. Blow debris off hardscape to reduce organic buildup that feeds weeds.

Clean gravel improves Natural pest control by limiting hiding places, while tidy edges preserve Wildlife attraction through healthy plant structure.

Conclusion

You’ve built a garden that looks effortless, yet it’s engineered: sun-matched plant zones, fast drainage, and a weed barrier under 50–75 mm of stable gravel. Where lawns demand weekly inputs, your edging locks aggregates in place and your compacted base keeps paths firm. Drip lines hide beneath stone—precise water, zero overspray—while drought-tough perennials and grasses deliver winter structure and summer color. Now you’ll just rake lightly, top up, and re-edge annually.…

Scroll to Top