
After snow melts, walk the fence line and check each bay for leaning posts, loose rails, bowed panels, split boards, and rusted fixings; push gently to spot movement. Replace rotten post bases or fit a galvanised spur, reset in postcrete, and keep timber 25–50mm above soil with a gravel board and DPC strip. Re-secure rails with exterior screws, swap damaged boards, seal cut ends with preservative, then sand, wash, and apply two thin coats—next you’ll pick up extra winter-proofing tips.
Key Takeaways
- Inspect the full fence line after thaw; probe posts at soil line for rot, heave, cracks, loose rails, and panel bowing.
- Repair minor damage by re-securing rails with exterior screws/brackets, replacing split boards, and swapping rusted fixings for galvanised fasteners.
- Replace whole bays when rails bow or multiple sections lean, then realign using a string line, level, and temporary ratchet-strap bracing.
- Fix base rot by cutting back to sound timber or fitting a galvanised spur, then re-set posts with postcrete and let cure 24–48 hours.
- Prevent repeat damage: fit gravel boards, cap post tops, keep timber 25–50mm above soil, clear vegetation, and seal end grain before staining.
Check Your Fence for Winter Damage and Hazards
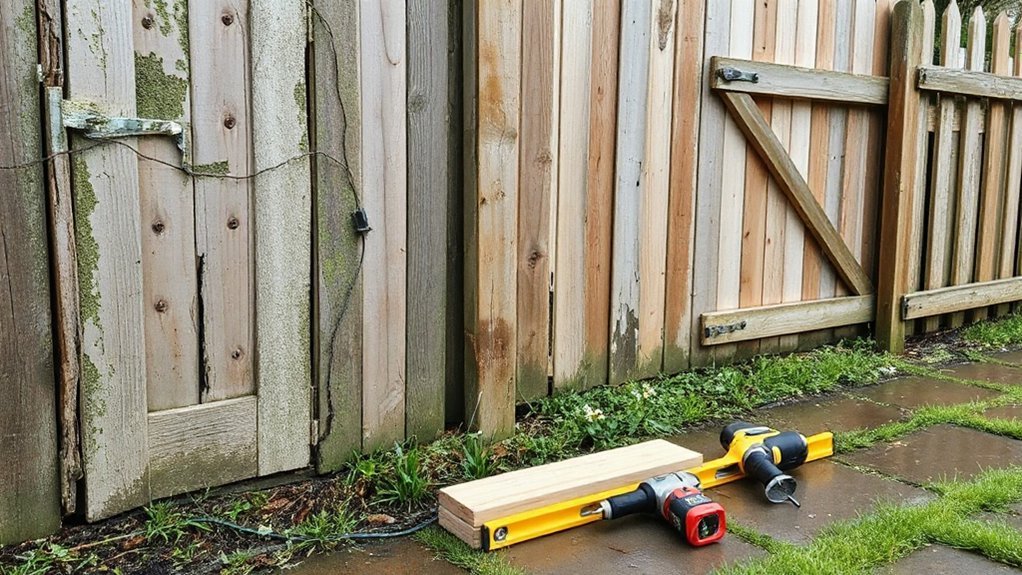
Once the snow melts and the ground starts to dry, walk your fence line and inspect every section for winter-related damage and safety hazards.
Check posts for lean, heave, or rot at the soil line; probe with a screwdriver to confirm sound timber. Look for rails pulled loose by winter wind, and for cracks at knots or fastener points.
Scan panels for bowing, split battens, and gaps where snow damage forced fixings apart.
Test stability by pushing each bay; you shouldn’t see rocking at the post base or movement at brackets. Confirm wire tension stays even and staples haven’t backed out.
Inspect gates: hinges, latches, and alignment, plus pinch points. Flag any protruding nails, sharp wire ends, or splintered edges to prevent injury.
Repair or Replace? Use a Quick Fence Checklist
After you’ve flagged winter damage, use a quick checklist to decide whether you should repair the section or replace it entirely. If fewer than 20% of boards are split, warped, or loose, you can usually refix with new screws, brackets, and straight replacement boards.
If rails are bowed or multiple bays lean, replacement often saves time and restores alignment.
Check fencing materials: softwood panels that have delaminated, crumbled, or lost preservative treatment don’t hold fasteners well, so swap them.
For featheredge runs, replace individual pales when the arris rails and fixings remain sound.
Consider Fence aesthetics: mismatched staining, patchy colour, and uneven panel heights can justify replacing a full bay for a consistent line and finish.
Stop Rot at the Base (Posts and Gravel Boards)
If your fence is failing, start at ground level where moisture sits and rot spreads fastest.
Cut out and replace any rotting post bases, then set the new section properly in concrete or a post-repair spur to restore strength.
Upgrade your gravel board protection with treated timber or concrete boards and keep a small clearance to soil so water can’t wick back into the panels.
Replace Rotting Post Bases
Because moisture lingers where timber meets soil, the base of each fence post and the bottom edge of your gravel boards usually rot first.
If a post wobbles, probe the timber at ground line; soft fibres mean you need a base repair, not just Fence paint.
Support the bay with a prop, then remove fixings from rails and decorative panels on that span.
Dig out around the post, break up old concrete, and cut the post back to sound wood above rot.
Fit a galvanised post-repair spur or a new treated section with a half-lap joint, then re-set it plumb in fresh postcrete, keeping the spur fully buried.
Refix rails and panels, and seal cut ends with end-grain preservative.
Recheck alignment after cure.
Upgrade Gravel Board Protection
Where does rot usually restart even after you’ve fixed a post? At the ground line, where splashback soaks end grain and traps debris against the fence.
Upgrade your Gravel board protection to break that wet zone. Fit a concrete or UC4-treated timber gravel board, set 25–50 mm above soil, and keep a clear drainage gap behind it.
Cap cut ends with end-grain preservative, then seal joints with exterior-grade mastic where boards meet posts. If you use timber gravel boards, add a DPC strip between board and post to stop wicking.
Rake back soil and gravel, then lay a 100 mm shingle strip along the run for better weather protection and reduced splash.
Recheck fixings after storms.
Straighten Leaning Fence Posts and Panels
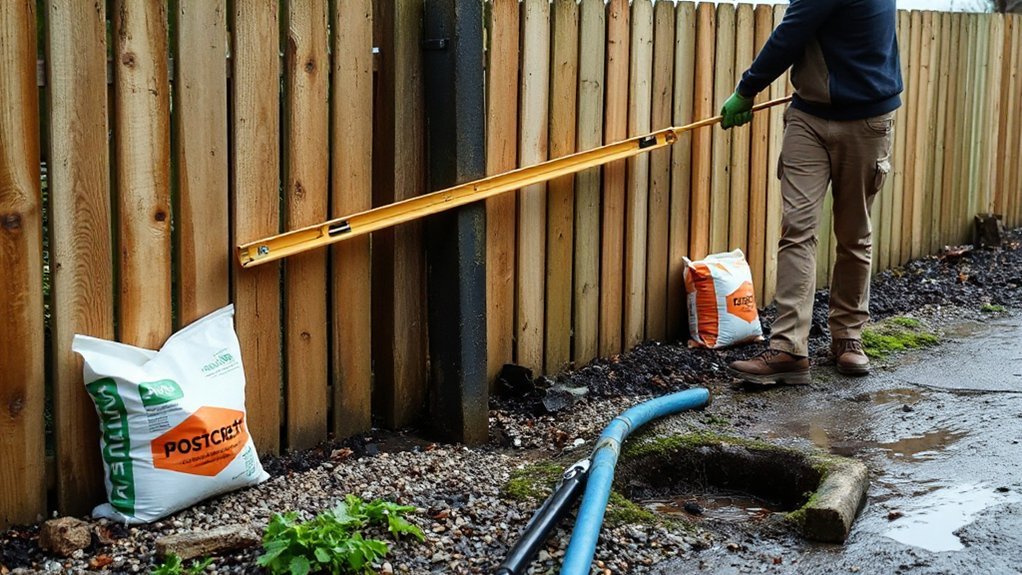
After strong winds or saturated soil shift your fence line, you’ll usually see the problem first at the posts—one or two start leaning, and the panels follow.
Start by checking Fence alignment with a taut string line between sound posts, then measure the lean with a spirit level on each suspect post.
Dig out soil on the high side, expose the footing, and pull the post plumb using a ratchet strap anchored to a stake or vehicle tow point.
Pack the void with compacted MOT Type 1 or concrete, tamping in 100mm layers for Post stabilization.
For panels, lift and re-seat them so their top edge tracks the string line, then re-check level and spacing.
Leave concrete to cure 24–48 hours before removing straps.
Fix Loose Rails, Broken Boards, and Nails/Screws
After you’ve straightened posts and panels, lock the fence structure back together by securing any loose rails to solid posts with exterior-rated screws or brackets.
Swap out broken boards by cutting them free at the fasteners, matching the board size, and reinstalling with proper spacing and corrosion-resistant hardware.
Then recheck every nail and screw, refasten or replace any that have backed out, and set them flush so the fence can’t rack in the next storm.
Secure Loose Fence Rails
Even if the storm damage looks minor, loose fence rails can quickly rack the whole panel and pop fasteners under the next gust. Start by checking each rail-to-post joint for movement; lever the rail true and clamp it if needed.
Pull bent nails, then refix with exterior-grade, corrosion-resistant screws (5–6 mm) driven through the rail into solid post timber. If the screw holes have ovalled, pack them with treated timber slivers and waterproof wood glue, then re-drive offset by 10–15 mm.
Add galvanised angle brackets or a timber cleat beneath the rail for extra bearing. Finish by sealing exposed end grain and touching up with Fence paint so moisture can’t creep in and disrupt your Garden landscaping plans.
Replace Broken Boards
Once the rails sit firm and square, turn to any split, snapped, or missing boards, because a single weak picket can let the panel flex and start tearing fasteners back out. Remove damaged boards cleanly, then inspect adjacent timber for rot at the ends and around knots.
Measure the gap, match thickness and profile, and cut a replacement from pressure‑treated softwood or the same species as the fence to prevent uneven weathering. Seal all cut ends with end‑grain preservative to slow water uptake.
Keep the board’s base 25–50 mm off soil or gravel to reduce splashback decay and improve wildlife protection by avoiding sharp, ragged edges. Before Fence staining, let new timber dry, then spot‑prime to prevent patchy colour.
Refasten Nails And Screws
Where do you start when rails wobble and pickets rattle? Begin with a full line check: push each rail, then mark every loose fixing. Pull rusted nails with a claw bar, and don’t reuse bent shanks. For Nail maintenance, swap to hot‑dip galvanised ring‑shank nails or exterior screws where timber’s split-prone.
Pre-drill near board ends to prevent further cracking, and drive fixings flush, not countersunk, so water doesn’t pool.
For Screw replacement, choose stainless or coated structural screws sized to bite 35–50 mm into sound posts/rails. If holes are stripped, plug with treated hardwood dowel and waterproof exterior glue, then re-screw.
Re-seat rails using brackets or coach screws, and recheck alignment with a straightedge. Tighten, don’t over-torque.
Sand, Treat, and Repaint or Stain Weathered Fencing
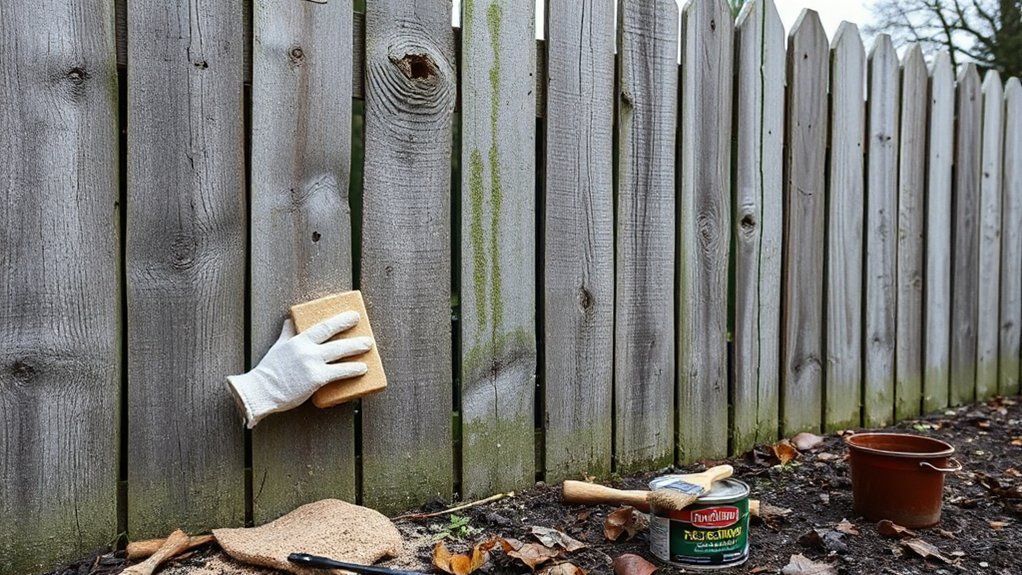
After you’ve cleaned and let the fence dry fully, sand weathered boards to remove loose fibers, peeling finish, and gray oxidation so the new coating can bond.
For Sand preparation, start with 80–100 grit on rough areas, then finish with 120 grit for a uniform key. Feather edges where old paint remains, and vacuum or brush off dust.
Treat black specks or green staining with a fungicidal wash, then rinse and let it dry.
Spot-prime bare softwood with an exterior wood primer; use a knotting solution on resinous knots to prevent bleed.
If you’re repainting, apply two thin coats of exterior masonry/wood paint with a brush to work into grain.
For Fence staining, choose an exterior stain and apply along the grain, back-brushing to avoid lap marks.
Protect Your Fence Before Next Winter Hits
Fresh paint or stain buys you time, but winter moisture and freeze–thaw cycles will still find weak points if you don’t lock them out now. Check posts for wobble, then pack post holes with compacted gravel and re-tighten fixings. Cap every exposed post end; water entry here triggers rot and splitting. Seal end grain and cut edges with a brush-on preservative before topcoating.
For Seasonal maintenance, clear soil and mulch away from rails so timber can dry, and trim plants to restore airflow. Rehang sagging gates, lubricate hinges, and fit a drop bolt to stop racking in high winds. Inspect for hairline cracks, then caulk joints and knot holes. You’ll protect structure and improve Fence aesthetics through winter and storms.
Conclusion
Now you’ve checked hazards, decided what to repair, stopped base rot, and squared up posts and panels. You’ve tightened rails, replaced broken boards, and swapped tired fixings for proper exterior screws. After sanding and treating, you’ve sealed everything with stain or paint so water can’t creep back in. Think of your fence like a coat of armour: maintain it now, and it’ll take next winter’s hits without buckling.