
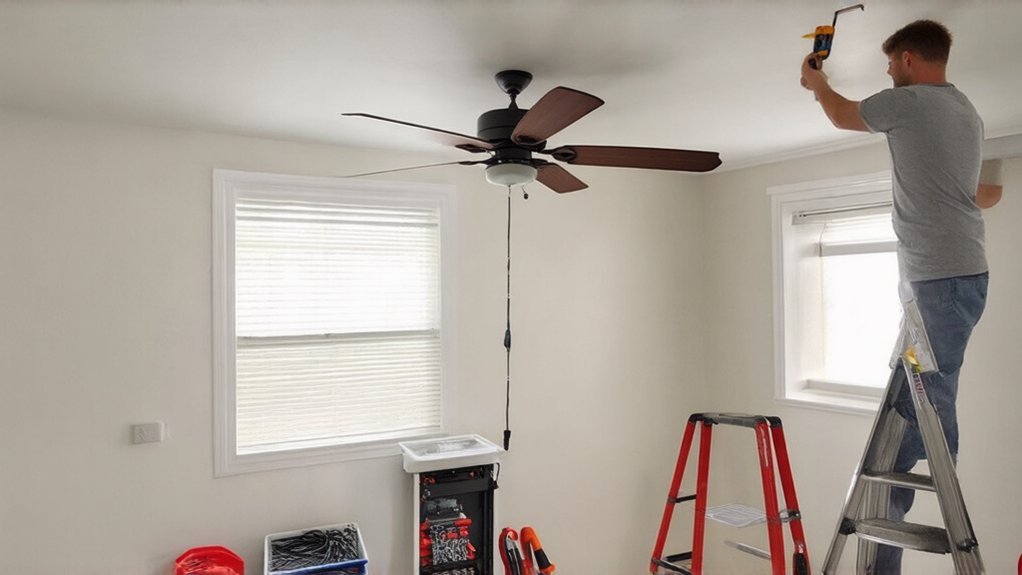
Putting Up A Celing Fan In Simple Steps
Confirm the fan fits your room and clearances, keeping blade tips at least 7 feet above the floor and about 18 inches below the ceiling. Gather tools and verify you’ve got a UL-listed, fan-rated ceiling box secured to framing. Shut off the breaker, tag it, and test for zero voltage before removing the old fixture. Mount the bracket, hang the motor, wire hot/neutral/ground, then install blades and balance wobble. Next, you’ll see setup tips for low, high, or sloped ceilings.
Key Takeaways
- Choose a fan sized for the room, meeting blade clearance rules and maintaining at least 7 feet from floor to blade tip.
- Verify the ceiling box is UL-listed and fan-rated, firmly secured to framing or an approved brace before mounting anything.
- Shut off power at the breaker, lock it out if possible, and confirm zero voltage with a tester before removing the old fixture.
- Install the fan bracket with correct screws, hang the motor on the bracket, and ensure the hanger ball is fully seated.
- Connect ground, neutral, and hot wires correctly, attach blades evenly, then restore power and balance the fan if it wobbles.
Confirm the Fan Fits Your Room and Ceiling
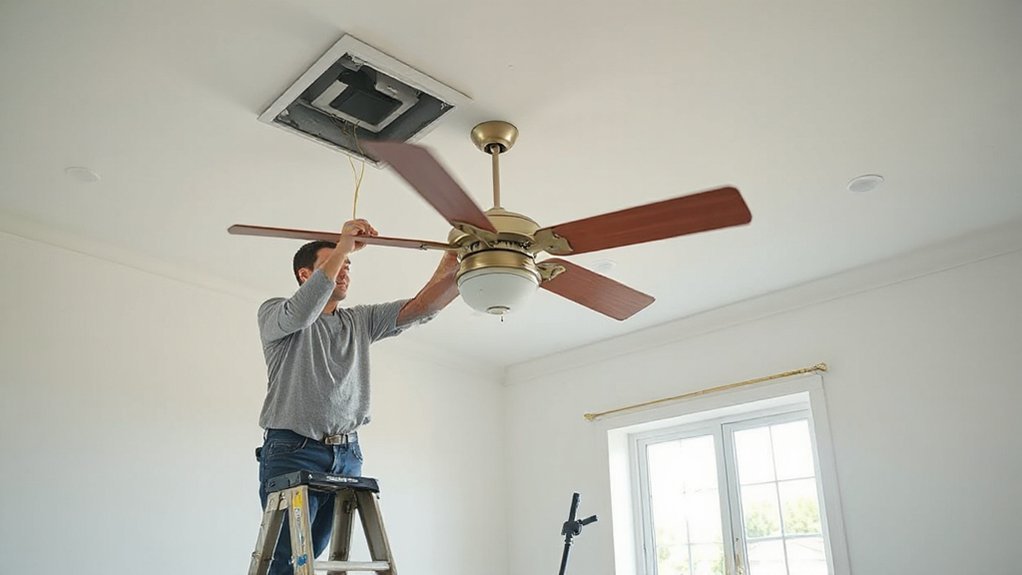
Before you buy or mount anything, confirm the fan’s size, weight, and mounting style match both your room and your ceiling so you don’t create a wobble, noise, or safety hazard.
Match Fan size to the room: undersized units won’t move air, oversized blades can strike doors or walls and violate required clearances. Check the manufacturer’s listed blade sweep and minimum side clearance, and keep at least 7 feet from finished floor to blade tip to meet common code and safety guidance.
Verify Ceiling height: use a standard mount for 8–9 feet, a flush mount for low ceilings, and a downrod for high or sloped ceilings to keep blades in the efficient zone. Keep blades 18 inches below the ceiling for airflow.
Gather Tools and Check for a Fan-Rated Box
Why risk a wobble—or a fall—when the right tools and a fan-rated electrical box keep the installation safe and code-compliant? Start with a Tools checklist: voltage tester, insulated screwdrivers, nut drivers, wire strippers, linesman pliers, torque-rated drill/driver, step ladder, tape measure, level, and approved wire connectors.
Keep Safety precautions front and center: wear safety glasses, use cut-resistant gloves, and set the ladder on a stable surface.
Next, inspect the ceiling box. You need a UL-listed fan-rated box and bracket, secured to framing or an approved fan brace, not just drywall. Confirm the box is labeled for “fan support” and matches the fan’s weight rating.
Check for solid mounting screw threads and undamaged cable clamps and conductors.
Shut Off Power and Remove the Old Fixture
Once you’ve confirmed the box can support a fan, kill power at the breaker (not just the wall switch) and verify it’s truly off with a non-contact voltage tester and, if possible, a meter at the fixture wires. Tag the breaker so no one restores it.
Remove globes and bulbs, then support the old fixture with one hand while you loosen mounting screws. Lower it carefully and note conductor colors and any grounding method for electrical safety.
Undo wire connectors, separate conductors, and cap exposed wires individually. Inspect the box for heat damage, loose clamps, or missing grounding; fix issues before proceeding.
Confirm fixture compatibility by identifying how many conductors you have (hot, neutral, ground, and any switched leg). Don’t nick insulation.
Install the Bracket and Hang the Fan Motor
Next, fasten the fan-rated mounting bracket to the ceiling box using the manufacturer-supplied screws (or the box’s listed 10-32 machine screws), tightening them fully so the bracket sits flat and can’t shift.
Confirm the box is fan-rated and firmly secured to framing; don’t hang a fan from a light-only box.
Verify fan placement aligns with room layout and that ceiling clearance meets the fan manual and local code, including distance from walls, cabinets, and sloped ceilings.
Install any rubber isolators or hanger ball receiver parts exactly as shown.
Then lift the motor assembly and seat the hanger ball or hook into the bracket’s cradle, making sure the safety tab engages.
Support the weight until it’s locked in place securely.
Wire the Ceiling Fan, Attach Blades, and Fix Wobble
Before you make any wire connections, shut off the circuit at the breaker, verify power is truly off with a non-contact tester and a meter at the ceiling box, and keep the conductors separated so nothing can accidentally energize.
Match colors: connect fan hot to switched hot, neutral to neutral, and tie grounds together for proper electrical grounding to the box and bracket.
Use listed wire connectors, tug-test each splice, and fold conductors neatly into the box without pinching.
If you’ve got separate light and fan leads, cap any unused conductor per instructions.
Attach blades with the specified screws and lock washers, tightening evenly so you don’t warp brackets.
Restore power, run the fan, and check wobble.
Do blade balancing with the included weight kit, moving weights until vibration stops.
Conclusion
You’ve confirmed the fan fits, used a fan-rated box, and kept the breaker off while you worked. Now double-check every screw, bracket, and blade is tight, and verify your wire connections match the manufacturer’s diagram and local code. Restore power only after the canopy is secured and the blades spin freely. If there’s wobble, balance the blades before regular use. When it runs smoothly, you’ll feel relief like cool shade on a hot day.…