
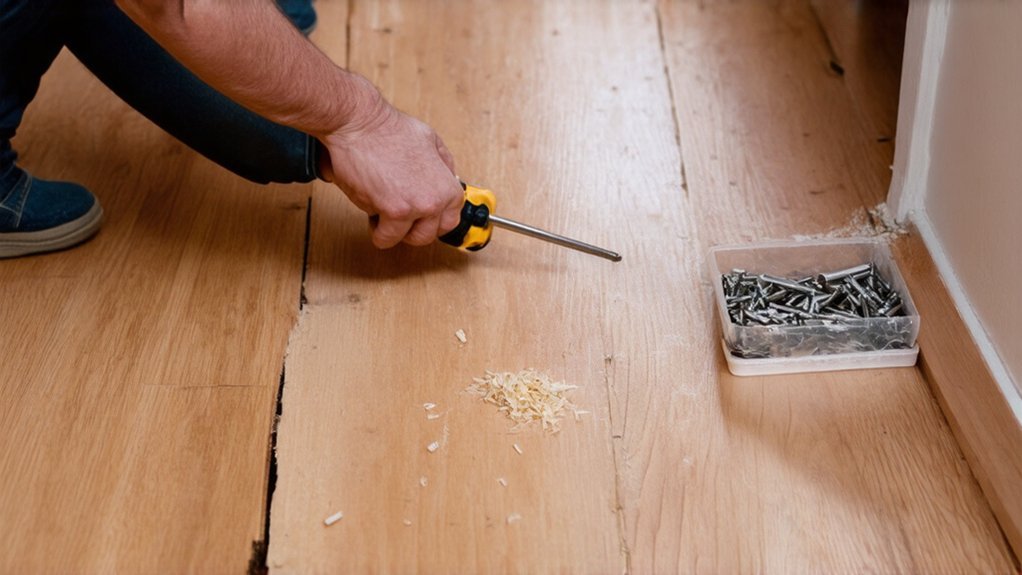
Quick Fixes for Squeaky Floorboards in British Homes
Track the squeak by walking heel-to-toe and marking where the board flexes, then check for proud nails, open joints, or a loose tongue. Dust talc or graphite into the seam and around nail heads, brush it in, and wipe off excess. If there’s a gap, tap in a tapered wooden wedge with light pressure. Add temporary weight for 24 hours to re-seat the board. For a lasting fix, find joists and screw down with pre-drilled holes. Next, you’ll see when shims, joist checks, or pipe clearances are required.
Key Takeaways
- Pinpoint the squeak by walking heel-to-toe, marking noisy spots and noting whether it occurs on compression or release.
- Check for loose boards, open joints, or proud nails; tap nails down and re-seat boards by evenly weighting the area overnight.
- Dust talc or graphite into tongue-and-groove seams and around nail heads, then work it in and wipe away residue.
- Tighten the floor by driving 50–75 mm screws into joists at squeak points, pre-drilling to prevent splitting and ensure heads sit flush.
- If accessible from below, insert thin timber shims at moving joints or add packing to loose noggins, avoiding pipes and cables.
Find What’s Squeaking Under the Floorboards

Where’s the squeak actually coming from—your boards, the joists, or the fixings between them? Start with controlled loading: walk heel-to-toe across the suspect area and mark the exact point of noise and deflection.
For Squeak diagnosis, check whether the sound occurs on compression (board-to-joist rub) or release (nail shank slip).
Perform a Floorboard inspection from above: look for open tongue-and-groove joints, cupped edges, and nail heads proud of the surface. Use a straightedge to confirm localised bowing.
If you’ve got access below, verify joist spacing, check for noggins that have loosened, and confirm services haven’t notched members beyond typical UK limits.
Record findings before selecting any remedy.
Fast Fixes for Squeaky Floorboards (No Lifting Boards)
Once you’ve pinned down the noise point, you can usually suppress the squeak from above without disturbing the boards by locking the board-to-joist interface and eliminating relative movement.
First, check for loose tongues or gaps at board edges; drive in tapered wooden wedges only where there’s clear void, keeping pressure light to avoid jacking.
Next, apply Floorboard lubricants (graphite/talc) into tight joints and around nail shanks; work it in by stepping and wiping excess to prevent slip.
If the noise is impact-related, add Acoustic insulation by laying a compliant underlay or felt between board and finish floor covering, maintaining BS EN 14440/impact-sound intent.
Finally, re-seat boards by evenly loading the area for 24 hours to stabilise contact.
Long-Term Fix: Stop Squeaky Floorboards With Screws
Quick surface treatments can quieten a board for a while, but if the squeak returns you’ll usually need to mechanically clamp the floorboard to the joist with screws so the two can’t slip against each other.
Locate joists with a stud finder or by lifting one board end; mark centres at 400 or 600 mm spacing typical in UK floors. Check services before drilling.
For common floorboard materials (softwood boards, chipboard, or plywood), pre-drill a clearance hole through the board and a pilot into the joist to prevent splitting and mushrooming. Use homeowner tools: drill/driver, countersink, and depth stop.
Drive 4.0–5.0 mm wood screws, 50–75 mm long, so the head sits flush without over-torquing. Repeat at each squeaky point.
Quiet Squeaky Floorboards With Talc and Shims
If you can access the board edge from above or below, you can often stop a light squeak by reducing friction with talc and locking out movement with shims.
First, identify the moving joint by stepping and listening, then expose the gap at the tongue-and-groove or between boards.
Apply plain talc (not perfumed) into the seam, work it in with a stiff brush, and cycle the board with foot pressure to distribute it.
For shims, use thin timber wedges compatible with your floorboard materials; avoid metal.
Insert from below where possible, drive gently until resistance increases, then trim flush.
Don’t overpack; you’re stabilising, not lifting.
Recheck after 24 hours, as household humidity can reopen gaps seasonally.
When Squeaky Floorboards Mean Joist or Pipe Issues
Where does the squeak originate when talc and shims don’t change it—at the board joint, or deeper in the structure? You’ll need to treat it as a load-path and services check, not a cosmetic fix. Mark the squeak line, then walk slowly to isolate the bay and direction of movement.
Lift a board if accessible and perform joist inspection: confirm tight bearing, no split ends, and that nails haven’t loosened or missed the joist. Check for notching or drilling that exceeds UK good practice (keep holes centred and within allowable zones).
If the noise coincides with heating or hot-water use, suspect pipe vibrations: verify clips, sleeving through joists, and clearance from timber. Add compliant restraints or isolation, then refix boards with screws to reduce flex.
Conclusion
You’ve now isolated the noise source, applied no-lift stabilisers, and, where required, upgraded the fixing with screws to BS-style best practice for timber floors. Talc and shims let you tune friction and clearances with controlled, repeatable results. If squeaks persist, treat it like a warning light: check joist integrity, pipe contact, and movement paths before cosmetic work. Document what you changed, retest under load, and confirm the floor runs quiet.…