
Building a Raised Bed Vegetable Garden From Scratch
Start by picking a site with 6–8+ hours of direct sun, good airflow, and easy water access; confirm exposure through the day. Build a bed you can reach into (typically 4 ft wide if accessible from both sides) with rot-resistant, non-leaching lumber and corrosion-resistant screws. Fill it using a 40/40/20 blend of screened topsoil, finished compost, and aeration material, adjusting pH to 6.2–7.0. Plant cool- then warm-season crops, water with drip, mulch 2–3 inches, and keep going for step-by-step details.
Key Takeaways
- Pick a sunny, open site with 6–8+ hours of direct light, good airflow, and paths wide enough for comfortable access.
- Size beds for reach and maintenance: 48 inches wide for two-sided access, 30–36 inches for one-sided, and 6–12 feet long.
- Build with non-toxic, rot-resistant lumber and corrosion-resistant screws; square corners, predrill holes, and follow basic tool safety.
- Fill with a well-draining mix: 40% topsoil, 40% finished compost, 20% aeration; aim for pH 6.2–7.0 and test if possible.
- Plant by season and maintain with drip/soaker watering, 2–3 inch mulch, weekly weeding, and regular pest and disease scouting.
Pick a Sunny Spot for Your Raised Bed Vegetable Garden
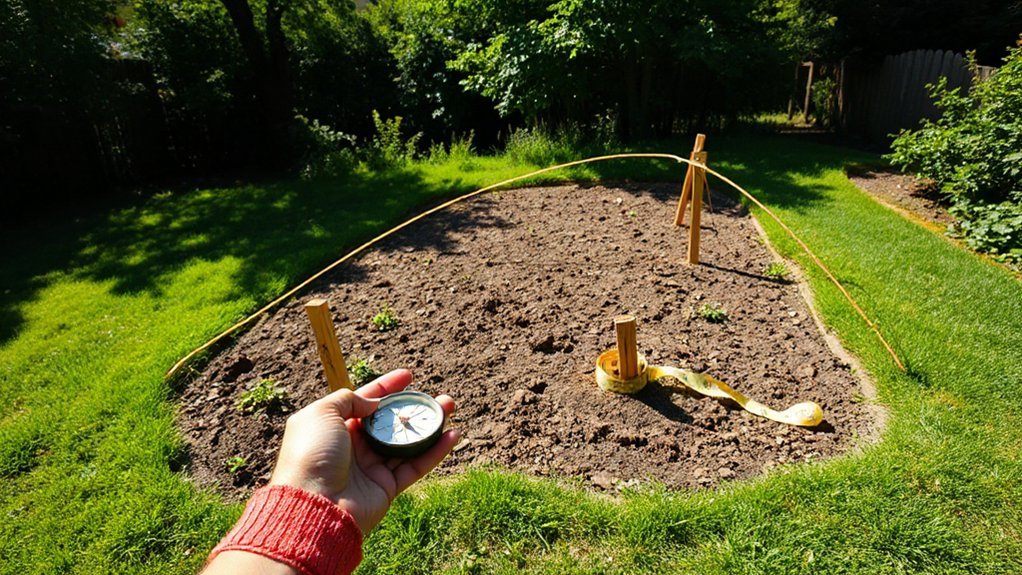
Although you can grow some crops in partial shade, your raised bed will perform best in a location that receives at least 6–8 hours of direct sun per day.
8+ hours of sun is ideal for fruiting vegetables like tomatoes, peppers, cucumbers, and squash. Verify sun exposure by observing the site at 2–3 hour intervals or using a solar-path app; note midday obstructions from trees and buildings.
Favor southern exposure and keep the bed away from reflective heat traps that elevate soil temperature beyond ideal root-zone ranges.
Guarantee convenient access to water, because consistent moisture improves nutrient uptake and reduces stress-related pest outbreaks.
For garden pest management, choose an open, breezy spot to lower foliar humidity and disease pressure.
Plan nearby composting techniques so finished compost is easy to apply without shading.
Choose Raised Bed Dimensions That Fit Your Space
You’ll start by measuring your site’s usable footprint while confirming sun exposure and access for tools, water, and maintenance.
You’ll then set bed width and length to match your reach—typically keeping beds about 3–4 ft wide if you can access both sides—so you can work efficiently without compacting soil.
Finally, you’ll choose a bed height that fits your mobility and drainage goals and leave pathways wide enough for safe, frequent traffic.
Measure Sun And Access
Where does the sun actually fall across your yard from morning to late afternoon? Track it for 2–3 clear days, logging full sun hours at the proposed bed footprint. Use a phone compass or solar app to note azimuth and obstructions, then map shade considerations from trees, fences, and buildings at 9 a.m., noon, and 3 p.m.
Aim for 6+ hours of direct light for fruiting crops. Next, evaluate wind exposure: flag prevailing wind direction and speed, and watch for turbulence near corners and walls that can desiccate seedlings.
Finally, measure access. Mark door-to-bed travel lines, hose reach, and wheelbarrow turns. Keep paths straight, level, and wide enough for tools without stepping into soil.
Optimize Bed Width And Length
How wide and long should your raised bed be to maximize planting area without sacrificing reach and access? Set bed width by your comfortable reach: most adults manage 24 inches from one side, so 48 inches works when you can access both sides; choose 30–36 inches if access is from one side only. Use these ranges to reduce compaction and make harvesting faster.
Set bed length to fit your site and materials, not an arbitrary number. Keep runs manageable for watering uniformity and structural straightness; 6–12 feet typically stays square with standard lumber lengths and minimizes bowing.
If you need more area, replicate modules rather than stretching one bed. This standardizes crop rotation, supports consistent spacing, and simplifies season planning.
Plan Height And Pathways
Next, set bed height and pathway width together, because they control drainage, root volume, ergonomics, and long-term access.
For most vegetables, build 10–12 inches of soil depth; go 18–24 inches if you’ll grow carrots, parsnips, or tomatoes and want stronger drought buffering.
Keep the top edge 16–24 inches high if you need easier bending; don’t exceed what you can fill with quality soil.
Size pathways for your tools and gait. Aim for 24–30 inches for foot traffic, 36–48 inches if you’ll wheel a cart.
Use compacted mulch or gravel to reduce mud, improve pest prevention by limiting slug habitat, and sharpen garden aesthetics with consistent lines.
Leave turning space at bed ends.
Build Your Raised Bed Frame (Safe Materials + Tools)
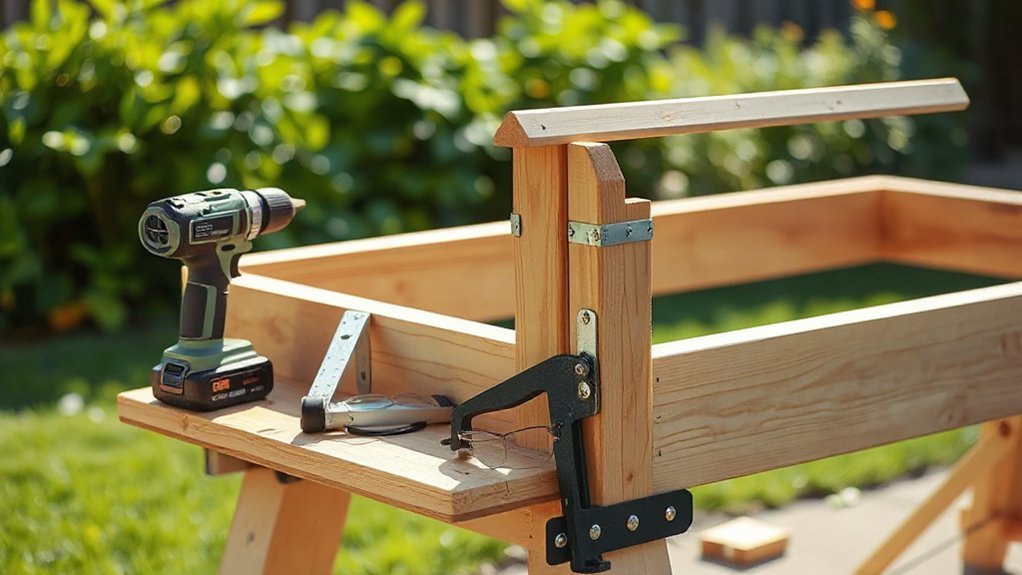
Before you cut a single board, choose frame materials and fasteners that won’t leach harmful compounds into your soil. Then stage the right tools so you can build square, level, and structurally rigid beds.
Use naturally rot-resistant lumber (cedar, redwood) or heat-treated pine; avoid creosote ties and older pressure-treated stock. Fasten with exterior-grade, corrosion-resistant screws (stainless or ceramic-coated), not drywall screws.
Measure twice, cut once with a miter saw or circular saw and guide. Clamp corners, predrill to prevent splitting, then drive screws to consistent depth.
Confirm squareness by matching diagonals; check level on every side before final tightening. Follow safety precautions: eye/ear protection, gloves, stable work surface.
Prioritize tool maintenance—sharp blades, charged batteries, calibrated squares—so cuts stay true and joints don’t rack.
Fill Your Raised Bed (Soil Recipe + How Much to Buy)
You’ll get better yields if you fill your raised bed with a consistent, well-draining mix—typically a balanced blend of screened topsoil, finished compost, and aeration material (like coarse vermiculite or pine bark fines).
Before you buy anything, you’ll calculate the soil volume you need by multiplying bed length × width × fill depth, then convert to cubic feet or cubic yards to match supplier units.
With those numbers, you can source ingredients in the right proportions and avoid underfilling, overbuying, or settling-related sinkholes.
Raised Bed Soil Recipe
Although raised beds give you tight control over drainage and fertility, the bed performs only as well as the soil blend you put in it. Build a stable, biologically active mix by combining 40% screened topsoil, 40% mature compost, and 20% aeration material (pumice, perlite, or coarse sand).
This compost mixture supplies nutrients and microbes, while topsoil anchors structure and water-holding. Aim for a crumbly texture that forms a weak ball when squeezed, then breaks with a tap.
Adjust pH toward 6.2–7.0 using lab-tested lime or elemental sulfur. Add soil amendments based on crop demand: 1–2 cups rock phosphate per 10 sq ft for root crops, and 1 cup greensand for potassium. Mix thoroughly to prevent nutrient hotspots.
Calculate Soil Volume Needed
How much soil do you actually need to fill a raised bed to working depth without overbuying? Measure interior length, width, and target depth (in feet), then multiply: L × W × D = cubic feet.
Convert to cubic yards by dividing by 27. Example: a 4×8 bed filled to 1.0 ft needs 32 ft³, or 1.2 yd³.
Subtract 10–15% if you’re topping existing soil, but add 10% for settling after watering.
Buy bulk by the cubic yard when volume exceeds ~1 yd³; use bagged soil (labeled in ft³) for small beds.
Before final purchase, run Soil testing to confirm texture and pH, then adjust your mix using composting techniques and targeted amendments.
Choose Vegetables for Your Raised Bed by Season
Because soil warms and cools faster in a raised bed, you’ll get the best yields by matching crops to seasonal temperature ranges rather than planting everything at once.
In early spring, target cool-season crops that tolerate 40–70°F soils: peas, spinach, lettuce, radish, and brassicas.
After your last frost and once soil holds near 65°F, switch to warm-season fruiting crops: tomatoes, peppers, cucumbers, beans, and squash; these stall below ~55°F.
In late summer, re-seed fast cool-season greens for fall as nights drop; choose varieties with short days-to-maturity.
Use companion planting to reduce pest pressure: interplant alliums with carrots to disrupt fly location, and pair basil with tomatoes for improved pest control.
Rotate plant families yearly to limit soilborne disease.
Water, Mulch, and Maintain Your Raised Bed Garden
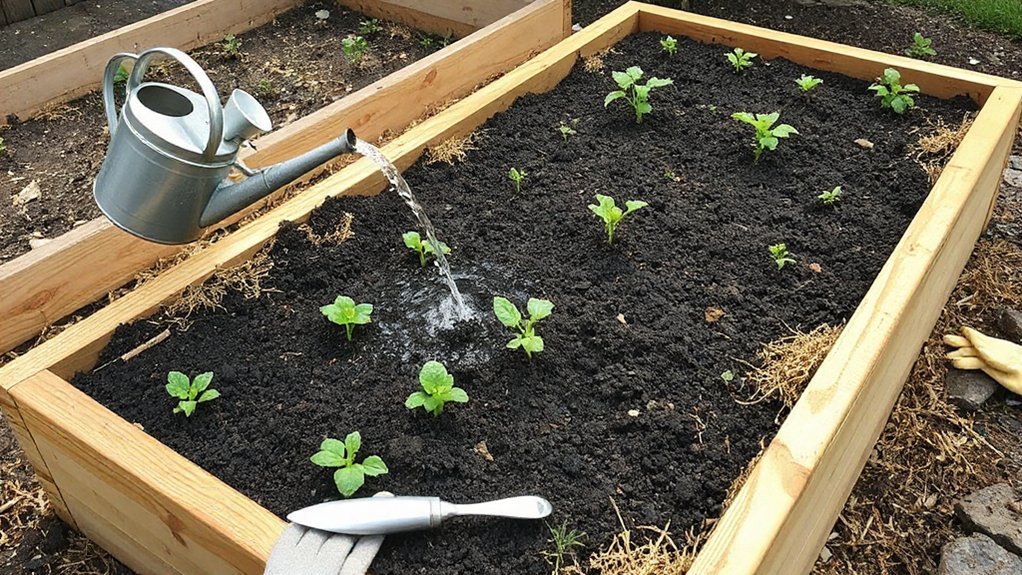
Once you’ve planted, consistent moisture and surface protection become the main controls on growth, yield, and disease pressure in a raised bed. Use watering techniques that target the root zone: drip lines or soaker hoses deliver uniform wetting and reduce leaf wetness.
Water early, and apply enough to moisten 6–8 inches; then let the top inch dry slightly to limit damping-off and fungus. Check moisture with your finger or a probe, and adjust frequency as temperatures rise.
Select mulch types based on crop and climate: shredded leaves or straw insulate and suppress weeds; compost mulch feeds soil but can crust if overapplied. Maintain 2–3 inches, keep mulch off stems, and top-dress midseason.
Pull weeds weekly, scout pests, and re-level irrigation.
Conclusion
You’ve picked sun, sized the bed, built a safe frame, and filled it with a calibrated soil mix. You’ve matched crops to season, then set water and mulch to stabilize moisture and temperature. Now the variables narrow: light, nutrients, and consistent irrigation. But there’s one final test you can’t shortcut—observation. Over the next 7–14 days, you’ll track emergence, leaf color, and soil dampness at 2 inches deep. Miss it, and yield slips quietly.…