
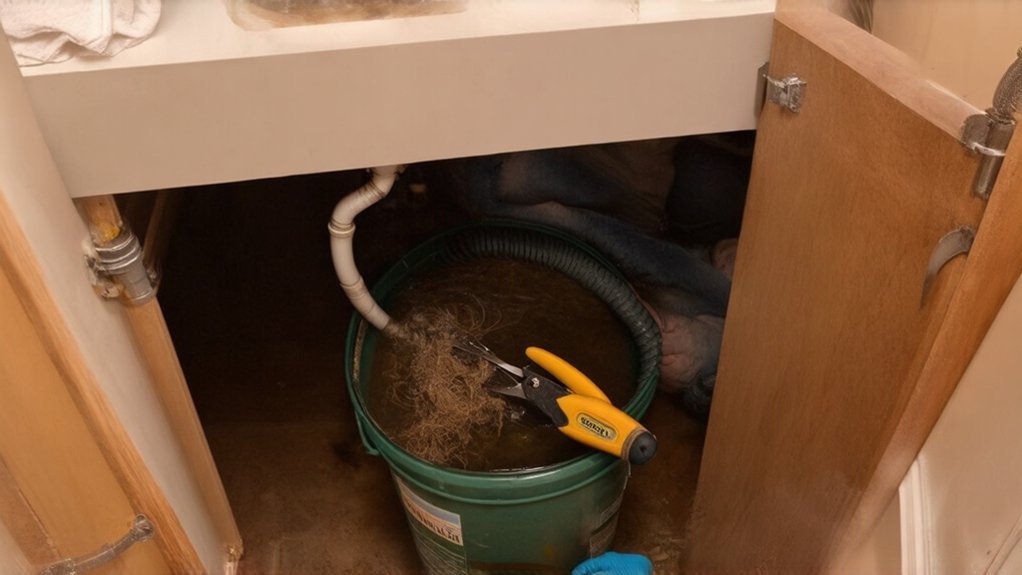
home repair

fixing a clogged sink
Plumbing & Electric Fixes

How to Repair a Slow‑Draining Sink Without Calling a Plumber

Start by timing drainage: run water 30 seconds, stop, and watch drawdown; instant backup points to the stopper, strainer, or trap, while gradual slowing suggests a branch drain or vent issue. Flush with hot water 2–3 minutes, then dump a full basin. Plunge with the overflow sealed, or use a wet/dry vac to pulse suction. Remove and scrub the stopper, then clean the P-trap and reassemble leak-free. If it’s still slow, hand-snake the wall stub-out to clear deeper clogs—and there’s more help ahead.

Key Takeaways

  • Diagnose the slowdown by timing drawdown after a 30‑second run; early backup indicates trap/strainer issues, later slowdown suggests branch or vent problems.
  • Flush with hot water 2–3 minutes, then dump a full basin to scour grease and loosen soft buildup.
  • Plunge effectively by sealing the overflow, adding enough water to cover the bell, and pumping 10–15 strong strokes.
  • Remove and clean the stopper and drain opening using a plastic drain tool, then scrub with detergent and rinse hot.
  • Disassemble and clean the P‑trap, or snake through the wall stub‑out for deeper clogs; avoid caustic chemicals and leak‑test afterward.

Find Where the Slow‑Draining Sink Clog Is
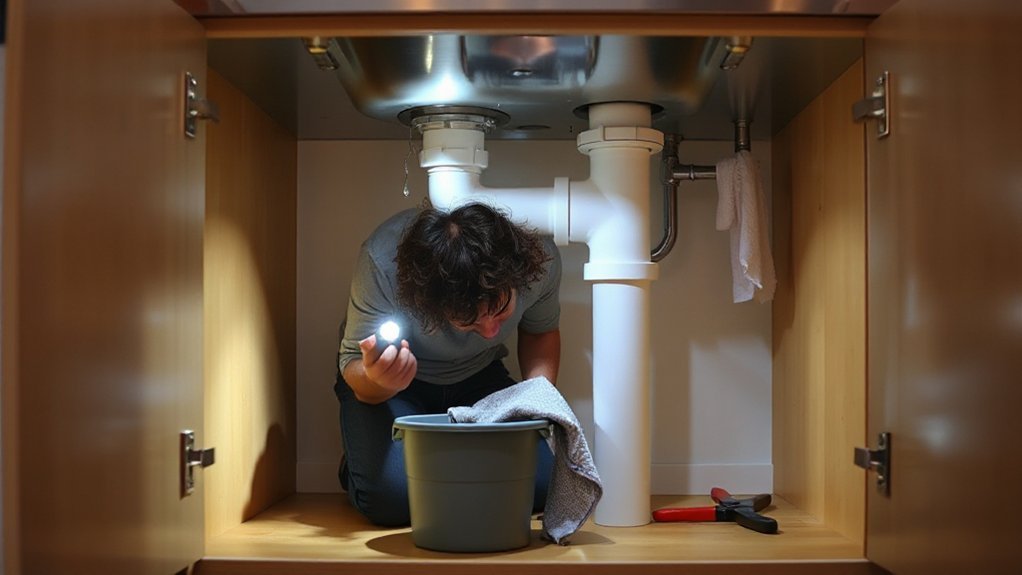
identify sink clog location

Before you start disassembling anything, pinpoint where the restriction is by checking how the sink drains under controlled conditions. Run water at a fixed flow rate for 30 seconds, then stop and time the drawdown.

If the bowl backs up immediately, suspect the tailpiece, strainer, or trap arm. If it slows after initial flow, suspect the branch drain or venting.

Shut off power to any nearby receptacles and use PPE. Perform Pipe inspection by verifying the trap weir isn’t siphoning and the trap arm has proper slope.

Use Drain visualization with a flashlight and mirror through the stopper opening, and note gurgling, oscillating water level, or sewer odor, which indicates a partial blockage or vent restriction upstream.

Try Fast Fixes for a Slow‑Draining Sink

Now that you’ve narrowed down where the restriction likely sits, start with fast, low‑risk fixes that don’t require opening the drain. Run hot water for 2–3 minutes to soften grease, then flush with a full basin dump to increase hydraulic scouring.

Next, use a cup plunger: seal the overflow with a damp rag, add enough water to cover the bell, and pump 10–15 strokes to create pressure oscillation.

If you have a wet/dry vacuum among your DIY tools, switch to wet mode, seal the hose at the drain with a towel, and pulse suction.

Avoid caustic chemicals that can damage piping and violate local code guidance. Add these steps to your maintenance schedule to prevent recurrence.

Clean the Stopper and Drain Opening (Hair/Soap)

If the sink still drains slowly, the stopper and drain throat often hold a compacted plug of hair, soap scum, and toothpaste that restricts flow. Put on nitrile gloves and eye protection, then close the faucet and remove standing water with a cup.

Release the stopper: for a lift‑rod type, loosen the clevis strap pivot linkage and lift the stopper out; for a pop‑up, twist and pull per the manufacturer’s design. Use a plastic drain tool or hemostat to extract debris from the drain opening without scratching the finish.

Scrub the stopper with a nylon brush and mild detergent; don’t use caustic chemicals. Rinse hot, reinstall, and test.

This Drain cleaning step improves Stopper maintenance and restores flow.

Clear the P‑Trap Under the Sink (and Reassemble)

When debris slips past the drain opening, it often settles in the P‑trap—the U‑shaped fitting under the sink that holds a water seal and can clog with soap scum and grit. Place a bucket under it, put on gloves, and ventilate the cabinet area. Close the stop valves if you’ll disturb the supply lines.

Loosen the slip nuts by hand or with tongue‑and‑groove pliers, supporting the trap arm to prevent strain on the trap adapter. Lower the trap, drain it, and remove buildup with a bottle brush; flush the parts with hot water.

For pipe maintenance, verify the beveled washers face the correct direction and the trap weir aligns without cross‑threading. Reassemble finger‑tight, then snug 1/4 turn. Run water and perform leak inspection at every joint.

Snake the Drain for Deep Clogs (Then Prevent Repeats)

A clean, properly reassembled P‑trap that still drains slowly points to a clog farther down the branch drain, and a hand auger (drain snake) clears it mechanically without relying on caustic chemicals. Place a bucket, wear gloves and eye protection, and remove the trap arm to access the wall stub-out.

Feed the cable into the branch, rotate clockwise, and advance until you feel resistance. Work the head through the obstruction with short push-pull strokes, then retract while rotating to capture debris. Restore the slip-joint washers, tighten hand-tight plus a quarter turn, and leak-test.

For drain maintenance and clog prevention, flush hot water weekly, use a strainer, keep grease and coffee grounds out, and enzyme-treat monthly.

Conclusion

You’ve traced the restriction, tried quick clears, cleaned the stopper, serviced the P-trap, and snaked the branch drain, so your sink should discharge freely. Verify flow with hot water and check every slip-joint for leaks; tighten hand-snug plus a quarter turn, not over-torqued. If you used chemicals, flush per label and ventilate. Treat the drain like a highway after an accident—keep debris out. Use a screen, avoid grease, and rinse routinely.…
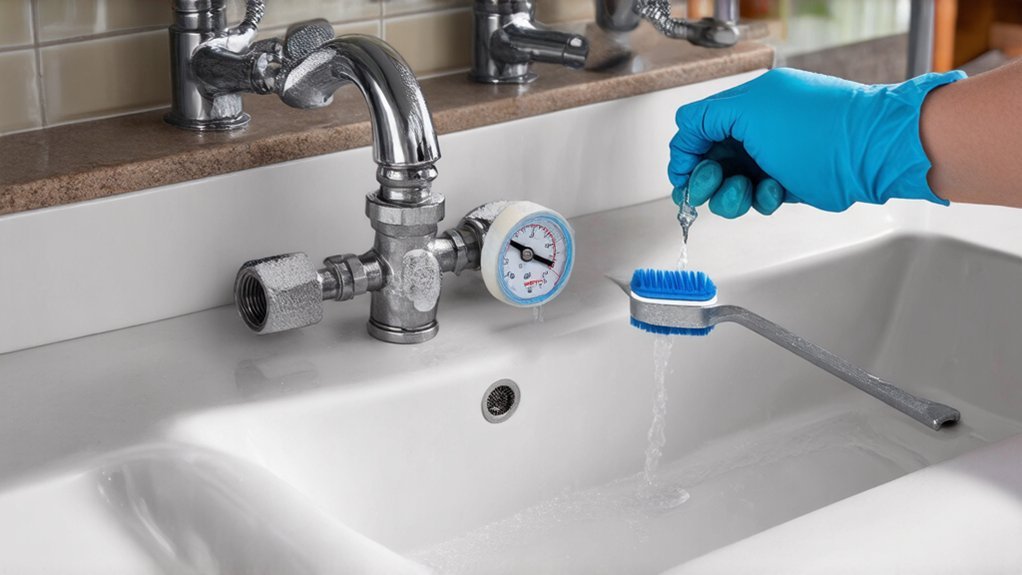
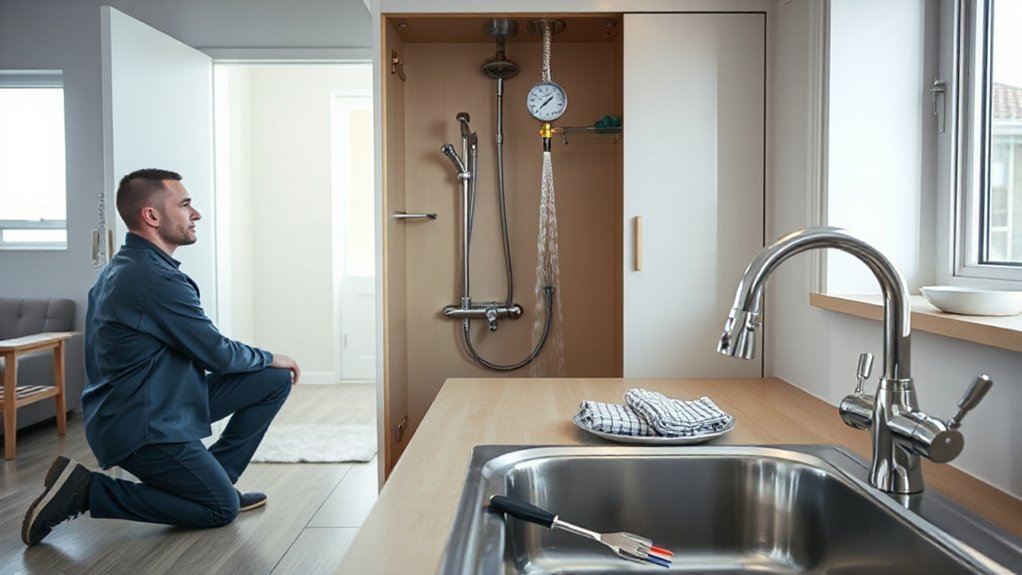
improve bathroom kitchen water pressure
Plumbing & Electric Fixes

How to Fix Low Water Pressure in Bathrooms and Kitchens

Check whether low pressure hits one fixture or the whole house by testing hot and cold at several taps, then confirm with a hose-bibb gauge (aim 40–60 psi). If it’s isolated, remove and clean the faucet aerator or showerhead screen with vinegar and flush debris. For tub/showers, strong tub flow but weak shower points to a worn diverter. If it’s everywhere, verify valves are fully open, inspect supply lines, and check the PRV. More steps follow.

Key Takeaways

  • Test hot and cold at several fixtures to see if low pressure is localized or affects the whole house.
  • Measure static and running pressure with a hose-bibb gauge; aim for 40–60 psi and note drops under flow.
  • Fully open main shutoff, meter valve, and under-sink angle stops; replace kinked or collapsed supply lines.
  • Clean or replace faucet aerators and showerhead screens by removing debris and soaking parts in white vinegar.
  • If pressure is low everywhere, check/adjust the PRV and look for leaks using the water meter; call a plumber for hidden leaks.

Diagnose Low Water Pressure: One Fixture or Whole House

check entire plumbing system

Before you start adjusting valves or swapping parts, confirm whether the pressure drop affects one fixture or the whole house. Check both hot and cold at several taps, then compare showers, kitchen, and outdoor hose bibbs to isolate zones.

For Water pressure testing, thread a gauge onto a hose bibb or laundry tap and record static pressure, then open a fixture to note dynamic pressure. Most homes target 40–60 psi per common code guidance.

If readings are low everywhere, verify the main shutoff and meter valve are fully open and look for recent utility work.

If pressure is normal at the gauge but weak at distant branches, prioritize Pipe corrosion detection: inspect exposed galvanized runs, discoloration, pinhole leaks, or debris at shutoffs.

Fix Low Water Pressure at Faucets (Aerators & Buildup)

Once you’ve confirmed the pressure drop shows up at a specific faucet rather than the whole house, start with the simplest restriction point: the aerator or faucet outlet.

Shut off the faucet, close the drain, and use padded pliers to remove the aerator without damaging the finish. Inspect the screen for debris and mineral buildup; note whether flow improves with the aerator removed (briefly run water to test, controlling splash).

Perform aerator cleaning by soaking parts in white vinegar, then brushing and rinsing. Replace cracked screens or missing O-rings to prevent leaks.

If the faucet has a concealed outlet, follow the manufacturer’s instructions and don’t exceed torque.

Restore service, verify steady flow on hot and cold, and recheck for drips.

Fix Low Water Pressure in the Shower (Head, Restrictor, Diverter)

If the low pressure shows up mainly in the shower, isolate whether the restriction sits at the showerhead, the flow restrictor, or the tub/shower diverter.

Start by turning off the shower, then cover the drain so small parts can’t fall in. Unscrew the shower head and check the inlet screen for grit or scale; flush it and soak parts in vinegar if allowed by the manufacturer.

If spray is still weak, look for flow restrictors inside the head or connector; remove only if your local code permits, since many jurisdictions require them for water efficiency.

For tub/shower combos, run the tub spout: strong tub flow but weak shower points to a worn diverter. Replace the diverter assembly or spout per listed parts.

Check Shutoff Valves, Supply Lines, and the Pressure Regulator

Low pressure that isn’t confined to a single fixture usually traces back to a partially closed shutoff, a kinked or clogged supply line, or a misadjusted pressure-reducing valve (PRV).

Start with Valve maintenance: confirm the main valve and all branch shutoffs are fully open, then check under-sink angle stops for seized stems or debris. Inspect braided connectors for sharp bends, crushing, or internal liner collapse, and replace any damaged line with the correct rated length and washers.

Next, do Pressure testing with a threaded gauge at a hose bibb or laundry tap; most systems should read roughly 40–80 psi. If pressure is low everywhere, inspect the PRV direction arrow and screen, then adjust per manufacturer instructions, in small increments, without exceeding code limits.

Find Hidden Leaks and Know When to Call a Plumber

Because a concealed leak can mimic system-wide pressure loss, you should rule it out before you keep adjusting valves or the PRV.

Start with Leak detection: shut off all fixtures, then watch the water meter; if the dial moves, you’ve got flow somewhere. Check under sinks, behind toilets, at the water heater, and along exposed piping for corrosion, staining, or damp insulation. Listen for hissing in walls and note warm spots on slabs.

Don’t ignore a running toilet; it can drop pressure at other taps.

For Plumbing maintenance, replace failed supply lines and repair dripping stop valves promptly.

Call a licensed plumber if you suspect a slab leak, hidden piping failure, gas water heater issues, or any code-required repairs.

Conclusion

Low water pressure won’t fix itself, but you can. You diagnose whether it’s one fixture or the whole house, you clean aerators and flush buildup, you service the showerhead, restrictor, and diverter, and you confirm shutoffs, supply lines, and the pressure regulator are fully open and set within code. You listen for leaks, you watch the meter, you document changes. If pressure stays unsafe or pipes show damage, you call a licensed plumber.…

Scroll to Top