
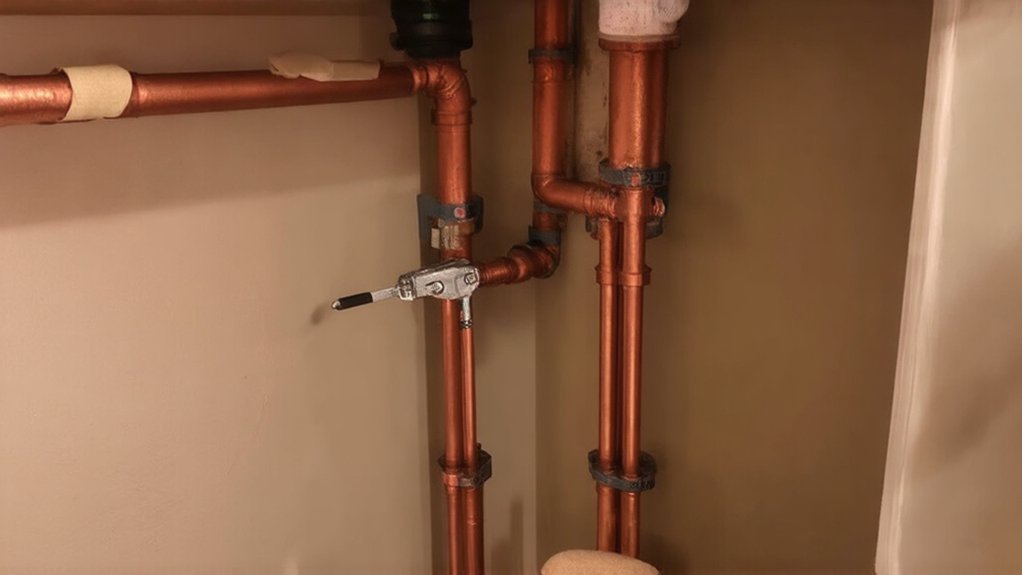
How to Stop Noisy Pipes: Causes and Quick Fixes
Match the sound to the cause, then fix it safely. If you hear banging after shutoff, you’ve got water hammer—check pressure (aim 40–80 psi), adjust/replace the PRV, and add listed hammer arrestors at quick-closing valves. Rattling means loose supports, so tighten or replace straps, add rubber isolators, and meet support spacing. Whistling points to high velocity or a failing stop/PRV—fully open stops, clean screens, and lower pressure. Gurgling signals venting or drain issues that may need code checks—there’s more to try next.
Key Takeaways
- Identify the noise type: banging (water hammer), rattling (loose supports), whistling (valve/PRV issues), and gurgling (venting or drain blockage).
- Check for loose straps or pipes touching framing; tighten clamps and add rubber/foam isolators to prevent vibration.
- Verify fixture stops and appliance shutoffs are fully open; clean aerators, screens, and cartridges to remove debris causing turbulence.
- Measure water pressure with a hose-bibb gauge; adjust or add a PRV to keep pressure about 40–80 psi (often 50–70 ideal).
- Fix water hammer by adding hammer arrestors at quick-closing fixtures and consider an expansion tank if pressure spikes persist.
Identify the Noise: Banging, Rattling, Whistling, Gurgling
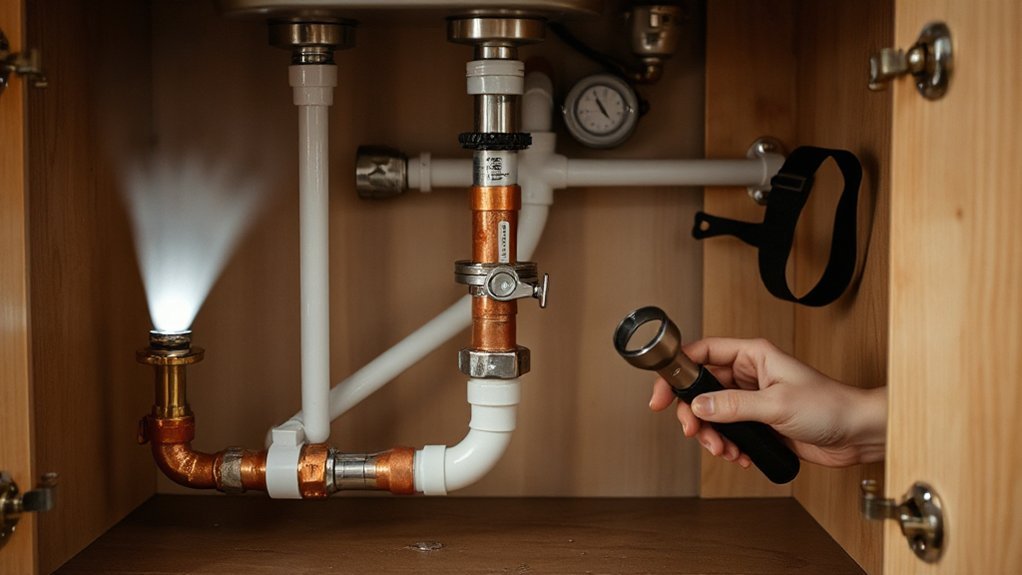
Before you reach for tools, you need to identify exactly what your pipes are “saying,” because each sound points to a different, code-relevant fault condition.
Banging usually indicates water hammer from fast-closing valves or inadequate support; note where it occurs and whether it follows fixture shutoff.
Rattling suggests loose pipe straps or contact with framing during flow changes, often violating support spacing requirements.
Whistling commonly tracks to a partially closed stop, failing pressure-reducing valve, or undersized supply creating excessive velocity.
Gurgling points to improper venting, partial drain obstruction, or trap siphonage, all drainage-code concerns.
Record which fixtures trigger it, hot vs. cold, and timing.
Also note condensation zones; Pipe insulation reduces thermal movement noise and supports corrosion prevention by limiting moisture.
Try These Quick, Safe Checks Before You Start
Since a “quick fix” can turn into a leak or shock hazard fast, start with a few noninvasive checks: confirm the noisy line isn’t contacting framing (look for scuff marks and loose straps), verify all fixture stops and appliance shutoffs sit fully open unless you’re deliberately throttling, and check for abnormal pressure by reading a hose-bibb gauge (most residential systems should run roughly 40–80 psi; higher pressure calls for PRV service).
Next, inspect exposed hot and cold runs for missing Pipe insulation where they pass through studs or rest on metal hangers; add listed insulation to reduce expansion noise and condensation.
Confirm escutcheons and trim plates aren’t binding the pipe.
Finally, if noise appears only at one fixture, clean aerators and showerheads and ensure supply hoses aren’t kinked.
Stop Banging Pipes: Fix Water Hammer Fast
If your quick checks look fine but you still hear a sharp bang when a valve or solenoid shuts off, you’re likely dealing with water hammer—an abrupt pressure spike that slams moving water against fittings and framing.
First, confirm your supply pressure meets code (typically 40–80 psi); if it’s high, install or adjust a pressure-reducing valve and add a thermal expansion tank where required.
Next, tame the water flow rate by partially closing fixture stop valves or adding a listed flow restrictor; slower velocity reduces the shock wave.
Install code-approved water hammer arrestors at fast-closing devices like dishwashers, washing machines, and ice makers, sizing per manufacturer specs.
Add Pipe insulation where pipes pass through studs to dampen impact noise without constricting movement.
Quiet Rattling Pipes by Securing Loose Straps
Track the rattle by inspecting exposed runs and locating loose pipe straps or hangers at studs, joists, and penetrations.
Bring the support up to code by tightening or replacing straps, then add approved cushioning (rubber isolators or sleeved clamps) to prevent pipe-to-framing contact.
Where movement persists, install properly sized pipe clamps/hangers at the required spacing and recheck for clearance and noise.
Locate Loose Pipe Straps
Where does that rattling actually come from? It’s usually a pipe shifting inside a loose strap or hanger when flow starts or stops.
Start by tracing the sound: run one fixture at a time and listen along exposed runs in basements, crawlspaces, and under sinks. Look for straps that let the pipe move, missing fasteners, or hangers pulled out of framing.
Confirm clearance at penetrations and avoid binding against joists or studs. For code-sound support, check that horizontal runs are supported at proper intervals and that straps aren’t corroded or deformed.
Note spots where pipe insulation is torn or missing; movement often abrades it. If pipe painting is planned, mark noisy locations first so you don’t hide suspect hardware.
Add Cushioning And Clamps
Once you’ve pinpointed the loose strap or hanger, stop the rattle by taking up the slack and isolating the pipe from hard surfaces. Slide cushioning foam or a rubber isolator between the pipe and framing, then re-seat the strap so it holds the pipe firmly without pinching.
Keep clearance from sharp edges and don’t compress insulation that’s required for condensation control. Replace bent straps with approved pipe clamps sized to the pipe’s OD, and fasten into solid wood or blocking with corrosion-resistant screws.
Space supports per code for the material (copper, CPVC, PEX), and add an extra clamp near elbows and valves. After tightening, run water and listen; adjust until vibration stops.
Fix Whistling Pipes by Lowering Water Pressure
If your pipes whistle when you open a faucet or flush a toilet, excessive water pressure often drives the vibration through valves and supply lines. Verify pressure with a hose-bibb gauge at an exterior spigot; many codes and manufacturers target 40–60 psi, and readings above 80 psi typically require correction.
If you have a pressure-reducing valve (PRV), shut off fixtures, loosen the locknut, and turn the adjustment screw counterclockwise to lower water pressure, then retest under flow.
If no PRV exists or it won’t hold setpoint, install or replace a listed PRV and add a thermal expansion tank where required by code on closed systems.
After you stabilize pressure, add pipe insulation where lines contact framing to damp residual whistle.
Stop Gurgling and Squeals: Bleed Air and Replace Washers
If you’re hearing gurgling or a sharp squeal, you’ll need to purge trapped air and verify the shutoff valves are fully open.
You can bleed the lines by shutting off the water, opening the highest and lowest fixtures to vent, then restoring service until flow runs steady.
If the squeal persists, you’ll replace worn faucet or toilet fill-valve washers with manufacturer-listed parts, reassemble to spec, and confirm the noise is gone under normal pressure.
Bleed Trapped Air
When air gets trapped in your water lines, it compresses and expands as fixtures cycle, which triggers gurgling, spitting, and high-pitched squeals. You can purge that air safely by bleeding the system from the highest fixture down, keeping control of water pressure.
Start by turning off the water heater (gas to “pilot” or electric breaker) to protect elements. Fully open the highest hot faucet, then open the highest cold faucet.
Next, open lower-level faucets one at a time, including tubs and outdoor hose bibbs, until flow runs steady with no spurts. Flush toilets last.
Keep the main shutoff fully open during bleeding to prevent partial-closure turbulence.
Restore normal settings, then recheck for vibration; add pipe insulation where lines contact framing.
Replace Worn Washers
Why do some faucets gurgle or squeal even after you’ve bled the lines? Worn faucet or stop-valve washers can flutter, leak, and induce turbulence that sounds like gurgling.
Shut off the fixture’s supply stops, open the faucet to relieve pressure, then disassemble the handle and stem. Replace the rubber washer and O-ring with matching parts, and inspect the seat for pitting; dress or replace it if needed.
Reassemble and restore water, then make small valve adjustments so stops are fully open, not throttled mid-way. Verify there’s no code-prohibited cross-connection or missing vacuum breaker on hose bibbs.
Afterward, add pipe insulation on nearby runs to reduce vibration transfer. Test flow at hot and cold.
Silence High-Pitched Squeals
Although you’ve already bled the lines and swapped worn washers, a high-pitched squeal usually points to a restriction that’s driving water to cavitate or a valve component that’s still chattering under pressure. Verify the stop valve is fully open, then inspect angle stops, aerators, and cartridges for debris; flush screens and replace cartridges that vibrate.
If you’ve got a pressure-reducing valve, confirm it’s correctly set (typically 50–70 psi) and replace it if it hunts. Add listed water-hammer arrestors at quick-closing fixtures per code and secure loose supply lines with approved clamps, keeping required clearances from electrical.
Wrap exposed runs with pipe insulation to damp resonance, then line access panels with soundproofing materials rated for moisture and fire.
Conclusion
Noisy pipes aren’t “just old house charm”—they’re a warning flag. Think of it like a server log: one odd entry is easy to ignore until the system crashes. One homeowner I worked with chased a midnight bang for weeks; a $12 water-hammer arrestor dropped the spike from ~80 psi to 55 psi and the noise stopped. You’ll get faster results by identifying the sound, securing straps, setting pressure to code, bleeding air, and swapping worn washers.…