Building a Pergola: A Stylish Way to Add Shade and Structure to Your Outdoor Space
You’ll get the best pergola by first tracking seasonal sun and wind, then choosing slats, tighter rafters, or a retractable canopy that won’t act like a sail. Stake out the footprint to confirm door swings, grill clearance, and sightlines, and call for utility locates before digging. Pick wood, vinyl, or metal that fits your home’s lines and local uplift/footing rules. Keep hardware corrosion-resistant, manage runoff, and you’ll see smart options ahead.
Key Takeaways
- Choose a shade style (slats, tight rafters, or retractable canopy) based on seasonal sun angles and local wind exposure.
- Size and place the pergola to protect door swings, grills, and sightlines while catching breezes and avoiding roof drip lines.
- Confirm setbacks, easements, utility locates, and permit rules for height, attachment, footing depth, and wind uplift.
- Select materials to match your home and climate: wood for customization, vinyl for low maintenance, metal for slim modern spans.
- Build with correct footings, braced plumb posts, code-rated connectors, corrosion-resistant hardware, and planned conduit for lighting and fans.
Decide What Shade and Style You Want
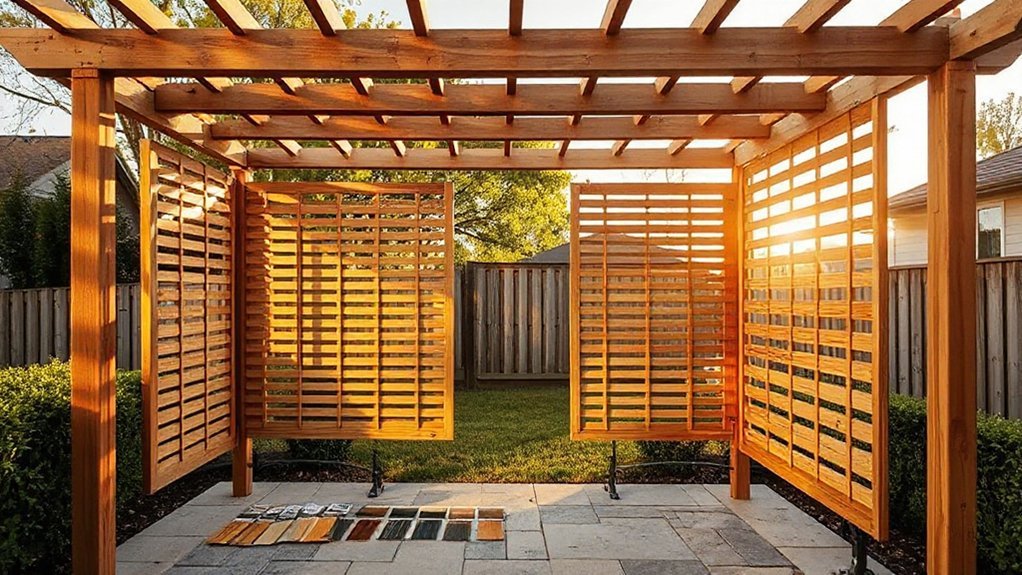
Before you buy lumber or dig footings, decide how much shade you actually need and what style fits your site. Track sun angles across seasons, then choose between dappled slats, a tighter rafter grid, or a covered canopy for near-solid relief.
If wind funnels through your yard, favor open designs and retractable Fabric options that won’t act like a sail. Match the pergola’s lines to your home: clean, square posts for modern facades; tapered members and decorative tails for traditional trim.
Keep material choices fire- and weather-appropriate for your region, and avoid adding roof-like panels that could trigger stricter structural requirements under local codes. Pick durable finishes and smart color choices that reduce glare and heat.
Choose Pergola Size, Placement, and Permits
Because a pergola’s footprint affects everything from how you move through the yard to what your inspector will sign off on, start by staking out a few size options on the ground and living with them for a day. Check door swings, grill clearance, and sightlines from key windows.
Keep posts out of root zones and underground utilities; call for locates before you dig. Place it to catch prevailing breezes, avoid constant drip lines, and respect property setbacks and easements.
For landscaping integration, align beams with existing paths, patios, and planting beds so runoff and traffic don’t trample soil. Then confirm permit triggers: height, attached vs. freestanding, footing depth below frost line, and wind uplift requirements.
Build in maintenance tips: leave access for ladders, and plan drainage around bases.
Compare Pergola Materials: Wood, Vinyl, Metal
Now that you’ve set size, placement, and permits, you need to pick a pergola material that fits your site conditions and passes code checks.
You’ll weigh wood’s easy customization and repairability against vinyl’s low-maintenance profiles and UV/heat movement that can affect fasteners and spans.
You’ll also compare metal options (aluminum or steel) for higher strength-to-size ratios and clean lines, while accounting for corrosion protection, connection hardware, and local wind/snow load requirements.
Wood Vs. Vinyl
Whether you’re matching an existing deck or starting from scratch, the material you choose for a pergola sets the tone for everything that follows—cost, maintenance, structural details, and even what your inspector will want to see.
Wood gives you warm grain and flexible sizing, so you can tune beam depth, rafter spacing, and notching to meet local snow and wind loads. You’ll also handle outdoor aesthetics easily with stain or paint, but you’ll sign up for maintenance considerations like sealing, checking fasteners, and managing rot at post bases.
Vinyl stays bright with simple wash-downs and resists insects, yet it often relies on an internal wood or steel core for span and uplift resistance. Confirm footing size, post anchorage, and attachment hardware are listed and code-compliant for your jurisdiction.
Metal Strength And Style
If you’re building where wind uplift, long spans, or tight clearances drive the design, metal pergola framing lets you carry more load with slimmer members and fewer intermediate posts. You’ll get clean lines and modern aesthetics while keeping sightlines open on small patios or over walkways.
Choose galvanized steel or powder-coated aluminum for metal durability in wet, coastal, or termite-prone zones. Check local code for corrosion class, allowable spans, and required anchorage; you may need engineered calcs, uplift-rated post bases, and specified embedment or epoxy-set anchors in existing slabs.
Isolate dissimilar metals to prevent galvanic corrosion, and detail drainage so water can’t sit in channels. With metal, you’ll spend less time on refinishing and more time using the shade year after year.
Create Pergola Shade: Slats, Canopies, Panels
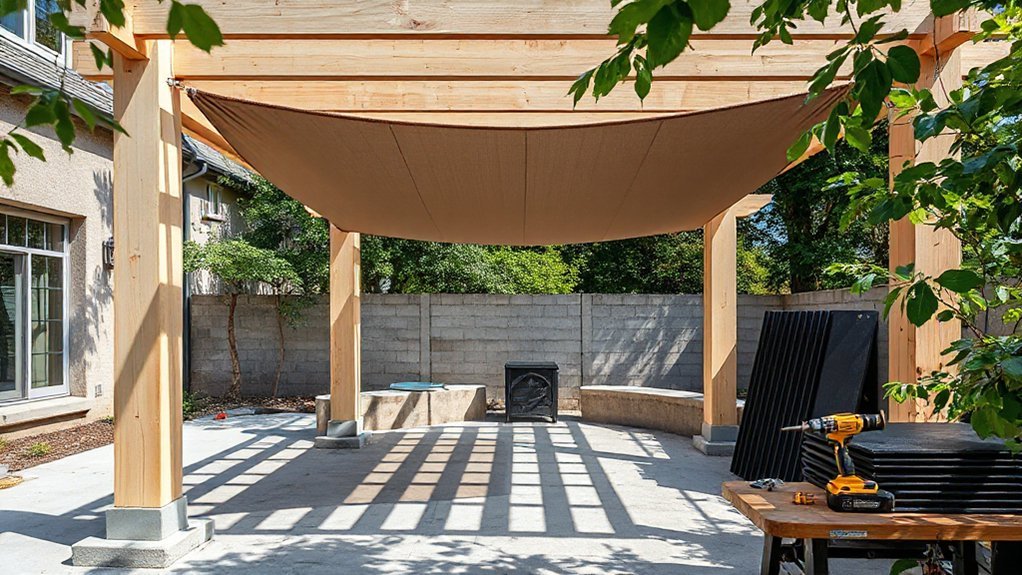
Because a pergola’s open rafters won’t block much midday sun on their own, you’ll want to add shade with fixed slats, a retractable canopy, or panel infill that matches your site’s sun path and wind exposure.
Angle slats toward the harshest sun, and keep spacing consistent so you don’t create striped glare on seating. In windy zones, choose low-profile slats or rated panels, and follow local uplift requirements and fastener schedules.
For canopies, pick fabric options that resist UV, mildew, and fading, and confirm your HOA or fire code allows them. Use stainless or coated hardware, add a drain path so water won’t pond, and include installation tips like tensioning evenly and allowing seasonal removal.
If you use panels, maintain required clearances from grills and property lines.
DIY Pergola Build Steps: Footings to Rafters
Where do you start a DIY pergola so it stays square, plumb, and code-compliant? You start by calling for utility locates, checking setbacks, and confirming footing depth below frost line. Lay out batter boards and string lines, then verify diagonals match.
Dig or auger holes, add gravel, set rebar, and pour concrete with post bases aligned to your strings.
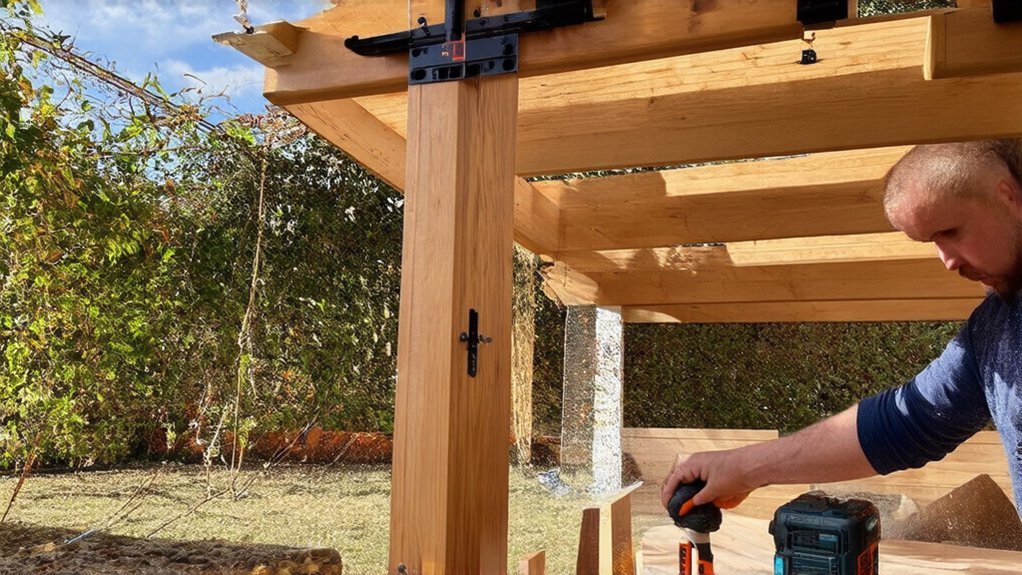
After cure, stand posts, brace them, and plumb in two directions. Cut beams to length, crown them consistently, and bolt per span tables and hardware specs.
Snap a centerline, mark rafter layout, and seat rafters with hangers or notches allowed by code. Stub conduit for outdoor lighting before you close framing.
Leave clearance and sleeves for plant integration near posts.
Finish Your Pergola: Lighting, Vines, Privacy
Once the framing passes inspection and the lumber dries out, you can finish your pergola with the parts that make it usable—power, plants, and screening—without trapping moisture or creating hazards.
Run electrical only where your code allows: use a GFCI-protected circuit, exterior-rated boxes, and conduit strapped to posts; keep splices accessible and lights listed for wet locations.
For ambient lighting, hang low-voltage string lights or mount downlights under the beams, leaving drip loops and clearance from combustibles.
Train climbing vines with stainless wire trellises set off the wood so air can dry it; avoid aggressive species near footings.
Add privacy with slatted panels or outdoor fabric on removable tracks, preserving egress and wind-load gaps.
Conclusion
You’ve now got a pergola plan that won’t leave your yard “unexpectedly sun‑kissed.” You’ve matched shade style to your space, picked a size and location that respects setbacks, frost depth, and any permits, and chosen materials that suit your climate. Whether you use slats, panels, or a canopy, you’ll anchor posts on proper footings, square the frame, and set rafters true. Add low‑voltage lighting, vines, and privacy—then enjoy it.…