
The Ultimate Guide to Painting Ceilings, Walls and Trim Like a Pro
You’ll paint like a pro by choosing the right sheen—flat for ceilings, eggshell or satin for walls, semi-gloss for trim—and the correct primer for stains, bonding, or drywall. You’ll wash surfaces, scrape loose paint, caulk gaps, patch and sand smooth, then vacuum and spot-prime. Start with the ceiling: cut in edges, then roll in overlapping passes while keeping a wet edge. Roll walls in 3×3 “W” sections, then brush trim with long, tipped-off strokes. Keep going to refine every step.
Key Takeaways
- Choose the right finish and primer, test color samples in room lighting, and calculate paint gallons by square footage.
- Clean, scrape, caulk, patch, sand, vacuum, and spot-prime repairs and stains to ensure smooth, durable adhesion.
- Paint ceilings first: cut in edges, then roll overlapping passes while keeping a wet edge to prevent streaks.
- Paint walls in 3×3-foot “W” sections, overlapping into wet paint and maintaining consistent pressure to avoid lap marks.
- Finish with trim: prime bare areas, sand smooth, then brush long, controlled strokes and “tip off” to level without runs.
Choose Paint, Primer, and Tools (Checklist)
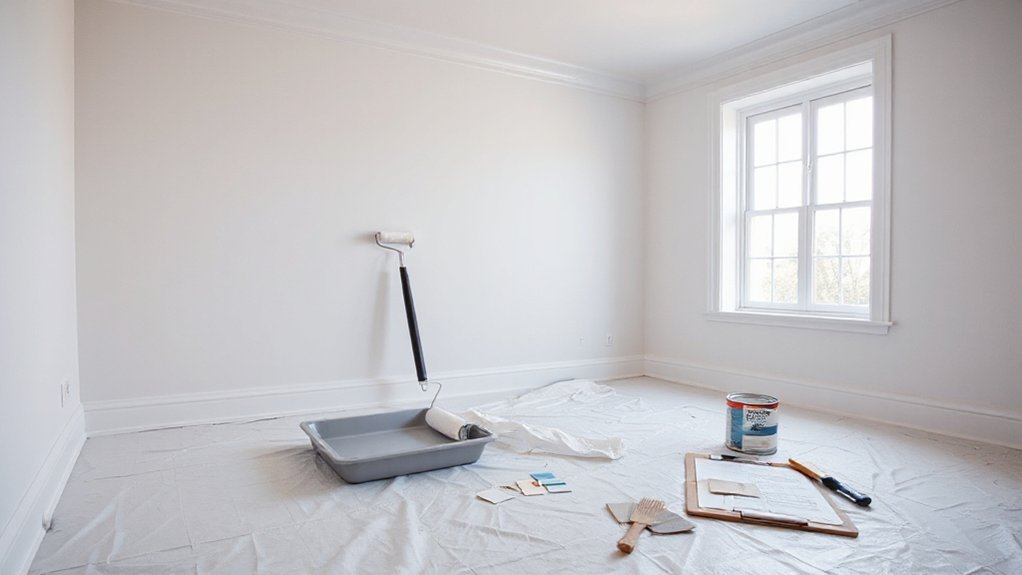
Before you open a can, decide on the exact paint finish for each surface (flat for ceilings, eggshell or satin for walls, and semi-gloss for trim). Then choose a matching primer based on what you’re covering (stain-blocking for water marks, bonding for glossy surfaces, and drywall primer for new mud).
Confirm color coordination by sampling chips in the room’s lighting and checking undertones against flooring and trim. Buy one quality acrylic latex line for consistent touch-ups, and match paint sheens across adjacent rooms to avoid visual breaks.
Use a 2-inch angled sash brush for trim, a 9-inch roller with 3/8-inch nap for walls, and a 1/2-inch nap for textured ceilings. Add extension pole, painter’s tape, drop cloths, liner, and stir sticks.
Measure square footage to calculate gallons accurately.
Clean, Patch, Sand, and Prime Surfaces
Once you’ve picked your paint and tools, prep the surfaces so the finish levels out and sticks. Start with surface preparation: wash ceilings, walls, and trim to remove dust, grease, and soap film, then rinse and let everything dry fully.
Scrape loose paint, caulk gaps, and cut away failing edges. Patch dents and nail holes with spackle or filler, and repair cracks with setting compound; let patches cure. Sand repairs flush and feather surrounding paint to eliminate ridges that telegraph through finish textures.
Vacuum dust, then wipe with a damp microfiber cloth. Spot-prime stains, bare drywall, and repaired areas, and prime glossy trim after scuff-sanding. Let primer dry, then lightly sand and clean again for crisp adhesion.
Paint the Ceiling: Cut In, Then Roll
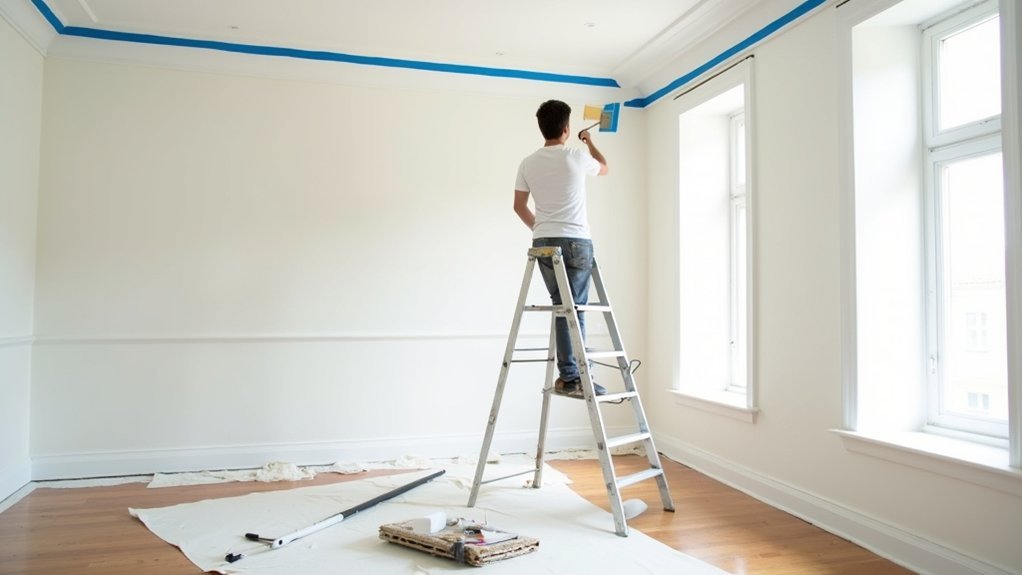
After the primer dries and you’ve masked or protected the walls and floors, start with the ceiling so you don’t drip onto finished work. Choose a flat or matte paint sheen to hide imperfections and match the ceiling texture. Stir thoroughly, then pour into a cut bucket and load a 2–2½-inch angled sash brush.
Cut in a 2–3-inch band along edges, around vents, and at light boxes, keeping a wet edge.
Next, roll immediately while the cut-in is still wet. Use a ⅜-inch nap for smooth ceilings or ½–¾-inch for heavier ceiling texture. Roll in straight, overlapping passes, then lightly back-roll to even coverage.
Work in manageable sections, and keep your roller evenly loaded.
Paint Walls Fast Without Lap Marks
Because lap marks form when paint starts to dry before you blend the next pass into it, you need to work in a controlled, continuous pattern. Load your roller evenly, then roll a 3-by-3-foot section in a “W” and fill it without lifting off.
Keep a wet edge by overlapping the previous section 2–3 inches while it’s still glossy. Refill before the roller sounds dry, and don’t overwork areas that are starting to tack.
Maintain consistent pressure and speed, and back-roll lightly in one direction to level the film.
Use Color coordination to spot holidays under your lighting and correct them immediately.
Apply Texture techniques by matching roller nap to wall texture and avoiding mixed nap sizes across walls.
Paint Trim Smooth With Crisp Lines
Although trim paint seems forgiving, it shows every ridge, brush mark, and wavy cut line under side light, so you’ll get the cleanest result by controlling the surface and the edge.
Start with Trim detailing: fill nail holes, sand flush to 180–220 grit, then vacuum and tack. Prime bare wood or patched spots, and lightly scuff again once dry.
Load a quality angled sash brush, then wipe one side to control paint.
For Edge brushing, cut the wall-to-trim line first using the brush’s tip, moving in 12–18 inch runs. Don’t push hard; let the bristles flex.
Then paint the face with long strokes following the grain, and “tip off” once to level. Maintain a wet edge, and stop before it drags.
Conclusion
Now you’ve got a repeatable system: pick the right paint and tools, prep until surfaces feel uniform, then work top-down. Cut in tight, roll in controlled sections, and keep a wet edge so your walls dry like glass. Finish with smooth trim and clean lines by removing tape at the right time. Follow these steps every room, and your results won’t rely on luck—they’ll be consistent, professional, and durable.…