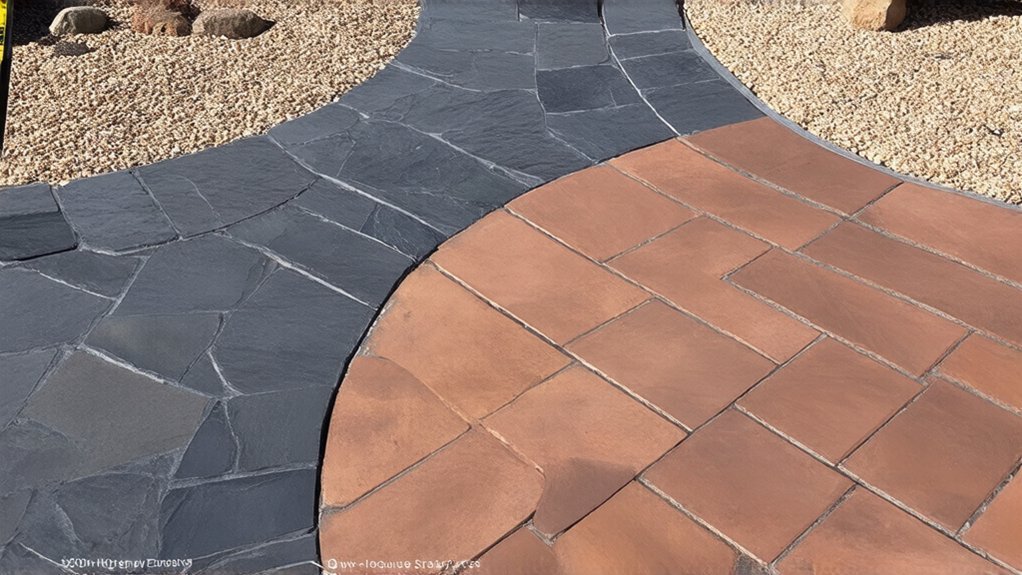
Hardscaping Essentials: Choosing the Right Materials for Paths and Patios
You’ll choose path and patio materials by matching texture, thickness, permeability, and base design to your site’s soil, slope, shade, and traffic load. Specify 60–80 mm concrete pavers or dense stone for high-wear routes, and use tight joints plus rigid edge restraint to stop lippage and creep. In freeze-thaw zones, pick low-absorption units over soft limestone and build a well-drained, compacted base. Set patios 1.5–2% away from doors, and you’ll see what fits next.
Key Takeaways
- Match material to traffic load and site conditions to ensure durability and the intended appearance.
- Prioritize slip-resistant textures and avoid polished finishes in shaded, damp areas prone to biofilm.
- In freeze-thaw climates, use low-absorption stone, fired clay, or air-entrained concrete on a well-drained, compacted base.
- Manage drainage by sloping patios 1.5–2% from doors and directing runoff to permeable joints, trenches, or slot drains.
- Balance budget and maintenance: stone is premium, concrete pavers are replaceable and consistent, and gravel is affordable but needs edging upkeep.
How to Choose Path and Patio Materials?
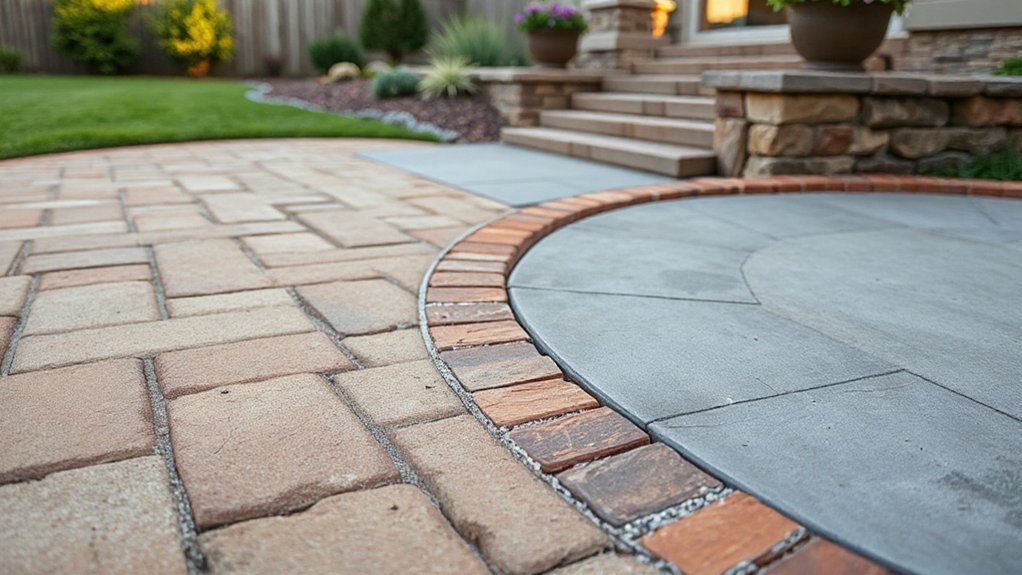
If you want a path or patio that looks intentional and performs year-round, start by matching the material to your site conditions and traffic load. In freeze-thaw zones, choose units with low absorption and specify a compacted, well-drained base to limit heave.
On slopes, prioritize textured surfaces and tight jointing to improve traction and reduce runoff scour. In shaded, damp areas, avoid slick finishes and detail edge restraint to prevent creep.
For Landscape integration, echo existing site geometry, align joints with thresholds, and shift grades cleanly at doorways. Let aesthetic considerations guide color temperature, aggregate scale, and pattern rhythm so the hardscape reads as part of the planting palette.
Finally, confirm thickness, slip resistance, and permeability targets before you commit.
Quick Picks: Best Materials by Use Case
When you’re specifying hardscape by use case, match material performance to the site’s wear patterns and drainage conditions.
For high-traffic paths, you’ll prioritize tight-jointed pavers, dense natural stone, or broom-finished concrete that resists polishing, heave, and edge raveling under repetitive footfall.
For patio entertaining surfaces, you’ll pick finishes that stay level under furniture, manage spills and heat gain, and deliver consistent slip resistance across seating, grill, and circulation zones.
High-Traffic Path Materials
Because foot traffic concentrates load at edges, joints, and turns, you’ll get the best performance by matching each path material to how the route behaves on your site—slope, drainage, freeze–thaw exposure, and maintenance tolerance.
For straight, busy runs, specify 60–80mm concrete pavers on a compacted, well-graded base; they resist rocking at joints and allow easy spot repairs.
On tight curves and frequent direction changes, choose clay brick or small-format stone set on bedding sand to lock patterns and reduce edge spalling.
In wet shade, avoid untreated wood; use dense granite, fired clay, or composite boards for fungal resistance and safer traction.
Where roots heave or soils move, use permeable interlocking pavers to drain fast and keep lines crisp.
Choose finishes for aesthetic versatility and glare control.
Patio Entertaining Surface Picks
Although a patio reads like a single “room,” entertaining pushes loads, spills, heat, and chair drag into specific zones, so you’ll get better long-term performance by choosing the surface to match your use case—dining, fire feature, pool adjacency, or high-turnover party seating—plus your site’s drainage, sun exposure, and freeze–thaw risk.
For dining, specify porcelain pavers on a drained base; they resist wine, grease, and metal chair wear.
Around fire, use dense concrete or clay brick with tight joints; avoid resin-bound near embers.
Pool-side, choose light-toned, tumbled travertine or textured concrete for cooler, slip-resistant footing and salt tolerance.
For party flow, set large-format pavers for fewer trip edges, and align joints to circulation for landscape integration.
Favor local stone or permeable systems to cut environmental impact.
Compare Stone, Brick, Pavers, and Gravel
If you’re planning a patio, path, or driveway, you’ll get the best results by matching the material to your site conditions and performance targets—load, drainage, freeze–thaw exposure, and edge restraint.
In garden design, start with subgrade soils: expansive clay wants thicker base and tighter joints; sandy sites tolerate thinner sections. Your environmental impact shifts with sourcing and permeability, so map runoff routes and infiltration capacity before you pick finishes.
Use stone where you need high compressive capacity and minimal joint movement, and specify sawn versus cleft faces based on slip and visual rhythm.
Choose brick when you want modular coursing that aligns with building datum lines.
Select concrete pavers for precise geometry, consistent thickness, and engineered bedding layers.
Use gravel for permeable shoulders, secondary paths, and transitions that require flexible grading.
Pros and Cons of Each Hardscaping Material
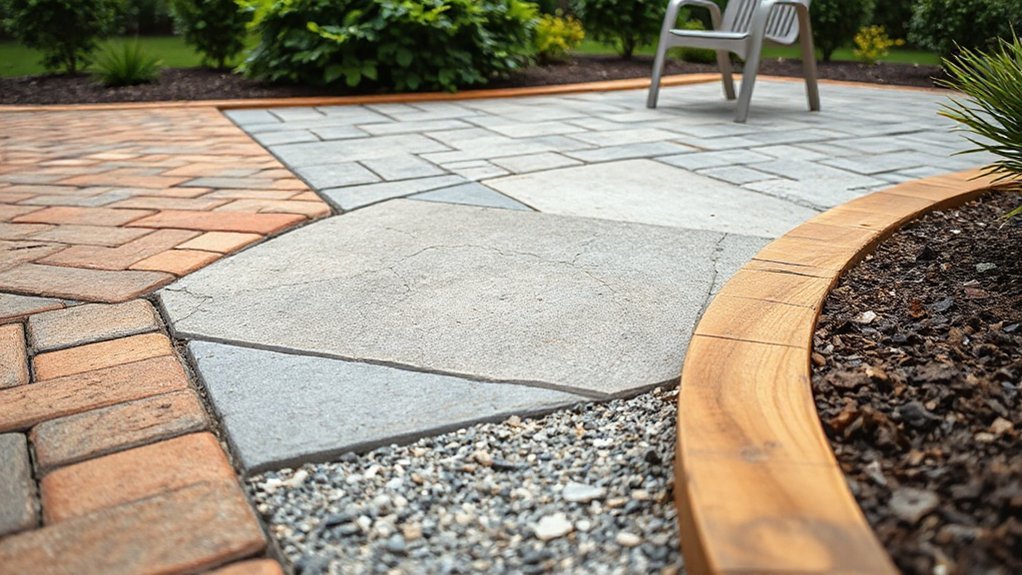
To choose the right hardscaping material for your site, you’ll weigh durability and expected lifespan against traffic loads, base prep, and drainage conditions.
You’ll also compare cost and installation complexity—cutting, bedding, edge restraint, and labor time—to keep the design on budget without compromising performance.
Finally, you’ll plan for maintenance and weathering, factoring in freeze–thaw cycling, staining, joint migration, and surface settling over time.
Durability And Lifespan
How long will your patio, path, or retaining wall hold its line once freeze–thaw cycles, UV exposure, de-icing salts, and settlement start working on it?
Poured concrete resists compression but can crack along control joints; sealers slow scaling.
Clay brick weathers gracefully yet spalls if salts concentrate at edges.
Natural stone excels in UV stability and abrasion, but soft limestones pit in acidic runoff.
Concrete pavers flex with slight subgrade movement; polymeric sand reduces washout, though joints need monitoring.
Gravel drains well and avoids heave, yet migrates on slopes and under plow blades.
Composite decking boards fade less now, but heat and fastener creep can telegraph.
Among innovative materials, permeable pavers and eco friendly options like recycled-aggregate slabs extend life by managing water.
Cost And Installation
Longevity only pays off when the install matches your site and your budget, so cost and labor deserve the same scrutiny as freeze–thaw performance. Concrete’s lowest unit price can vanish if you need thicker sections, rebar, or extensive formwork on unstable subgrade.
Clay brick costs more up front, but you can phase it in and reuse units if you revise your landscape design. Natural stone carries high material and freight costs, yet it fits premium details where cuts are minimal and laying patterns stay simple.
Permeable pavers add excavation depth, geotextile, and graded aggregate, but they can reduce drainage infrastructure and environmental impact fees.
Gravel installs fastest on level, well-drained sites, though edging and base prep still determine long-term geometry and safety.
Maintenance And Weathering
Because your site’s sun exposure, drainage rate, and winter de-icing habits dictate what actually survives year after year, you should weigh maintenance and weathering as performance specs, not afterthoughts.
Concrete pavers handle freeze-thaw well if you keep joints topped and edging locked; polymeric sand reduces washout but can haze in high heat.
Poured concrete resists weeds yet telegraphs cracks where subgrade settles; seal it to limit salt scaling and UV chalking.
Natural stone wins on color stability, but soft limestone spalls under de-icers and clay soils; choose dense granite for wet zones.
Brick looks timeless, though it effloresces with poor drainage and needs re-sanding.
Gravel drains best, but it migrates, needs periodic raking, and raises long-term material costs under heavy foot traffic and seasonal weather effects.
Cost and Lifespan by Hardscaping Material
While your layout and base preparation set the performance ceiling, material choice determines the real budget and the service life you can expect on a given site.
Poured concrete often wins on upfront cost, but you’ll trade for joint control and eventual surface repair; expect decades with periodic sealing.
Clay brick suits Historical landscaping and lets you swap individual units; higher install cost, long lifespan.
Natural stone carries the highest material and labor cost, yet delivers the longest service life and premium edge detailing.
Concrete pavers balance price and replaceability; choose thicker units for vehicular zones.
Gravel is cheapest and permeable, but you’ll budget for edging, top-ups, and regrading.
For Sustainable materials, specify locally sourced stone or recycled-content pavers.
Climate Fit: Freeze-Thaw, Heat, and Heavy Rain
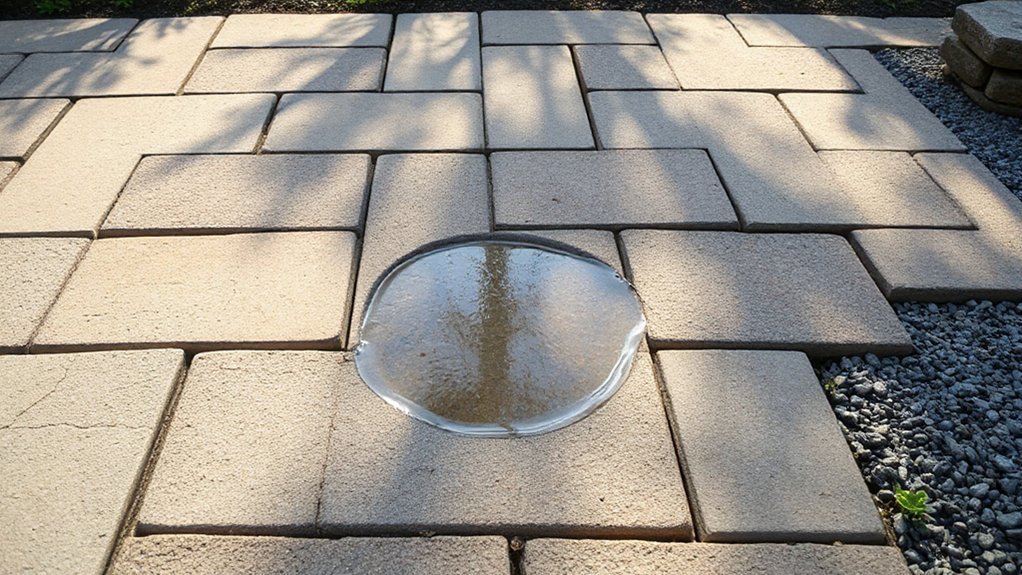
Material cost and expected service life only hold if the surface matches your climate loads and drainage reality.
In freeze-thaw zones, you’ll want low-absorption, air-entrained concrete, dense natural stone, or fired clay pavers; avoid soft limestone and poorly fired brick that spalls at edges. Specify tight joint tolerances and a stable base so heave doesn’t telegraph into lippage.
In hot climates, choose lighter colors to reduce surface temps, and use heat-stable binders; dark asphalt can rut and amplify glare, altering material aesthetics.
Under heavy rain, prioritize capillary breaks, raised thresholds at doors, and edge restraints that resist washout.
Detail expansion joints, sealers, and compatible mortars to prevent thermal stress cracking and boost climate resilience.
Traction and Drainage for Safer Surfaces
Where do slips start—at the finish, the slope, or the drain detail you skipped? You control traction by matching surface texture to use: broom-finished concrete for entries, flamed granite for pool decks, tumbled pavers where bare feet need grip without abrasion. Avoid polished stone in shaded zones where biofilm forms.
Then you manage water. Set patios at 1.5–2% fall away from doors, and break long runs with subtle cross-slope so runoff doesn’t sheet into walk lanes. Keep joints permeable where soils infiltrate; otherwise, route flow to a slot drain or gravel trench at the low edge.
Detail edge stability with rigid restraints and compacted base so units don’t tip, creating trip lips and ponding.
Maintenance and Installation: DIY vs Pro
Traction and drainage only perform as designed if you install them to spec and keep them clear, so the real question becomes whether you can execute the tolerances and maintenance schedule yourself.
DIY works when your site’s slope is mild, soil is stable, and you can compact base in lifts, hit 1–2% pitch, and keep joints uniform. You’ll also need to plan edge restraint, geotextile separation, and cleanouts so fines don’t clog permeable systems—especially with eco-friendly materials like porous pavers.
Hire a pro when you’re cutting grades near foundations, tying into existing drains, or building steps and retaining edges that must meet code.
Pros also source consistent batches and align patterns with landscaping trends while minimizing waste and rework.
Conclusion
When you choose path and patio materials, you balance structure, aesthetics, and site conditions. Match stone, brick, pavers, or gravel to your soil type, slope, and drainage plan, then confirm slip resistance and joint strategy for safe traction. In freeze-thaw zones, you’ll want stable bases and permeable detailing; in heat, lighter colors reduce surface temps. Don’t cut corners on edging and compaction—those details lock performance in. Done right, you’ll build it once and walk it for years.…