Fixing a Toilet That Keeps Running: Simple Repairs That Solve the Problem
Lift the tank lid and watch a full flush cycle, keeping hands clear of moving parts. Make sure the shutoff valve is fully open, then check that the water level stops about 1 inch below the overflow tube. If water spills into the tube, lower the float; if the tank refills by itself, run a dye test to confirm a leaking flapper. Clean mineral buildup on the seat, replace a warped flapper, and clip the refill hose above the overflow rim. Next, you’ll see how to fix stubborn fill valves and hidden tank leaks.
Key Takeaways
- Watch a full flush cycle and use a dye test; color in the bowl after 10 minutes confirms a flapper/seat leak.
- Set water level about 1 inch below the overflow tube rim; adjust the float so the fill valve shuts off cleanly.
- Replace a warped or slimy flapper and clean mineral buildup on the flush valve seat; leave slight chain slack for full closure.
- Ensure the refill hose clips above the overflow tube rim and the overflow tube is intact to prevent siphoning and constant refilling.
- If the fill valve keeps running or parts are cracked/corroded after adjustments, replace the valve or call a plumber.
Diagnose Why Your Toilet Keeps Running
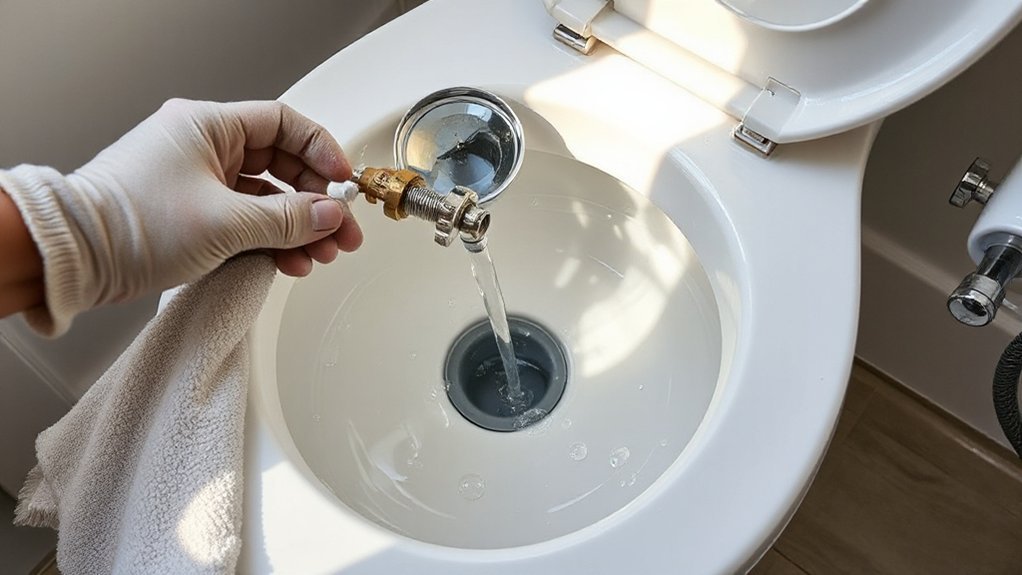
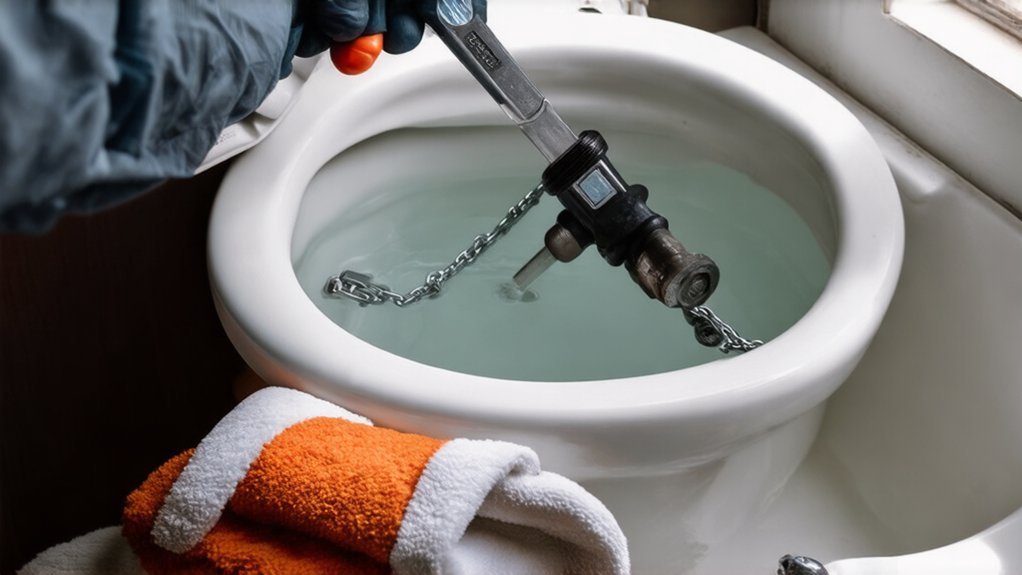
Before you replace parts, pinpoint what’s keeping water moving: remove the tank lid carefully and watch a full flush cycle while keeping your hands clear of the flapper and linkage.
Confirm the shutoff valve is fully open, then listen: a steady hiss suggests refill flow; an intermittent run suggests a slow leak into the bowl.
Add a few drops of dye to the tank and wait 10 minutes without flushing; color in the bowl confirms a sealing issue.
Check that the flapper closes squarely and that the chain has slight slack, not tension.
Inspect the overflow tube for cracks or a loose refill clip.
If you’re doing Toilet seat replacement, don’t overtighten bolts.
Follow Bathroom cleaning tips: avoid in-tank tablets.
Open the Tank and Check the Water Level
Now that you’ve narrowed down whether the toilet’s running comes from refill flow or a slow leak, open the tank and verify the water level against the overflow tube.
Remove the Toilet tank lid carefully; porcelain chips easily. Set it on a towel so it won’t crack or slip. Don’t touch moving parts while the unit cycles.
With the tank full and the fill valve off, read the Water level: it should sit below the top of the overflow tube, typically about 1 inch.
If water stands at or above the tube’s rim, it can spill into the tube and run continuously.
If it’s far below normal, you may get weak flushes and repeated refills.
Note your observations before making any changes.
Adjust the Float to Stop a Running Toilet
Identify whether you’ve got a float cup on the fill valve or a float ball on an arm, because the adjustment method and setpoint differ.
With the water supply on and your hands clear of moving parts, adjust the float so the shutoff occurs with the waterline about 1 inch below the overflow tube (or at the manufacturer’s mark).
If the water still reaches the overflow, stop and recheck the fill valve and float linkage for binding or damage before you force any parts.
Identify Float Type
Once you’ve shut off the water and removed the tank lid, check what kind of float your fill valve uses, because the adjustment method depends on it and the wrong move can crack plastic parts or leave the valve out of calibration.
You’ll typically see one of two float types: a ball float on a long metal or plastic arm, or a cup (cylinder) float that rides up and down the fill-valve shaft.
A ball float usually connects to a lever with a screw or clip near the arm pivot.
A cup float usually has a pinch-clip, sliding collar, or small adjustment screw on the valve body.
Confirm the float moves freely without rubbing the tank wall or overflow tube, and note where the current water level sits before you touch anything.
Set Correct Water Level
After you’ve confirmed the float type and that it moves freely, set the tank’s water level to the manufacturer’s mark on the overflow tube (or about 1 inch below the top of the overflow tube if there’s no mark). Because a level that’s too high will spill into the tube and keep the toilet running.
Turn the supply shutoff clockwise, flush, then reopen slowly while you watch the refill.
For a float cup, pinch the clip and slide the cup down, or turn the adjustment screw.
For a ball float, bend the rod slightly down or turn its screw, depending on the model.
Use basic Plumbing tools only as needed, and don’t force plastic parts.
Recheck: water should stop below the tube and the fill valve should shut off cleanly. This supports Water conservation and prevents overflow.
Replace a Flapper That Won’t Seal
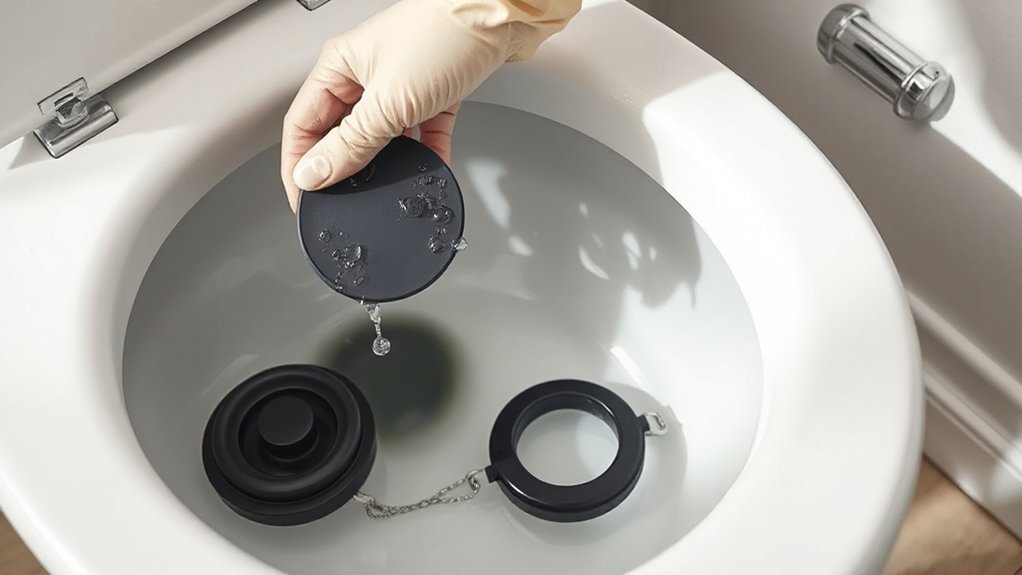
If the tank refills and you hear constant trickling into the bowl, you’ve likely got a flapper that won’t seal. Shut off the supply valve and flush to empty the tank before you inspect the seat and chain slack.
Unhook the chain, remove the old flapper from the overflow tube mounts, and clean any scale from the flush valve seat so the new seal meets code-grade performance.
Install the correct-size replacement, set minimal chain slack, turn the water back on, and test-flush to confirm the fill valve shuts off and the leak stops.
Diagnose Flapper Seal Issues
Two quick checks will tell you whether a leaking flapper is keeping your toilet running: remove the tank lid, flush, and watch the flapper as the tank refills— it should drop flat and stay seated without wobbling or drifting open.
Next, when the tank is full, add a few drops of food coloring; if color appears in the bowl without flushing, the seal’s leaking.
Shut off the stop valve if you need to reach into the tank, and don’t force brittle parts.
Inspect the flapper material for swelling, warping, or a tacky feel— all signs of seal deterioration.
Check the seat for mineral buildup or nicks that prevent full contact.
Confirm the chain has slight slack; a tight chain can hold the flapper open.
Remove Old Flapper
A failed food-coloring test or a flapper that won’t stay seated means it’s time to remove the old flapper so you can install a proper seal. Shut off the stop valve at the wall, then flush and hold the handle to drain the tank. Confirm the refill tube isn’t siphoning, and keep hands clear of sharp tank edges.
Disconnect the chain from the flush lever, noting the slack so you can diagnose misadjustment later. Unhook the flapper ears from the overflow-tube pegs, or slide off the ring-style flapper.
If mineral buildup is present, don’t pry against porcelain; wipe the seat and tube with a nonabrasive pad. Inspect Flapper materials for cracking, warping, or swelling that can affect toilet aesthetics and sealing. Dispose of the old part safely.
Install And Test Flapper
Now what seals that flush valve for good? Your new flapper.
With the water off and the Toilet tank drained to a low level, hook the flapper ears onto the overflow tube pegs. Align it so it sits flat on the valve seat with no twist.
Clip or thread the lift chain to the trip lever, leaving about 1/2 inch slack; too tight causes leaks, too loose prevents full opening.
Turn the supply back on and let the tank refill. Watch the seal line: you shouldn’t see ripples or hear hissing.
Add a few drops of dye; if color reaches the bowl without flushing, reseat or adjust.
This Flapper replacement must stop all seepage before you close up.
Set the Refill Tube and Overflow Height
Before you turn the water back on, set the refill tube so it clips securely to the overflow tube without sealing inside it, which helps prevent backflow and keeps the bowl refilling correctly.
In your Toilet tank, keep the refill tube above the overflow rim and use the clip, not a tight push-in fit.
Verify the overflow tube isn’t cracked and stands vertical.
Next, confirm the water level will sit below the overflow tube’s top, typically 1 inch, so the tank can’t siphon into the bowl.
If your overflow is adjustable, raise or lower it per the manufacturer’s marks and local code guidance.
Don’t cut it unless the instructions allow it.
Recheck that the flapper chain clears the tube and doesn’t snag.
Fix a Fill Valve That Won’t Shut Off
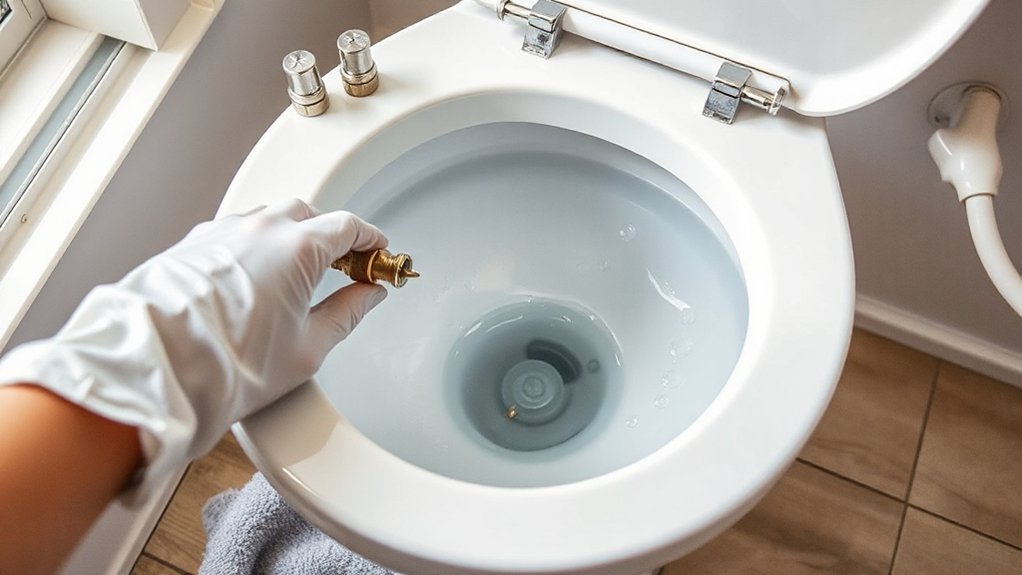
With the refill tube clipped correctly and the overflow height set, turn the supply back on and watch the fill valve: if water keeps running after the tank reaches its marked level (typically about 1 inch below the overflow rim) or you hear a steady hiss, the valve isn’t shutting off.
Shut the stop valve, flush to empty the tank, and sponge out remaining water for safe access.
Inspect the float for binding on the tank wall or rod; reposition it and verify smooth travel. Adjust the water level screw or clip per the manufacturer so shutoff occurs below the overflow rim for water conservation.
If the diaphragm/washer is gritty, remove the cap, rinse parts, and flush the supply briefly into a bucket. Replace the seal or the entire fill valve if worn to protect toilet aesthetics.
Stop Tank Leaks That Trigger Refilling
If the toilet shuts off briefly and then refills on its own, you’ve likely got a slow tank leak that lets the water level drop below the fill valve’s start point. Shut off the angle stop, flush, and verify the tank’s empty before you inspect.
Add a few drops of dye to the tank and wait 10 minutes; color in the bowl confirms a flapper or seat leak.
Clean mineral buildup from the flush valve seat, then replace the flapper if it’s warped, slimy, or stiff.
Check the overflow tube: the refill hose must clip above the tube’s rim to prevent siphoning.
Tighten tank-to-bowl bolts evenly and check for seepage.
This Toilet tank maintenance protects Bathroom plumbing and prevents ongoing refills.
Call a Plumber if the Toilet Still Runs
Although you can solve most running-toilet problems with a flapper or fill-valve adjustment, you should call a licensed plumber when the toilet still won’t shut off after those checks, since the issue may involve a cracked tank, a faulty flush-valve seat, or supply/valve problems that require code-compliant repair.
Shut off the stop valve, dry the tank, and look for hairline cracks, wobble at the flush valve, or corrosion at the supply line. If you see moisture at the handle shank or base, don’t overtighten parts; you can crack porcelain.
A plumber can pressure-test, replace the flush valve correctly, and verify backflow and shutoff performance. Professional documentation can protect Plumbing warranties, and proper repairs preserve Toilet aesthetics by preventing stains and mineral tracks.
Conclusion
If your toilet still runs, recheck each step: water level below the overflow, float moves freely, refill tube stays above the rim, and the flapper seals tight. Shut off the stop valve before swapping parts, and don’t overtighten plastic nuts. Example: after a “quick” flapper change, you notice constant refilling—turns out the refill tube was shoved into the overflow, creating a siphon. Correcting that stops the run and saves water.…