
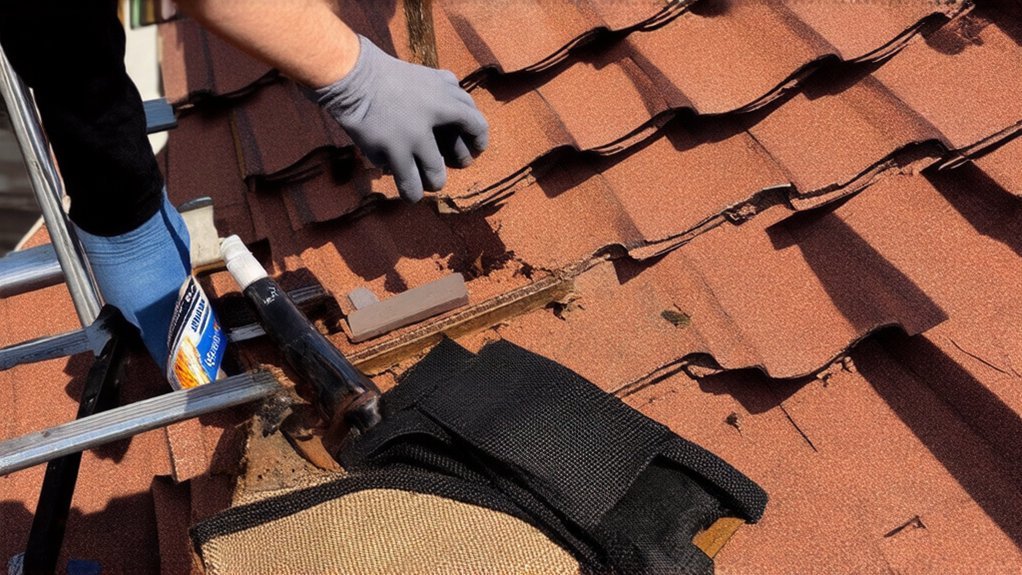
How to Spot and Repair Loose Roof Tiles Before They Cause Damage
You’ll spot loose roof tiles by looking for lifted, rotated, or misaligned courses, cracked corners at ridges/hips/eaves, and fresh fragments or granules in gutters. Inside, watch for stains that grow after rain, damp insulation, musty odors, or bubbling drywall near valleys and penetrations. Inspect safely with a tied-off extension ladder, 3-point contact, and fall arrest if you access the roof. Re-seat or replace tiles without prying, keep underlayment intact, and verify headlap and ventilation—next you’ll see the exact tools and steps.
Key Takeaways
- Scan for lifted, rotated, cracked, or misaligned tiles, especially at ridges, hips, eaves, valleys, and around roof penetrations.
- Check gutters and ground for fresh tile fragments or granules, and note rusted fasteners or exposed underlayment at tile laps.
- Look indoors for expanding stains after rain, damp insulation, musty odors, or peeling paint directly beneath suspect roof areas.
- Inspect safely using a secured ladder and fall protection; hand-test tiles for lift or chatter without prying or walking on unsupported tile edges.
- Re-seat or replace damaged tiles while preserving underlayment and headlap, then confirm alignment, uplift resistance, and clear ventilation paths.
Loose Roof Tile Warning Signs and Leak Clues
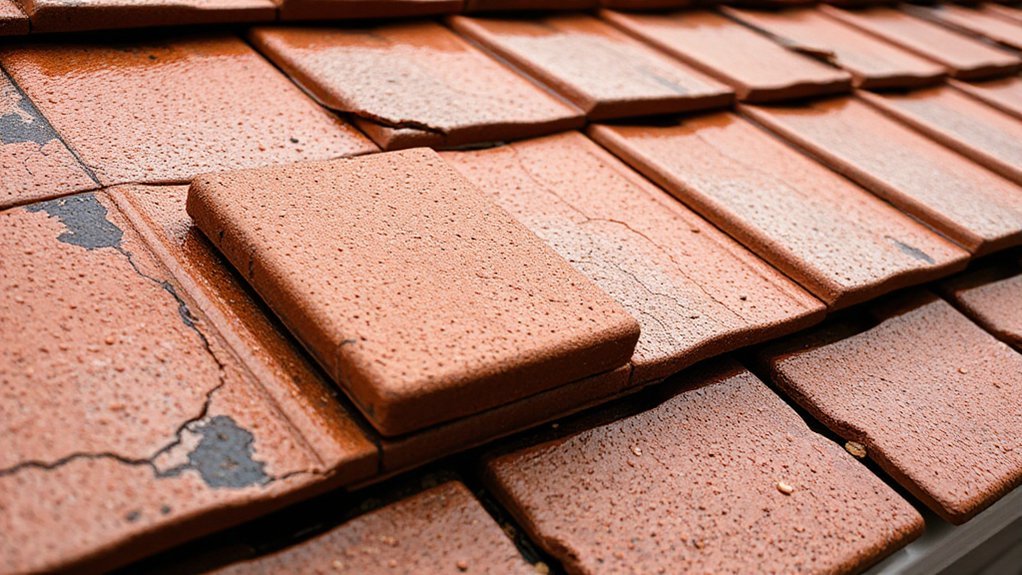
If you catch a loose roof tile early, you can often prevent a code-relevant moisture intrusion that compromises the roof assembly. Look for displaced, lifted, or rotated profiles, uneven courses, and cracked corners, especially at hips, ridges, and eaves where roof design concentrates wind uplift.
Note fresh debris in gutters, granules, or broken fragments matching the tile material. Inside, track stains that expand after rain, damp insulation, musty odor, peeling paint, or bubbling drywall below penetrations and valleys.
Check for daylight at roof-to-wall connection points from attic vantage, and watch for rusted fasteners, darkened underlayment, or mineral deposits indicating chronic wetting.
Correlate clues with prevailing wind direction and recent storms to pinpoint likely loosened tiles.
How to Check for Loose Roof Tiles Safely
Once you’ve identified likely loose-tile locations from exterior and interior clues, confirm them with a methodical inspection that keeps you off fragile profiles and within basic fall-protection practices. Set a rated extension ladder on firm grade, maintain 3-point contact, and tie it off.
If you must access the roof, use a personal fall-arrest system anchored to a structural member and avoid stepping on tile ribs, hips, or valleys. Walk only on supported areas near the lower third of each tile, distributing weight with foam pads or a roof ladder.
Lightly hand-test suspect tiles for lift, chatter, or sliding; don’t pry. Document locations, then clear debris during Tile cleaning to expose fasteners and underlayment edges as part of routine Roof maintenance.
When to Call a Roofer for Loose Tiles
If loose tiles follow a severe storm or a noticeable impact, you should call a licensed roofer to assess hidden damage and restore the roof’s required weatherproofing.
If you’re seeing persistent leaks, stained decking, or sagging areas, stop any DIY work and get a roofer on-site because these conditions can indicate structural or underlayment failure.
You’ll reduce fall risk and help keep repairs code-compliant by letting a professional handle walkability, fastening, and any needed substrate replacement.
Severe Storm Or Impact
Although a loose tile can look like a simple fix, severe storms or impact events (hail, falling branches, wind-borne debris) often compromise the roof system in ways you can’t verify safely from the ground.
After hail damage or wind impact, tiles may be fractured, fasteners may be loosened, and underlayment may be torn, creating hidden uplift paths. You shouldn’t climb up for a quick reset; wet surfaces, displaced tiles, and unstable battens increase fall risk and can worsen damage.
Call a licensed roofer to perform a code-compliant inspection, including tile soundness testing, attachment verification, and perimeter/hip/ridge detailing checks per manufacturer specs. You’ll also get documentation for insurance and confirmation that repairs maintain required wind-resistance ratings and flashing continuity.
Persistent Leaks Or Sagging
When loose tiles coincide with persistent interior leaks or visible roofline sagging, you’re no longer dealing with a cosmetic reset—you’re looking at a probable assembly failure that needs a licensed roofer. Water entry often means compromised underlayment, flashing, or fasteners.
Sagging can signal saturated decking, failed rafters, or overloaded spans. Don’t attempt a spot fix from a ladder—building codes require proper fall protection, evaluated structural capacity, and manufacturer-approved attachment patterns.
A roofer will perform a leak trace, moisture mapping, and deck probe, then replace damaged sheathing and restore the waterproofing layer before resetting tiles.
Protect Roof tile aesthetics by matching profile and color, especially on historical architecture where approvals and heritage rules may apply. You’ll prevent mold, rot, and progressive collapse risks.
Why Roof Tiles Come Loose Over Time
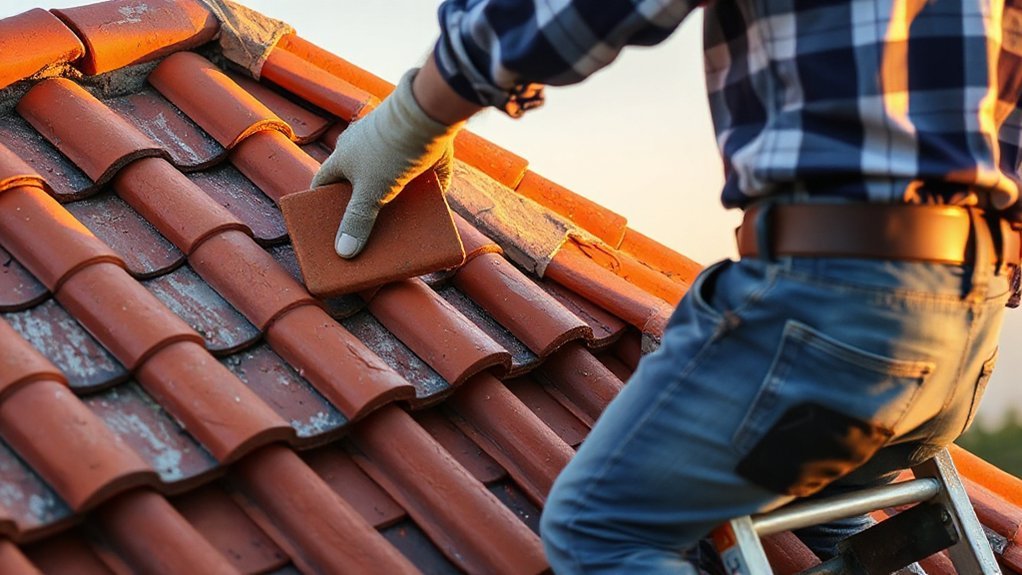
Because roofs flex, breathe, and take constant weather loads, roof tiles don’t stay locked in place forever. Thermal cycling expands and contracts the deck and underlayment, slowly working fasteners loose and breaking sealant bonds. Wind uplift exploits small gaps at laps and eaves, and repeated vibration can shift profiles out of engagement.
Freeze-thaw action widens hairline cracks, while foot traffic concentrates point loads that can fracture brittle units. Poor attic ventilation raises heat and moisture, accelerating underlayment aging and corrosion at nails or clips.
Roof tile manufacturing tolerances vary, so slight dimensional differences can reduce interlock strength over time. Historical roofing styles may rely on minimal mechanical fastening, which today’s codes often supplement to meet uplift and fire-resistance requirements.
Tools for Fixing Loose Roof Tiles
Loose tiles usually start with minor movement, but you’ll fix them faster and safer if you bring the right gear to the roof and follow manufacturer instructions and local uplift requirements.
Start with fall protection: harness, certified anchor, lifeline, and non-slip footwear. Use an extension ladder with stabilizer, plus roof jacks or a scaffold where code requires.
For inspection and roof tile maintenance, pack a flat bar, plastic shims, pry tool, and a thin trowel to clear debris without cracking edges.
Match tools to roof tile materials: rubber mallet for clay or concrete, carbide scraper for underlayment flashings, and a torque-limited driver for tile screws/clips.
Keep a tape measure, chalk line, and camera for documentation, and wear cut-resistant gloves and eye protection.
Secure or Replace a Loose Roof Tile (Step by Step)
Start by removing the suspect tile carefully so you don’t crack adjacent courses. Then inspect the tile, fasteners, underlayment, and battens for damage or moisture intrusion.
If the components are serviceable, you’ll refasten the tile using code-approved corrosion-resistant hardware and compatible sealant where permitted, maintaining required headlap and uplift resistance.
If you find cracks, spalled edges, or compromised fastening points, you’ll replace the tile with a matching unit and secure it to the manufacturer’s specifications and local code.
Remove And Inspect Tile
Before you secure or replace a loose roof tile, you’ll need to remove it and inspect both the tile and its fastening points so the repair meets manufacturer instructions and local code requirements. Set ladder and fall protection.
Then lift the adjacent course with a slate ripper or flat bar to relieve interlock pressure. Slide the tile out without cracking corners; note the Tile material (clay, concrete, or composite) because nail type and fastening method vary.
Examine the tile for hairline fractures, spalling, and underside wear. Inspect nail holes, clips, battens, underlayment, and flashing for corrosion, elongation, or rot.
Confirm Roof ventilation paths aren’t blocked by debris, mortar, or displaced underlayment. Photograph findings and measure exposure to match the existing layout before proceeding.
Refasten Or Replace Tile
Once you’ve confirmed the tile’s condition and checked the fastening points, refasten it only with hardware and methods approved for that tile type and your local code (typically IRC with manufacturer specs).
Set roof jacks and a harness, then lift adjacent tiles gently to access the batten or deck.
If the nail hole’s sound, drive the specified corrosion-resistant fastener in the approved location; don’t overdrive and crack the tile.
If the hole’s enlarged, install an approved clip, foam, or screw-and-seal system as required.
Replace any cracked or spalled tile, matching Tile color to maintain heat performance and appearance.
Re-seat the tile, confirm headlap, and keep underlayment intact.
Don’t block Roof ventilation paths at eaves or ridge.
Recheck alignment and uplift resistance.
Conclusion
Don’t wait—*a stitch in time saves nine*. If you’ve spotted shifted, cracked, or missing tiles, you should act before wind-driven rain compromises the underlayment and decking. You’ll stay safer by using fall protection, stable ladders, and avoiding wet or steep slopes, per local code and OSHA basics. If tiles won’t re-seat, fasteners are corroded, or flashing is suspect, you should call a licensed roofer and document repairs.…