
How to Install a Timber Deck That Lasts Through All Seasons
You’ll build a timber deck that lasts by mapping the footprint, setting finished height, and planning drainage with a slight fall away from the house. Call utility locates, dig footings below frost depth, and pour plumb concrete bases with approved galvanized or stainless post hardware. Frame square, use joist hangers and structural screws, and add mid-span blocking. Install climate-suited boards with consistent gaps, keep under-deck ventilation clear, seal cut ends, and schedule annual wash-and-reseal checks. Keep going to refine each step.
Key Takeaways
- Plan deck height, square layout, and a 1:100 fall so water drains away from the house.
- Set footings below frost depth in undisturbed soil, add gravel drainage, and use galvanized or stainless post bases.
- Build a square, level frame with joists at 12–16 in. centers, approved hangers, structural screws, and mid-span blocking.
- Install durable, stable boards with consistent gaps (3–5 mm dry; wider wet-treated), stagger butt joints, and ensure under-deck ventilation.
- Use corrosion-resistant screws, pre-drill ends, seal all cut end-grain immediately, and inspect, wash, and re-seal annually.
Plan Layout, Levels, and Water Runoff
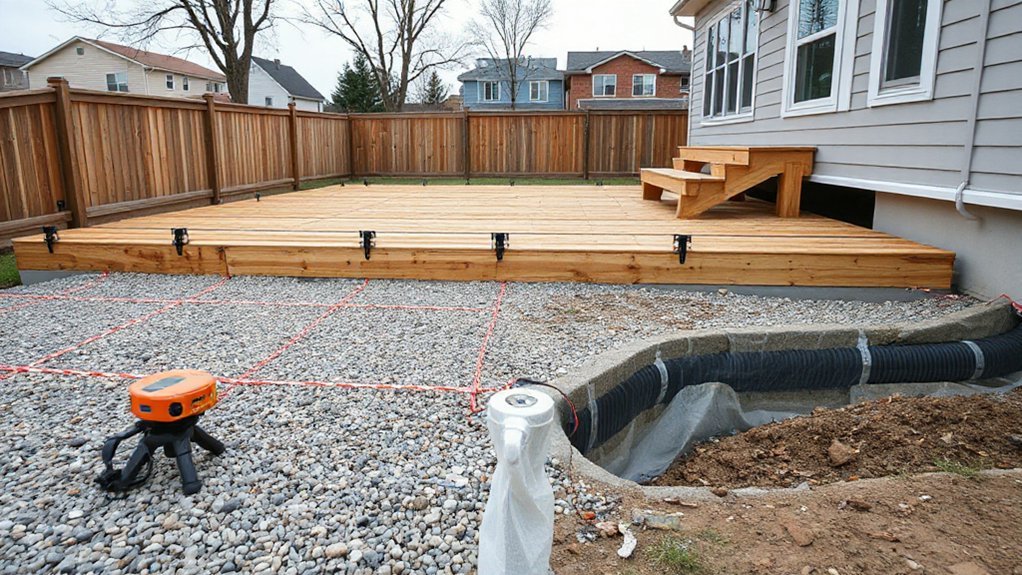
Before you cut timber or set footings, map the deck’s footprint, finished height, and drainage path so you don’t lock in problems you can’t easily correct later. Stake corners, run stringlines, and verify squareness by diagonal checks.
Set the finished deck height to maintain door thresholds and required step rises, and confirm clearance to vents and services. Establish a fall away from the house (about 1:100) and plan where water discharges so it won’t pond against foundations or erode soil.
Mark joist direction to minimize waste and align with traffic flow for better landscape integration. Identify lighting options now, including cable routes and fixture setbacks, so you don’t drill through beams later.
Recheck measurements.
Set Footings and Posts for a Solid Base
Once you’ve locked in the deck’s footprint and finished levels, set the footings and posts with precision because they carry the entire structure and control how true the frame stays over time. Call utility locates, then mark centers and dig below frost depth to undisturbed soil.
Bell or widen the base where codes allow, compact the bottom, and place a gravel pad for drainage. Set sonotubes plumb, then pour concrete to grade and embed approved post bases or anchor bolts.
Keep hardware hot-dip galvanized or stainless to prevent corrosion. Brace posts while you plumb and align them to stringlines, then cut to consistent height.
Check setbacks for landscaping integration and plan post locations for aesthetic considerations. Wear eye, hearing, and dust protection throughout.
Build a Level Joist Frame (Spacing & Blocking)
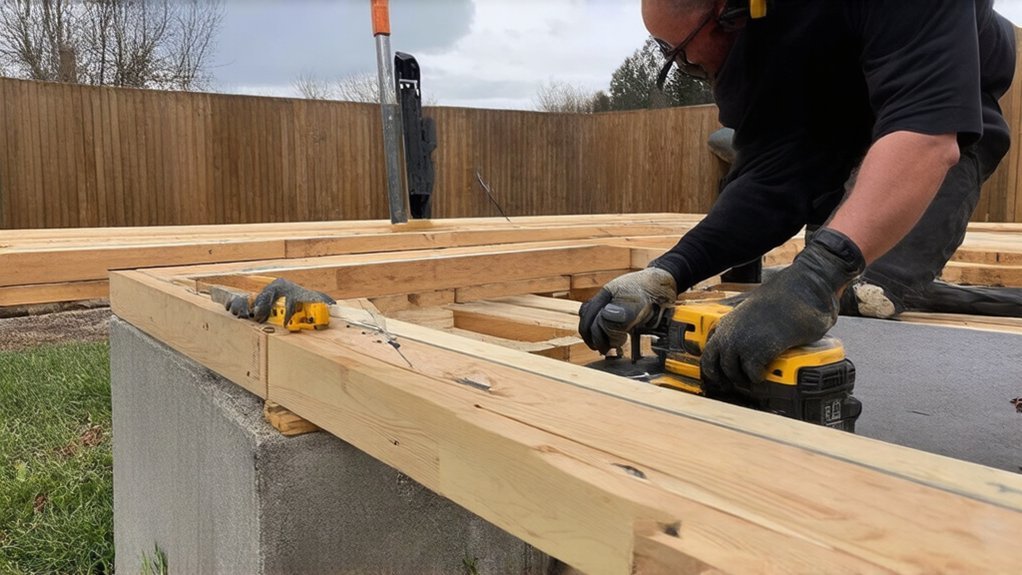
After your posts sit plumb and cut to height, you can build a level joist frame by setting the ledger and rim beam square. Then laying out joist spacing from a single reference edge helps ensure your measurements stay consistent.
Snap a level line, clamp components, and fasten with approved hangers and structural screws, not nails alone. Mark joists at 16 in. or 12 in. on-center as required.
Crown each joist up, and seat it fully in the hanger. Check for level across every third joist and correct with shims only where allowed.
Add blocking techniques at mid-span and over beams to prevent roll and reduce bounce; stagger blocks for easier fastening.
Keep hands clear of pinch points, and wear eye protection when cutting and drilling.
Choose Deck Boards That Suit Your Climate
Where you build your deck largely determines which deck boards will stay stable, safe, and low-maintenance over time.
In wet or coastal zones, choose naturally durable species (cedar, ipe) or capped composite to resist rot, corrosion staining, and surface checking.
In hot, high-UV regions, prioritize lighter colors and UV-stabilized finishes to reduce heat buildup and splinter risk.
In freeze-thaw climates, select boards with low moisture movement and strict grading; reject end checks, wane, and loose knots that can propagate cracks.
Make material comparisons using published decay ratings, Janka hardness, and warranty terms, not marketing claims.
If you want decorative patterns, verify your board thickness and hardness can handle tighter fastener spacing without splitting.
Confirm treatment chemistry suits your hardware.
Install Decking With Proper Gaps and Ventilation
Even if your framing is perfectly square, you’ll still get buckling, squeaks, and premature rot if you don’t install decking with consistent gaps and clear airflow. Set spacing with a gauge, not your eye: use about 3–5 mm for kiln-dried boards, and allow wider gaps for wet-treated boards as they shrink.
Keep gaps uniform at butt joints, and stagger joints so water can’t funnel into one seam. For drainage considerations, maintain a slight fall away from the house and keep board edges clear of debris.
Ventilation matters underneath: don’t block the perimeter; keep soil and mulch low to promote crossflow. For pest prevention, seal dark voids, keep plants trimmed back, and avoid trapping leaf litter.
Wear eye protection.
Pick Fixings That Resist Rust and Loosening
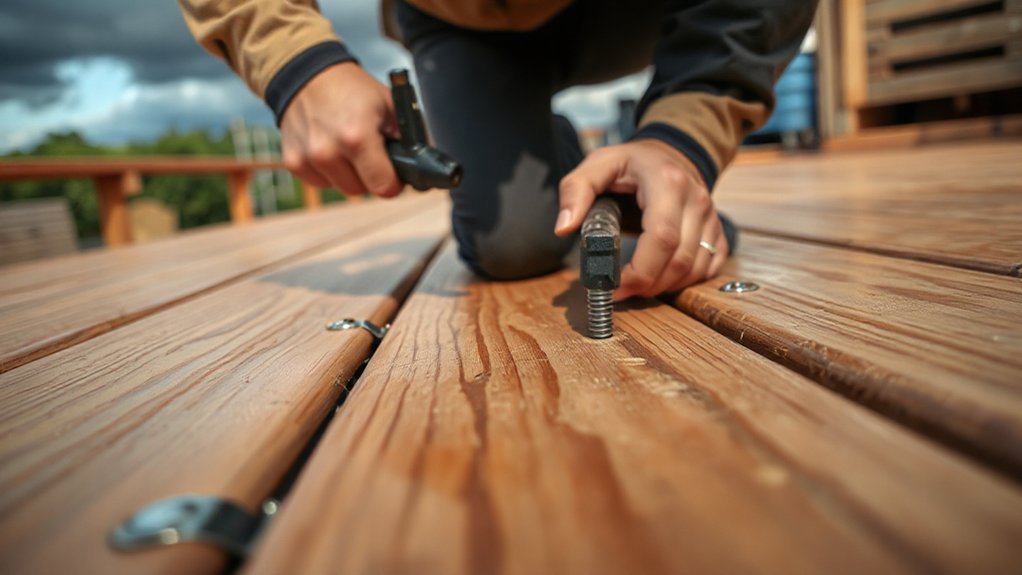
Because deck boards act like springs as they swell, shrink, and take foot traffic, you need fixings that won’t corrode or back out over time. Choose stainless steel or hot-dip galvanized rust resistant screws rated for treated timber; avoid electroplated fasteners that fail in wet, salty, or chemically treated environments.
Use structural screws for ledgers and joist connections where required, and match manufacturer load ratings. Pre-drill near board ends to prevent splitting and maintain clamp force. Drive screws perpendicular and set heads flush, not countersunk, so fibers don’t crush.
Apply loosening prevention techniques: use two screws per joist, keep consistent edge distance, and re-check torque as you go. Wear eye protection and gloves.
Seal Cut Ends and Maintain the Deck Annually
Rust-resistant screws keep boards tight, but you still need to protect every exposed timber fiber you create during cutting and drilling. Brush off dust, then Seal ends immediately with an end-grain preservative or compatible sealer; treat notches, bolt holes, and board ends before installation.
Wear gloves and eye protection, and keep liquids off footing pads and fasteners. Wipe runs so you don’t trap grit that’ll abrade coatings.
After the deck’s built, schedule annual maintenance. Each spring, wash with a low-pressure rinse and a deck-safe cleaner, then let moisture content drop before recoating.
Inspect for lifted fibers, splitting around fixings, and black staining near joints; sand lightly and re-seal exposed end grain. Replace cracked boards and re-torque loose hardware.
Conclusion
You’ve laid out drainage like a riverbed, anchored footings like bedrock, and squared your joists so the frame stays true. You’ve matched boards to your climate, left ventilation gaps so moisture can’t ambush the timber, and chosen fixings that won’t corrode or creep. Seal every cut end; it’s armor, not optional. Then inspect yearly—tighten, clean, recoat—so your deck weathers seasons like a well-calibrated machine.…