
Start by inspecting the breast, throat, liner, hearth, tiles, and cast iron for cracks, bulges, soot leaks, loose bedding, and maker’s marks. Protect the room with dust sheets, sealed polythene, floor paths, and a fan exhausting outward plus HEPA filtration. Test every paint layer for lead before you strip. Clean soot first, then apply a low-odor gel stripper and scrape gently. Re-bed tiles and pack gaps with lime mortar, then refinish with heat-tolerant, breathable coatings, and you’ll uncover further practical specifics ahead.
Key Takeaways
- Inspect the fireplace for cracks, flue leaks, loose hearths, and cast-iron damage; record maker’s marks and original fixings before disturbing anything.
- Protect the room with dust sheets, floor barriers, sealed polythene, and HEPA extraction; ventilate outward using a box fan in a window.
- Test all painted surfaces for lead using certified swabs or lab samples; stop and hire specialists if lead is confirmed.
- Clean soot first with HEPA vacuum and soot sponge, then strip paint with low-odor gel; scrape gently and dry thoroughly between passes.
- Repair and refit using lime-based mortar, tighten surrounds, seal gaps for expansion, then finish with breathable, heat-tolerant primers and topcoats.
Inspect Your Victorian Fireplace (and DIY Red Flags)
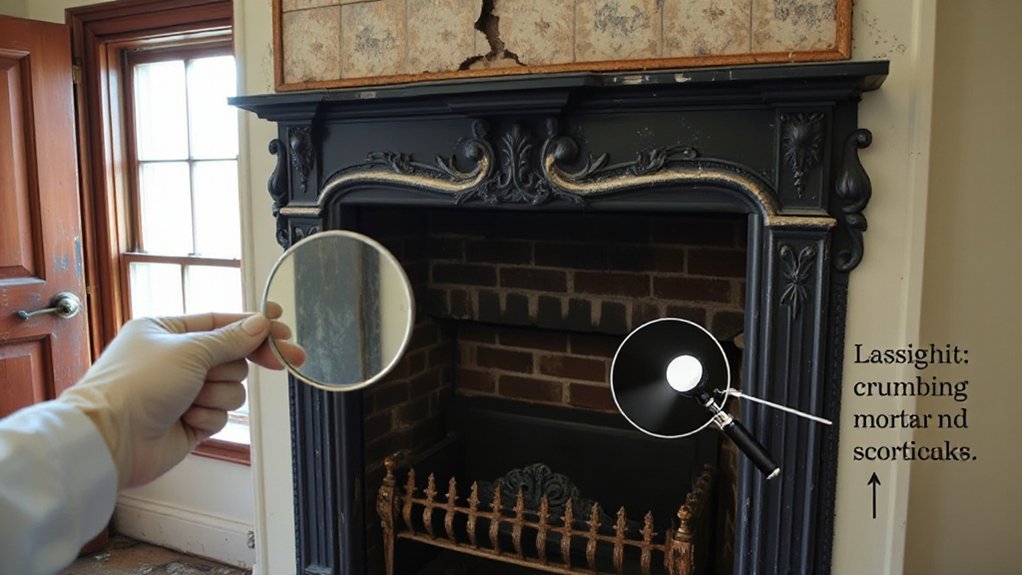
Before you pick up a scraper or order replacement tiles, inspect the fireplace the way a Victorian builder would’ve—starting with what carries heat and load. Check the breast for hairline cracks, bulging plaster, and soot ghosts that mark flue leaks.
Shine a torch up the throat; you’re looking for a sound clay liner, intact parging, and no tarry glaze.
Test the hearth for movement and examine bedding mortar for crumbling lime.
Tap cast iron with a knuckle: a clear ring beats a dull thud.
Note stamped maker’s marks, tile dimensions, and original fixings for Historical accuracy and Material preservation.
DIY red flags: spalled brick, loose lintels, salt bloom, or any smoke smell when cold. Call a sweep or mason.
Protect the Room: Dust Control and Ventilation
Although the fireplace is the star of the job, the room takes the first hit if you don’t control soot and lime dust. Clear the hearth area, roll up rugs, and cover cornices, mantels, and nearby furniture with cotton dust sheets, then tape the seams.
Lay rosin paper and hardboard paths to protect original boards and tiles. Seal the opening with polythene and painter’s tape, leaving a small flap for tools.
Set a box fan in a cracked window to exhaust outward, and open a second window for make-up air.
Add Air filtration with a HEPA unit positioned behind you, not blowing at the work.
For odor control, place bicarbonate trays and change them daily.
Test for Lead Paint Before You Strip
With the room sealed and air moving out through the window fan, turn to the paint on the surround, mantel, and any cast-iron insert—Victorian layers often include lead. You’ll confirm before you disturb a single flake.
Choose an EPA-recognized swab kit or collect chips for a lab; the latter suits thick, multiple-coat finishes common to late-19th-century work.
For Lead paint testing, score through all layers with a sharp knife at an inconspicuous edge, then test the cut, not the surface glaze. Use fresh gloves, label each location, and note colors and strata in a notebook, as restorers did with shop records.
If any result reads positive or uncertain, stop and plan Hazardous materials removal with a qualified professional, and protect children and pets in adjacent rooms.
Clean Soot and Strip Paint Safely
Once you’ve cleared the lead question, tackle soot and paint in separate, controlled passes so you don’t grind carbon into the grain or drive softened finish into joints. Start dry: vacuum with a soft brush, then use a soot sponge on cast iron, marble, or timber, working top to bottom. Follow with a barely damp cloth and pH-neutral soap; keep water away from seams and porous stone.
For fireplace restoration, shift to paint removal techniques only after surfaces are clean. Score paint edges with a knife, then apply a low-odour, non-caustic gel stripper in thin coats. Let it dwell, lift with a plastic scraper, and detail crevices with brass bristles or wooden picks. Rinse per product instructions and dry thoroughly.
Repair Tiles, Hearth Gaps, and Loose Surrounds
After you’ve removed soot and stripped back paint, inspect the tiled slips, hearth, and surround for movement, hairline cracks, and open joints that will only worsen under heat cycling. Tap tiles lightly; a hollow note signals failed bedding. Lift loose pieces carefully, keep every original, and re-bed with a lime-based mortar for historical accuracy, not hard cement that can spall edges.
Rake out crumbling joints to sound material, then repoint neatly, matching joint width around ornate detailing. At the hearth, chase out gaps, vacuum dust, and pack with lime mortar or fire-rated rope where expansion demands it.
Tighten a loose surround by checking cramps and screws, then reset with discreet shims so lines stay true. Allow repairs to cure fully before refitting.
Finish Your Victorian Fireplace: Paint, Polish, Seal
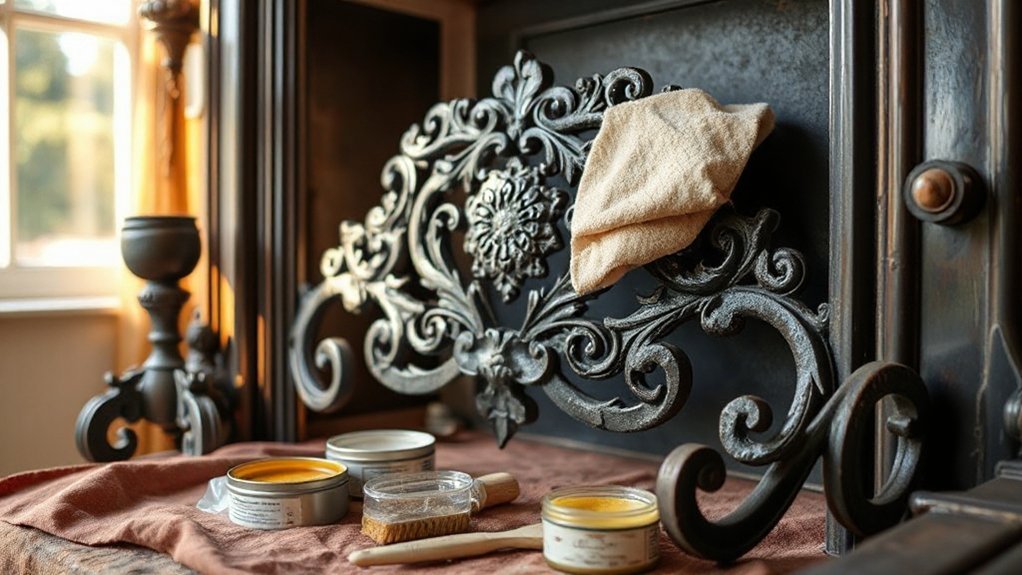
Although the structural repairs now look sound, you’ll only keep them that way if you finish the fireplace with breathable, heat-tolerant materials that suit Victorian fabric.
Begin with careful cleaning: de-dust mouldings, degrease, then lightly abrade gloss to key.
For cast iron, wire-brush to bright metal, spot-prime with a heat-resistant metal primer, then apply stove black or graphite paste, buffing to an even sheen.
For timber surrounds, choose an oil-based or shellac primer if resinous, then a satin or eggshell topcoat; avoid modern vinyls that trap moisture.
Prioritise Color matching from surviving paint layers, and keep historical accuracy by testing small panels in daylight.
Finally, seal porous stone or tile grout with a vapour-permeable, heat-rated impregnator. Let each coat cure fully.
Conclusion
You’ve inspected every casting, sealed the room against soot, and tested for lead before you ever scraped. You’ve lifted paint methodically, reset loose tiles, packed hearth gaps, and tightened the surround. Now you finish with the right period coating—iron blacking, shellac, or breathable paint—then polish, seal, and cure. Remember, about 90% of Victorian fireplaces were coal-fired, so residual grime hides deep. Work slowly, ventilate well, and you’ll restore its proper, crisp relief.