
Maintain your gutters by inspecting seams, end caps, and fasteners for gaps, stains, and corrosion, and confirm consistent slope to downspouts (about 1/16–1/8 inch per foot) so water can’t pond. Clean debris with gloves and eye protection from a stable ladder, bag it, then hose-flush runs and snake downspouts to verify free discharge at least 5 feet from the foundation. Reseal minor leaks, resecure hangers, and consider guards; more details follow.
Key Takeaways
- Inspect gutters each season for seam gaps, loose fasteners, corrosion, and proper slope toward downspouts to prevent standing water and leaks.
- Clean gutters regularly by scooping debris, bagging it, and flushing with a hose to confirm unobstructed flow and no joint overflow.
- Clear downspouts using a snake or jet nozzle, and ensure discharge routes carry water at least 5 feet away from the foundation.
- Repair issues early by rehanging sagging sections, replacing failed hangers, and sealing dry, clean seams with compatible gutter sealant.
- Prioritize safety: use a stable ladder, wear gloves and eye protection, avoid overreaching, and hire a professional for high or complex work.
Inspect Your Gutters: Seams, Slope, Hangers
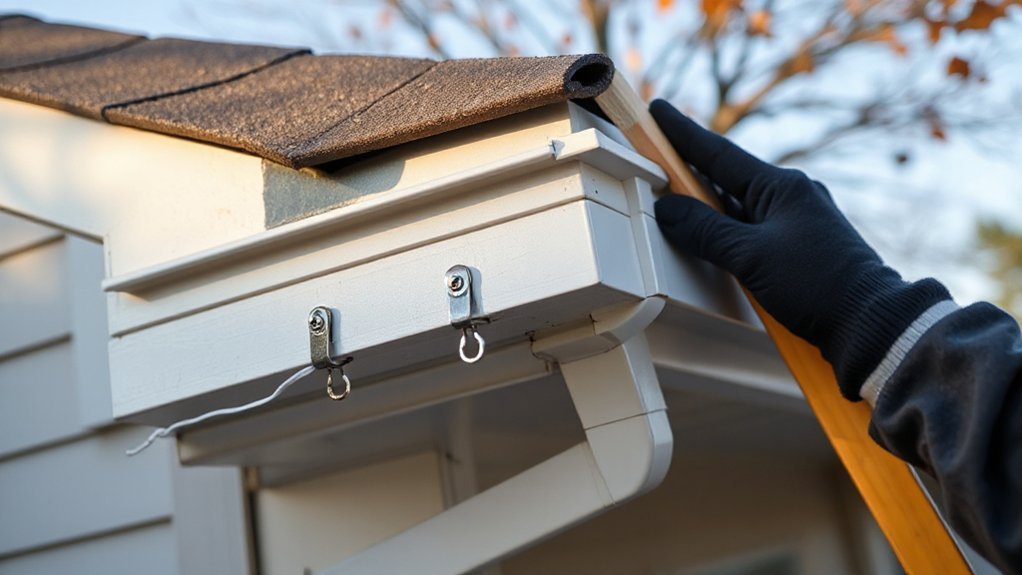
Before you clean or repair anything, inspect your gutters for seam separation, improper slope, and loose hangers so you can correct failures before they cause leaks or overflow.
Work from a stable ladder set per manufacturer instructions, maintain three points of contact, and don’t overreach.
Check Seam integrity at joints, end caps, and miters; look for gaps, fastener back-out, and staining that indicates leakage.
Verify slope with a level: you should see consistent fall toward downspouts, without reverse pitch or standing water.
Examine hangers and fascia attachment; replace corroded or undersized fasteners and ensure spacing meets local practice for your snow and wind loads.
Confirm compatibility of Gutter materials to prevent galvanic corrosion and premature joint failure.
Clean Gutters Safely (Tools + Step-by-Step)
Before you start, you’ll stage code-compliant access and wear essential PPE: cut-resistant gloves, safety glasses, non-slip footwear, and a stable extension ladder with a standoff (and a spotter when required).
You’ll then clear roofline debris, scoop and bag gutter buildup, flush with a hose to confirm unobstructed flow, and verify downspouts discharge away from the foundation.
You’ll finish by checking for leaks and loose fasteners, then dispose of debris per local rules and clean up the work area to prevent slips.
Essential Safety Gear
Why risk a fall or electrical contact when the right PPE and access equipment can keep gutter cleaning code-compliant and controlled? Start with ANSI-rated protective helmets and eye protection to manage impact and debris hazards.
Wear cut-resistant gloves, long sleeves, and non-slip footwear to reduce laceration and slip risk on wet roofs and ladders.
If you’ll work above lower-level edges, use safety harnesses with a compatible anchor point and lanyard rated for fall arrest; don’t rely on the gutter as an anchor.
Choose a Type IA or I ladder with levelers, stabilizer standoff, and a load rating that covers you and tools.
Keep ladders 10 ft from energized conductors, and use fiberglass rails near utilities.
Carry a basic first-aid kit.
Step-By-Step Cleaning Process
Once you’ve staged the right PPE and access equipment, you can clean gutters in a controlled sequence that limits fall exposure, protects the roof edge, and prevents downspout blockages.
Set your ladder per ANSI A14, maintain three-point contact, and standoff from the fascia.
Start at a downspout outlet, scoop debris into a bucket with a gutter spoon, and bag it—don’t drop it to grade.
Verify hangers and seams, then flush with a hose toward the downspout while watching for overflow at joints.
Clear the downspout with a plumber’s snake or jet nozzle, confirming free discharge.
Finish by rinsing the exterior to restore Gutter aesthetics.
If DIY challenges arise, stop and call a qualified contractor.
Set Your Gutter-Cleaning Schedule by Season
Because debris loads change throughout the year, you’ll get the most reliable drainage by setting a seasonal gutter-cleaning schedule that aligns with local tree drop, storm frequency, and roof runoff volume.
In spring, clear seed pods and granules after thaw to protect fascia and maintain Gutter aesthetics.
In summer, inspect after heavy rains and trim overhangs to improve landscaping integration and reduce organic load.
In fall, clean twice if you’ve got deciduous trees; schedule the final pass after leaf drop but before freezing nights.
In winter, verify downspouts remain unobstructed and remove accessible accumulations only from the ground using extension tools.
Follow ladder-angle and tie-off practices, wear cut-resistant gloves and eye protection, and comply with local runoff and debris-disposal rules.
Spot Gutter Overflow Signs Before Water Damage
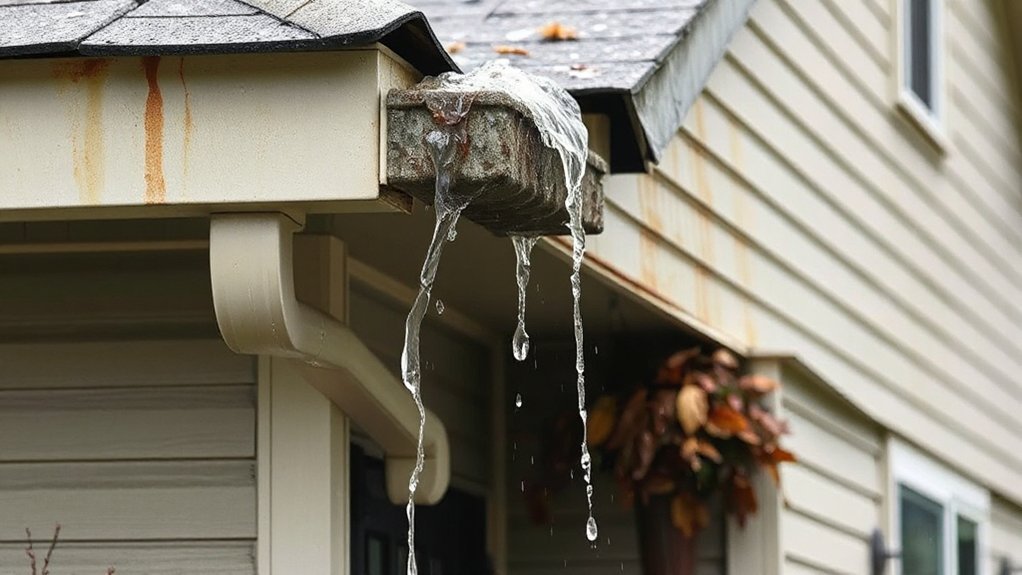
A seasonal cleaning plan keeps debris predictable, but you still need to spot overflow early to prevent fascia rot, foundation saturation, and interior leaks.
During rain, watch the drip line: if water sheets over the gutter edge or splashes behind it, you’ve got capacity or flow restriction issues.
Check for water pooling at downspout discharge, at slab edges, or along the basement wall; pooling signals improper drainage and can violate site-drainage requirements.
Inspect soffit and siding for dark streaks, peeling paint, or algae bands that mark repeated overtopping.
Inside, track musty odors, damp rim joists, and window-head staining near exterior walls.
Confirm discharge routes to a storm drain or approved dispersal area, never toward walkways.
Use a ladder stabilizer and keep three points of contact.
Fix Sagging Gutters, Leaks, and Loose Downspouts
You’ll correct sagging gutters by checking hanger spacing, fascia rot, and slope so runoff meets code and doesn’t overload the system.
You’ll seal leaks by cleaning and drying seams, then applying a compatible gutter sealant or replacing failed joints per manufacturer instructions.
You’ll secure loose downspouts with approved straps and fasteners, verify the discharge path stays clear, and use ladder and fall protection to meet safety requirements.
Identify Sagging Causes
When gutters start to sag, it usually signals a load or fastening failure that can quickly lead to leaks, fascia rot, and loose downspouts. You should first confirm slope and support spacing; most manufacturers and local codes require hangers at roughly 24 inches o.c. (closer in snow zones).
Next, isolate sagging causes by inspecting the gutter material and its connections. Heavy debris, ice, or standing water indicates poor pitch or blocked outlets. Soft fascia, missing drip edge, or fasteners pulled through suggests substrate decay or incorrect screw length.
Look for bent brackets, separated joints, and downspout straps that don’t restrain movement. Work from a stabilized ladder, wear gloves and eye protection, and don’t overload the gutter during checks.
Seal Gutter Leaks
Sagging often opens seams and fastener holes, so the next step is stopping leaks before water reaches the fascia and soffit. Set a stable ladder on firm ground, use fall protection where required, and wear gloves and eye protection. Clean and dry the leaking section; sealants won’t bond to sludge or wet metal.
For Gutter sealing, tighten or replace loose screws with corrosion-resistant fasteners, then tool a continuous bead of exterior-rated gutter sealant along seams, end caps, and around fastener heads. If you’ve got separated joints, realign them and add a rivet per manufacturer instructions before sealing.
Verify slope after repairs so water drains to the outlet without pooling. After cure time, run a controlled hose test to confirm leak prevention and check for hidden drips.
Secure Loose Downspouts
One loose downspout can dump hundreds of gallons against the foundation and overload the gutter outlet during a storm. Inspect straps, elbows, and the outlet every season, and after high winds.
Reattach the downspout to framing with corrosion-resistant screws; don’t rely on nails or brittle plastic anchors. Keep hangers within manufacturer spacing and verify proper gutter fastening at the outlet to prevent shear and leaks.
Replace missing straps and add a second strap near joints to limit movement. Seal seams with approved gutter sealant only after the downspout is aligned and supported.
Confirm discharge meets local code: direct flow at least 5 feet from the foundation using downspout extensions.
Work from a stabilized ladder, wear gloves, and avoid overhead power lines.
Prevent Clogs With Gutter Guards and Downspout Upgrades
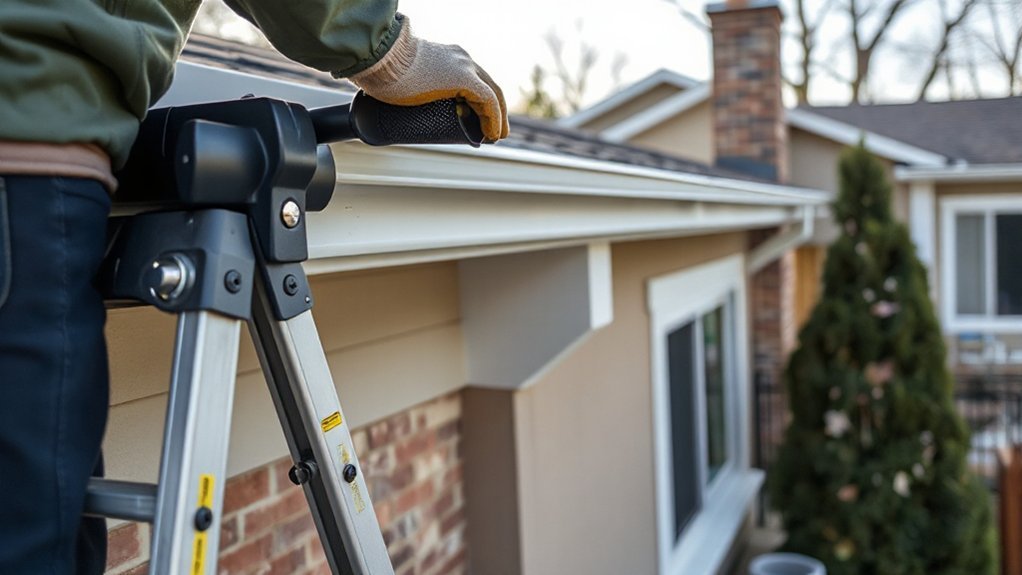
Although routine cleaning helps, you’ll prevent most clogs by adding properly sized gutter guards and upgrading downspouts to move water and debris through the system without restriction. Choose Gutter protection rated for your roof type and local leaf load, and verify it doesn’t reduce effective cross-sectional area below the gutter’s design flow.
Fasten guards per manufacturer specs, maintain required slope (about 1/16–1/8 in. per ft), and keep hangers accessible for inspection.
For Downspout enhancements, upsize where allowed, add smooth-wall extensions, and minimize tight elbows that trap debris. Secure joints with corrosion-resistant screws, seal only at approved seams, and terminate discharge per local code away from foundations.
Use stable ladders, fall protection where required, and cut-resistant gloves.
When to Repair vs Replace (and When to Call a Pro)
Even with well-sized gutter guards and upgraded downspouts, components wear out, fasteners loosen, and joints open under thermal cycling and heavy runoff.
Repair if you’ve got isolated pinholes, a single loose hanger, or a minor seam leak—clean, dry, then seal with manufacturer-rated gutter sealant and replace corroded screws with exterior-grade fasteners.
Replace when the gutter material shows widespread corrosion, cracking, oil-canning, or repeated joint failures, or when slope can’t be corrected without re-hanging long runs.
Compare replacement costs against recurring labor and water-damage risk.
Call a pro if you see fascia rot, concealed leaks behind siding, ice-dam deformation, or if work requires ladders above one story.
Follow fall protection and local code-required discharge clearances.
Conclusion
Keep your gutter system in good working order, and you’ll gently steer water away from your foundation instead of inviting “unexpected indoor moisture.” Inspect seams, slope, and hangers, then clean with ladder safety, gloves, and eye protection. Set seasonal checks, watch for overflow stains, and tighten downspouts before they “take a walk.” Seal small leaks, correct sagging, and add guards where debris is persistent. If corrosion, separation, or fascia damage appears, you’ll want a licensed pro.