Author name: Graeme Allen

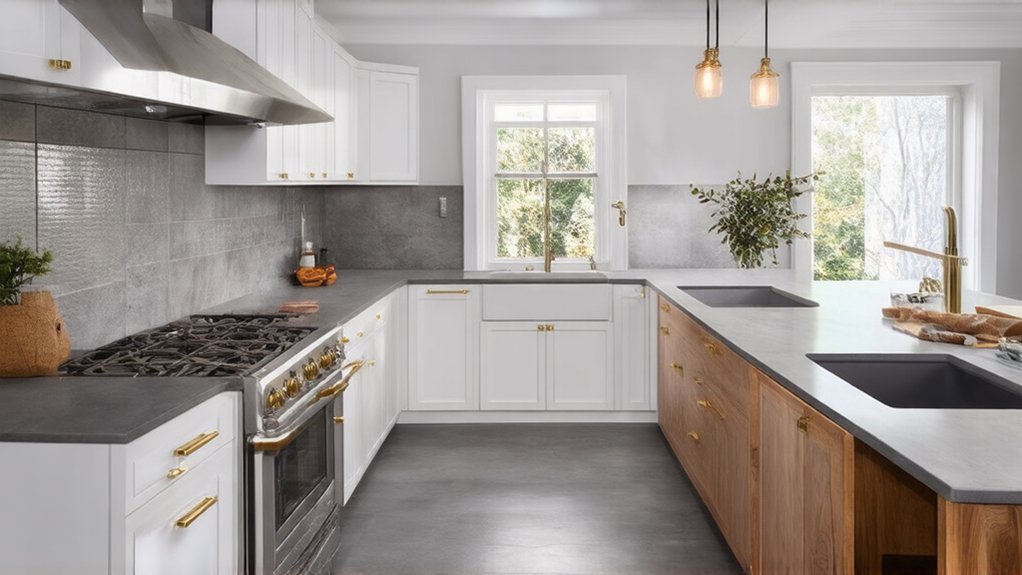
revamped modern kitchen design
Home Upgrades & Renovations

Transforming a Tired Kitchen With Smart Layout Changes and Modern Finishes

You can refresh a tired kitchen by tightening prep, cook, clean, and store zones, then fixing traffic so primary aisles stay 36 inches wide (42 for two cooks) and appliance doors don’t collide. Add proper landing space: 15 inches by the fridge and cooktop, 24 inches by the sink. Replace dated cabinets and counters with full-overlay, soft-close boxes and durable quartz or stainless. Finish with CRI 90+ layered LEDs, plus updated hardware, faucet, and sink. Next, you’ll see upgrade options that fit your layout and budget.

Key Takeaways

  • Replace dated cabinets, counters, hardware, and flooring with durable modern finishes like full-overlay doors, quartz, and consistent pulls.
  • Rework the layout into prep, cook, clean, and store zones, keeping tools grouped to reduce steps and clutter.
  • Protect traffic flow with 36–42 inch aisles, clear appliance door swings, and adequate landing space beside fridge, sink, and cooktop.
  • Maximize storage using ceiling-height cabinets, roll-outs, toe-kick drawers, and adjustable pantry shelving to reclaim dead space.
  • Modernize lighting and plumbing with layered CRI 90+ LEDs, accessible GFCIs, leak testing, proper trap alignment, and future-ready fixtures.

Quick Checklist: What Makes a Kitchen Look Dated
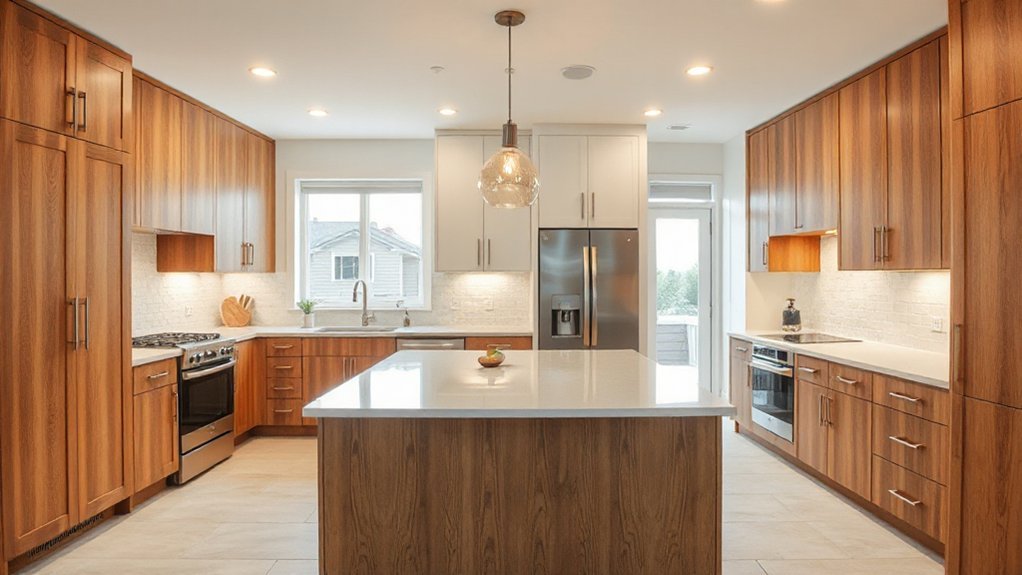
dated kitchen features checklist

If you’re trying to pinpoint why your kitchen feels stuck in another decade, run a quick visual and functional check for the most common dated features: glossy honey-oak cabinets, busy laminate or 4-inch tile countertops, short 4-inch backsplashes, yellowed grout, exposed fluorescent box fixtures, mismatched appliance finishes, brass or ornate hardware, and worn vinyl or small-pattern ceramic floors.

Next, verify basics that affect both appearance and compliance: outlets should be GFCI-protected at countertop runs, cover plates uncracked, and lighting should provide task illumination without glare. Check that cabinet doors align, drawers glide smoothly, and toe-kicks aren’t broken or water-swollen.

Review Color schemes for yellow-beige dominance and low-CRI bulbs that shift finishes. Limit decorative accents like roosters, ivy borders, or sponge-painted walls that date the room fast.

Fix Kitchen Flow With Smart Work Zones

Dated finishes stand out fast, but poor layout slows you down every day, so fix the flow by setting up clear work zones: prep, cook, clean, and store. Use Smart zoning to group tools where you use them: knives, boards, and trash at prep; pans, oils, and spices at cook.

Keep prep counters uninterrupted and aim for 15 inches of landing space at each side of the cooktop when possible.

For clean, keep the sink, dishwasher, and waste pull-out adjacent, with a clear 36-inch walkway so doors can open without conflicts.

Store daily items between knee and shoulder height, and put heavy cookware in lower drawers.

Add dedicated circuits and GFCI protection at countertop receptacles per code.

This workflow optimization cuts steps and reduces cross-traffic.

Rethink the Work Triangle (Not a Rulebook)

Although designers still reference the classic sink–stove–fridge “work triangle,” you’ll get better results by treating it as a diagnostic tool, not a strict layout formula. Map your actual routes: prep at the sink, cook at the range, grab cold items, then plate. If one leg forces you through a traffic lane, revise.

Use a creative layout that respects clearances and access. Keep primary aisles at least 36 inches wide (42 inches if two cooks share), and don’t let appliance doors collide.

Provide 15 inches of landing space beside the refrigerator latch side, 12 inches on one side of the cooktop and 15 inches on the other, and 24 inches near the sink. With unconventional planning, you can shift tasks to adjacent runs or an island while maintaining safe, efficient paths.

Add Storage Without Expanding Your Kitchen

You can add capacity without changing your kitchen’s footprint by using vertical storage solutions—take cabinets to the ceiling, install rated wall shelving into studs, and keep required clearances around cooking and ventilation.

You’ll also gain space with hidden storage upgrades like toe-kick drawers, pull-out tray bases, and full-extension roll-outs that meet manufacturer load specs.

You don’t need more square footage; you need every cubic inch planned, anchored, and accessible.

Vertical Storage Solutions

Where can extra storage go when your cabinet footprint can’t change? Look up. Add vertical shelving in the pantry, above the refrigerator, or on a blank wall between openings.

Keep shelves at least 18 inches above the countertop where required for small-appliance clearance, and don’t block required receptacle access or range hood capture.

For pantry organization, install adjustable standards so you can re-space shelves as needs shift; anchor into studs or use rated toggles per manufacturer loads.

Use 10–12-inch shelf depths for cans and dry goods, and label zones to prevent overstacking.

Add a ceiling-height cabinet or soffit-height shelf to reclaim dead space, but maintain clearance around HVAC registers and sprinkler heads.

Hidden Storage Upgrades

When every cabinet is already spoken for, hidden storage upgrades let you add capacity inside the same footprint by using the voids behind doors, under shelves, and between studs.

Add toe-kick concealed drawers for sheet pans and pet bowls; specify full-extension, soft-close slides rated for the load and keep clearances from baseboard heat or ducting.

Use a shallow pull-out behind a false drawer front at the sink for sponges, but maintain access to the shutoff valves and GFCI-protected receptacles.

Build Hidden compartments in an end panel or island support leg for charging stations; route cords through listed grommets and keep wiring in approved raceways.

Between-stud niches beside the fridge can store trays without reducing required appliance ventilation space.

Choose Modern Kitchen Cabinets That Look Custom

Three details make modern kitchen cabinets look custom: clean construction, consistent reveals, and hardware that’s sized and placed with intention. Specify full-overlay doors, 3/4-inch plywood boxes, and soft-close, adjustable hinges so gaps stay even and operation stays quiet.

Use scribed fillers and finished end panels so runs terminate cleanly at walls and appliances. Choose custom cabinet styles like slab fronts, slim Shaker, or flat-panel with integrated pulls, and keep one door profile throughout for visual discipline.

For innovative finish options, select factory-cured lacquer, UV matte, or thermofoil rated for heat and moisture; confirm CARB Phase 2/TSCA Title VI compliance.

Plan clearances: don’t block required appliance vents, and keep uppers below hood and sprinkler limits. Align pulls by jig for repeatability.

Pick Durable Countertops for a Modern Kitchen

Because countertops take the most abuse in a modern kitchen—heat, knives, acids, and constant cleaning—you should pick a surface that matches how you actually cook and that installs to manufacturer specs.

For low maintenance, choose engineered quartz and require sealed seams, radiused edges, and heat-resistant trivets near ranges.

If you prep heavily, consider stainless for hygiene and easy sanitizing; specify integral backsplashes at wet walls.

For Eco friendly materials, look at recycled-glass composite or paper-resin slabs, and verify VOC limits on adhesives and sealers.

For cost effective options, use quality laminate with postformed edges, but keep joints away from sinks.

Template after cabinets are fastened, leave required appliance clearances, and support overhangs per code with brackets.

Upgrade Kitchen Lighting for Task and Mood

Durable countertops handle the wear, but good lighting lets you prep safely and makes the room feel finished. Start with layered light: ambient lighting for overall coverage, then task illumination where you cut, mix, and read labels.

Put recessed LEDs on a dimmer and aim for even spacing to avoid shadow pockets. Add under-cabinet LED strips at the front rail so your body doesn’t block the beam. Choose 2700–3000K for warmth, or 3000–3500K if you want a cleaner look, and keep CRI 90+ for accurate food color.

Use damp-rated fixtures near sinks and cooking zones. Meet code with GFCI-protected circuits as required and switch locations at entries. Verify clearances above cooktops and maintain ventilation access.

Update Kitchen Hardware, Faucet, and Sink Fast

Where can you get the biggest visual and functional upgrade in a single afternoon? Swap cabinet pulls, the faucet, and even the sink.

Measure hole spacing (center-to-center) and match it to new hardware to avoid re-drilling. Choose corrosion-resistant finishes and verify sharp edges aren’t exposed.

Shut off water, open the faucet to relieve pressure, and use listed supply lines with proper thread sealant where required.

For the sink, confirm cabinet clearance, drain location, and that the disposal/air gap (if required locally) stays accessible.

Pick eco-friendly materials like recycled stainless or composite granite.

Add a pull-down faucet that supports Smart appliance integration via compatible sensors or leak shutoff valves.

Test for leaks and proper trap alignment.

Conclusion

It’s funny how your “fine” old kitchen suddenly feels outdated once you fix flow, zones, and storage. You don’t need more square footage—you need clearances, landing space, and a safer work triangle that actually works. Add cabinets that read custom, pair them with durable counters, and layer task plus ambient lighting on proper circuits. Then swap hardware, faucet, and sink. Ironically, the smallest code-smart upgrades make it feel brand-new.…
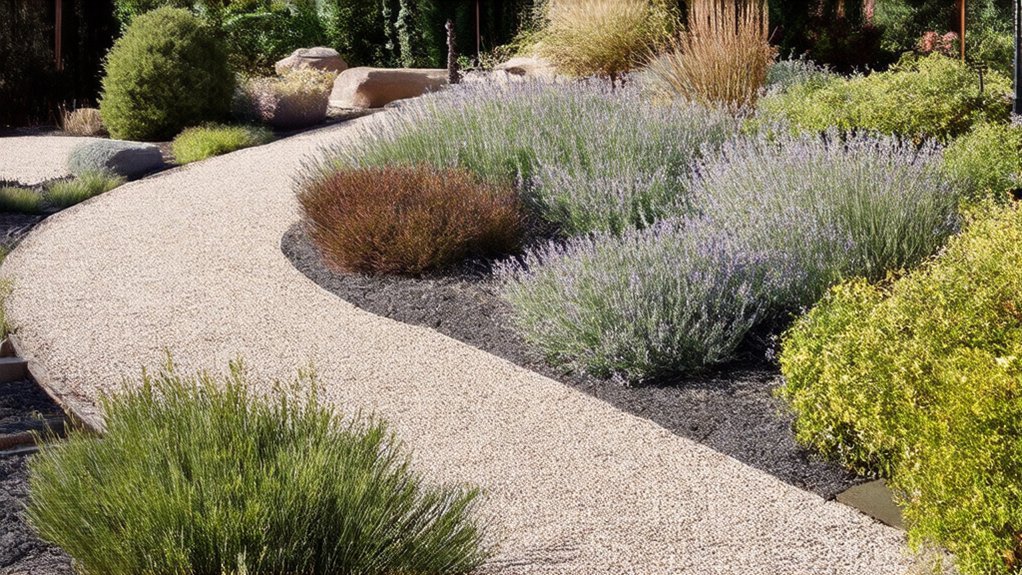
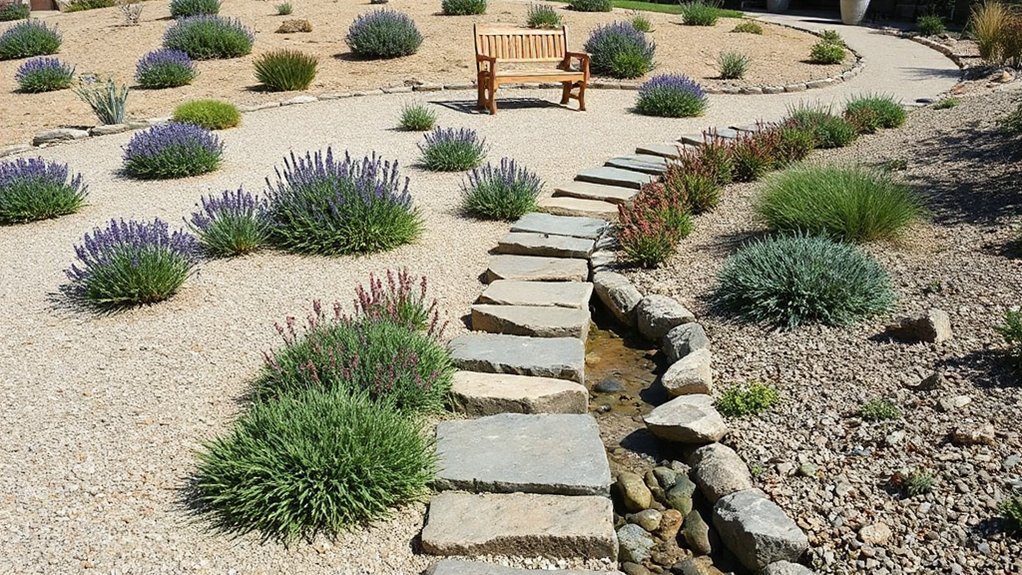
low maintenance gravel garden design
Garden & Outdoor

How to Build a Low‑Maintenance Gravel Garden That Looks Great All Year

Start by mapping sun, shade, and drainage, then adjust grades and pick drought-tough plants where water lingers. Excavate, lay permeable woven geotextile (overlap 6–8 inches), and install hard edging to stop migration. Build 75–100 mm of angular stone: a 25–40 mm base topped with 50–60 mm decorative gravel. Add drip irrigation on the soil surface under 2–3 inches of gravel, and maintain with monthly raking, annual top-ups, and twice-yearly re-edging. Next, you’ll see plant palettes and layout tricks that keep it sharp in every season.

Key Takeaways

  • Assess sun, shade, and drainage, then choose drought‑tolerant, grit‑shedding plants grouped by similar light and soil depth.
  • Install woven permeable geotextile (not plastic), overlapping seams 6–8 inches and pinning tightly to block weeds while letting water through.
  • Build 3–4 inches total gravel: 1–1.5 inches angular base plus 2–2.5 inches decorative gravel, matched to paths or plant beds.
  • Use durable edging (steel, aluminum, stone, or concrete) set on compacted stone to stop gravel migration and keep crisp lines.
  • Add drip irrigation under gravel and maintain annually by raking debris, topping up thin spots, and leaving seedheads for winter structure and wildlife.

Plan Your Gravel Garden for Sun, Drainage, and Use

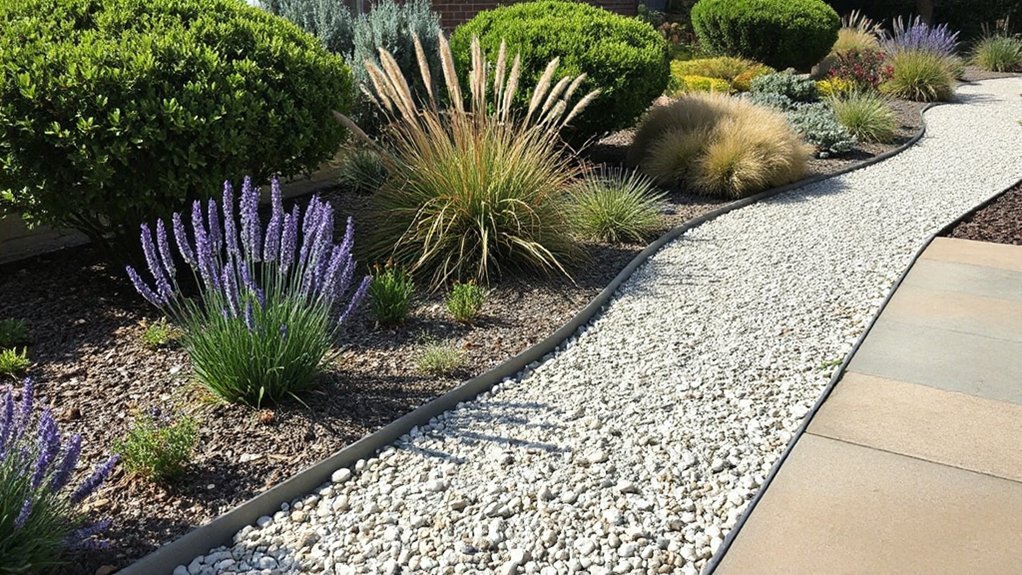
site planning for gravel gardens

Before you order gravel or pick plants, map your site’s sun exposure, drainage patterns, and how you’ll actually use the space, because these three factors determine your gravel depth, base prep, and plant palette.

Spend a full day logging sun hours; full-sun zones handle heat-loving perennials, while shade pockets need woodland textures or a Plant container plan for movable color.

Test drainage with a 12-inch hole: if water lingers past 4 hours, you’ll favor drought-tolerant species and route runoff with subtle grading, not hard edges.

Define traffic: set primary paths where you’ll walk, and keep seating pads level for stable furniture.

For wildlife habitat, cluster nectar plants near cover, and reserve a dry, undisturbed corner for overwintering insects and shelter.

Prep for a Weed-Resistant Gravel Garden (Barrier + Depth)

To keep your gravel garden weed-resistant, you’ll start with the right barrier—typically a permeable woven geotextile that blocks shoots while still letting water drain.

Next, you’ll set your layer plan and depth: a compacted sub-base where needed, then enough gravel to suppress light (often 2–4 inches for paths, deeper for high-traffic areas).

If you match barrier specs and gravel depth to your soil and use case, you’ll cut maintenance without compromising drainage.

Choosing The Right Barrier

How do you stop weeds without trapping water or starving your soil? You choose a permeable barrier that blocks light yet lets air and moisture move freely. Prioritize professional-grade woven geotextile: it resists punctures, stays stable under foot traffic, and delivers consistent weed control.

Avoid plastic sheeting; it prevents drainage, promotes anaerobic soil, and forces runoff to edges. Landscape fabric varies widely, so check GSM weight, UV stability, and tear strength rather than relying on labels.

Overlap seams by 6–8 inches, stagger joints, and pin tightly so gaps don’t open during raking. Cut clean X-slits for planting, then snug the fabric around stems.

Match barrier materials to site conditions—roots, slopes, pets—so performance stays predictable long-term.

Gravel Depth And Layers

Exactly how deep should you go with gravel if you want long-term weed resistance without drainage problems? Aim for a total of 75–100 mm (3–4 in) of compacted gravel above your barrier, adjusted to soil and foot traffic.

Start with a 25–40 mm (1–1.5 in) sublayer of angular 20 mm base gravel; rake level and compact to lock particles and reduce voids weeds exploit.

Add a 50–60 mm (2–2.5 in) top layer of 10–14 mm decorative gravel for a stable, tidy finish.

Keep the barrier overlapped 150 mm and extend it under edging so gravel can’t migrate.

Choose gravel color that matches hardscape, then use boulders or steel edging as decorative accents without puncturing the barrier.

Choose Gravel Size and Color That Won’t Migrate

Although gravel seems like a purely aesthetic choice, the size and color you select directly control migration, tracking, and long-term maintenance.

For stable walking surfaces, specify angular 3/8-inch minus (decomposed granite or crushed stone fines) or 1/4–3/8-inch crushed rock. Rounded pea gravel rolls and drifts under foot traffic. Match size to use: smaller for paths, slightly larger (up to 1/2-inch) around drought plants where you won’t step often.

Evaluate Gravel texture: angular particles lock, reduce rutting, and resist wind displacement.

Choose Gravel color based on heat and glare: lighter tones reflect and reduce plant stress; darker tones hide debris but can raise soil temperatures.

If tracking is a concern, avoid ultra-fine screenings near entries and patios.

Install Gravel Garden Edging That Actually Holds

durable edging for gravel

To keep gravel from creeping into beds and walks, you’ll need edging that won’t flex, rot, or heave—think steel, aluminum, or concrete rather than thin plastic.

Set it to a consistent height and line, then anchor it with the manufacturer’s spikes or stakes at tight spacing, especially on curves and shifts.

If you secure joints and lock the edging into compacted base, you’ll get a clean boundary that holds through traffic, rain, and freeze-thaw.

Choose Durable Edging Material

When you install a gravel garden, your edging does the real work of keeping stone in place and preventing migration into beds, lawns, and hardscape joints. Choose a profile that resists flexing, heaving, and mower impacts, and that maintains a clean reveal after seasonal freeze-thaw cycles.

Steel edging (powder-coated or corten) delivers the highest rigidity for straight runs and crisp curves. Aluminum suits lighter-duty borders but can deform in traffic zones. Concrete or stone setts add mass and read as decorative edging, though you’ll need consistent heights to avoid trip points.

For sustainable materials, specify FSC-certified timber sleepers or reclaimed brick, and avoid thin plastic rolls that UV-brittle and warp. Match material to site loads and maintenance expectations.

Anchor Edging Securely

Durable edging only performs as specified if you lock it into the subgrade so it can’t rack, lift, or creep under gravel pressure, foot traffic, and freeze–thaw movement.

Excavate a straight trench to the manufacturer’s depth, then compact the base with a hand tamper. Set edging on a thin leveling layer of crushed stone, not loose soil, and check grade with a stringline.

Drive stakes through prepunched slots every 12–18 inches, closer on curves and at joints, and angle stakes slightly toward the gravel to resist outward thrust.

Backfill and compact both sides in lifts to eliminate voids. Leave clean access points for flower arrangements and plan conduit clearances for garden lighting before final lock-in.

Build a Firm Base for Paths, Patios, and Seats

Although gravel gardens thrive on a relaxed, natural look, your paths, patios, and seating areas need a properly engineered base so they don’t rut, rock underfoot, or sink after rain.

Excavate to undisturbed subsoil, typically 150–250 mm for foot traffic, deeper for heavy garden furniture. Grade a 1–2% fall away from buildings, then compact the subgrade with a plate compactor.

Install a permeable geotextile to separate soil from aggregate and prevent fines migration.

Place 75–150 mm of well-graded crushed stone (Type 1/road base) in two lifts, compacting each lift to refusal.

Add a 25–40 mm bedding layer of screenings, then set pavers or stabilizing grids.

Finish with gravel and decorative accents, then re-compact lightly.

Choose Gravel Garden Plants for Four-Season Interest

Even if gravel does most of the weed suppression and drainage work for you, plant selection determines whether the space looks intentional in every season or collapses into a summer-only display.

Start with a structural backbone: evergreen mounds (lavender, santolina), upright grasses (calamagrostis, festuca), and compact shrubs for winter form and wind filtering.

Layer in long-blooming perennials (salvia, yarrow, gaura) for summer color and pollinator traffic.

Then add fall performers with seedheads and foliage (sedum, echinacea, ornamental alliums) to extend texture.

Specify plants with tough crowns and narrow leaves that shed grit, and group by sun exposure and soil depth.

For Wildlife habitat, keep some seedheads standing through winter.

Use Organic mulching at plant collars, not across gravel.

Set Up Drip Irrigation Under Gravel (Without Clogs)

gravel covered drip irrigation setup

Once you’ve chosen plants that tolerate lean, fast-draining conditions, you still need a watering method that targets root zones without turning your gravel into a soggy, weedy surface.

Run 1/2-inch poly tubing on the soil surface, pin it, then cover with 2–3 inches of gravel; keep emitters directly over root zones, not buried in fines. Use pressure-regulated, inline dripline (0.6–0.9 gph) and add a 150-mesh filter plus a flush valve at each line end to prevent sediment buildup.

Include an air/vacuum relief valve on slopes to stop suctioned grit. Set a conservative watering schedule: deep, infrequent cycles, then adjust by season and plant establishment.

Plan drip system maintenance with monthly filter checks and line flushing.

Maintain a Clean Gravel Garden: Rake, Top-Up, Re-Edge

After you’ve installed plants and irrigation, treat the gravel layer like a finish surface that needs light, routine grooming to stay weed-resistant and crisp. Rake monthly with a stiff fan rake to lift leaf litter and redistribute stones, keeping a consistent 2–3 in. depth over fabric. Spot-vacuum fines from around crowns so airflow stays high and rot risk stays low.

Top-up annually where traffic or runoff thins coverage; match stone size and color to prevent patchwork. Re-edge twice a year: cut back turf, reset steel or aluminum edging, and compact the gravel shoulder to lock lines. Blow debris off hardscape to reduce organic buildup that feeds weeds.

Clean gravel improves Natural pest control by limiting hiding places, while tidy edges preserve Wildlife attraction through healthy plant structure.

Conclusion

You’ve built a garden that looks effortless, yet it’s engineered: sun-matched plant zones, fast drainage, and a weed barrier under 50–75 mm of stable gravel. Where lawns demand weekly inputs, your edging locks aggregates in place and your compacted base keeps paths firm. Drip lines hide beneath stone—precise water, zero overspray—while drought-tough perennials and grasses deliver winter structure and summer color. Now you’ll just rake lightly, top up, and re-edge annually.…

Scroll to Top