
Identify your slab material first (water-drop test) and stick to pH-neutral soap or oxygen-based cleaner; avoid acids on limestone/marble and strong alkalis on reconstituted stone. Clear and sweep the patio, mist and shield plants, then pre-wet the surface. Scrub small sections with hot soapy water and a stiff nylon brush, rinse well, and treat stains with a baking-soda paste. Use diluted vinegar only on concrete after a spot-test. Let slabs dry fully, then apply a breathable sealer for longer-lasting results, with more step-by-step safeguards ahead.
Key Takeaways
- Identify slab material and porosity with a water-drop test, then choose pH-neutral soap or oxygen bleach; avoid acids on limestone and marble.
- Clear furniture, sweep debris, pre-rinse thoroughly, and ensure slabs are dry and uniformly matte before deeper cleaning or sealing.
- Scrub small sections with warm water and pH-neutral soap using a stiff nylon brush, keeping the surface wet 2–3 minutes, then rinse well.
- Remove algae, moss, and organic stains with oxygen-based cleaner; dwell 10–15 minutes, scrub again, and rinse with low pressure.
- After full drying, apply a breathable water-based sealer in thin coats, avoiding puddles, and let cure 24–72 hours before replacing furniture.
Identify Slab Material and Safest Cleaner
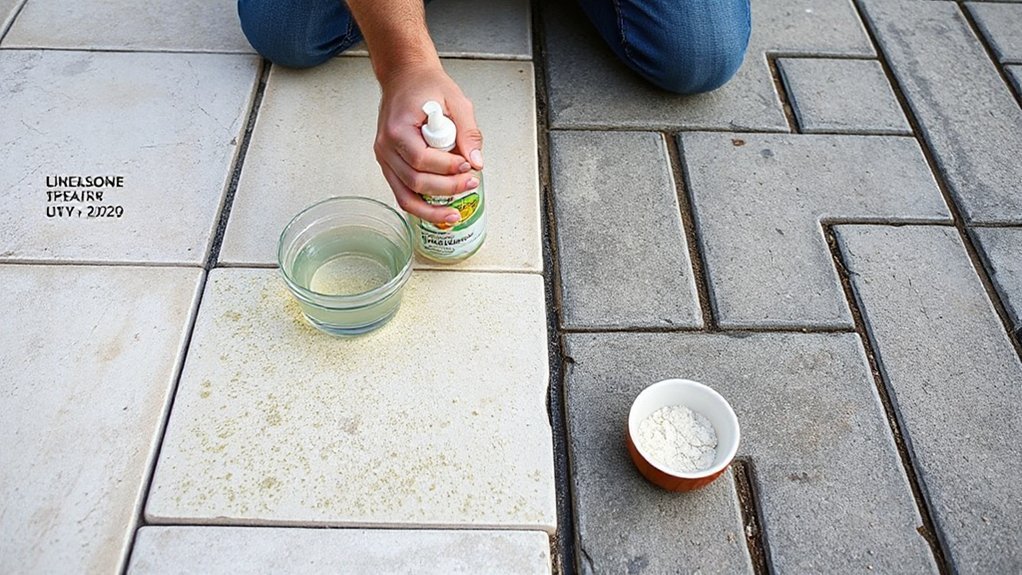
Before you reach for any cleaner, you’ll get safer, more predictable results by identifying what your patio slabs are made from, because each material reacts differently to acids, alkalis, abrasives, and even “natural” products like vinegar.
Start with Material identification: check invoices, look for manufacturer stamps, and compare texture and porosity—dense, speckled concrete differs from layered sandstone; limestone and marble often show fine veining and feel “softer” under a key scratch.
Run a small water-drop test to gauge absorption.
Then match Safe cleaning agents: use pH‑neutral soap for most concrete and porcelain; use diluted oxygen bleach for organic staining on concrete and sandstone; avoid acids on limestone, marble, and cement-based slabs; avoid strong alkalis on aluminum-based reconstituted stone.
Patch-test first.
Prep the Patio and Protect Plants
Now that you’ve matched the slab material to a low-risk cleaner, set up the patio so runoff and overspray don’t damage plants or track grime back onto clean areas. Clear loose items first: move garden furniture, pots, grills, and doormats off the slabs. Sweep debris away from doors and drains, then cordon off the work zone with tape or cones.
Protect vegetation next. Lightly mist nearby leaves with clean water to reduce uptake, then cover beds with breathable fabric or cardboard shields, keeping covers off foliage tips. Block runoff paths using rolled towels or sand-filled socks along edges and thresholds.
Unplug or isolate outdoor lighting circuits, cap connectors, and route extension cords overhead. Wear gloves, eye protection, and non-slip footwear throughout.
Clean Patio Slabs With Hot Soapy Water
Once the area’s prepped, start with hot soapy water to lift surface grime without etching or bleaching the slabs. Fill a bucket with very warm water and a few drops of pH-neutral dish soap; avoid degreasers that can leave residue.
Wet the surface first to reduce streaking, then scrub in small sections with a stiff nylon brush, working along joints and textured faces. Keep the solution wet for 2–3 minutes, then agitate again to break the soil film.
Rinse thoroughly with clean water so soap doesn’t attract dirt and dull your patio design. Wear gloves and non-slip footwear, and keep electrical tools dry.
Move outdoor furniture only after the slabs dry completely.
Remove Moss and Algae Without Bleach
Although moss and algae look stubborn, you can remove them without bleach by combining mechanical agitation with an oxygen-based cleaner or a mild vinegar solution, then controlling moisture so regrowth slows.
Start dry: sweep grit, then use a stiff nylon brush to break the biofilm. Pre-wet joints lightly so cleaners spread evenly, but don’t flood.
Apply an oxygen-based cleaner at label dilution, or spray 1:1 white vinegar and water for Eco friendly alternatives; keep it off nearby plants.
Let dwell 10–15 minutes, scrub again, then rinse with low-pressure water to avoid etching and joint loss.
Wear gloves and eye protection, and avoid inhaling aerosols.
For Organic moss removal, pull thick clumps from joints, then top up jointing sand and improve drainage.
Treat Patio Slab Stains With Baking Soda Paste
Mix baking soda with a small amount of water until you’ve got a thick paste, and wear gloves to protect your skin while you work.
Apply the paste directly to the stain, scrub with a stiff nylon brush using controlled pressure, and keep the area damp so you don’t create dust.
Let it sit briefly, then rinse thoroughly with clean water and confirm runoff drains safely away from plants and nearby surfaces.
Mix Baking Soda Paste
When you need a low-toxicity spot treatment for mild to moderate patio slab staining, a baking soda paste gives you controlled abrasion and gentle alkalinity without harsh fumes.
For reliable stain removal, you’ll mix Baking soda with just enough water to form a thick, spreadable paste that won’t run into joints or drains. Start with a clean, dedicated container and a non-metal spoon; avoid reactive aluminum.
Add three parts Baking soda to one part water, then adjust by teaspoons until it holds soft peaks. Wear nitrile gloves and eye protection to prevent irritation, and avoid inhaling dust during measuring.
If you’re treating porous stone, test the paste on an inconspicuous area first to confirm it won’t lighten the surface. Use immediately; don’t store mixed paste.
Scrub And Rinse Stains
Once the paste is in place, scrub the stain with a nylon-bristle brush using tight circular strokes and light-to-moderate pressure. Then let it dwell for 5–10 minutes without allowing it to dry.
Work from the outer edge inward to prevent rings, and keep the area lightly misted if conditions are hot or windy. For embedded stain treatment, reapply a thin layer and repeat the scrub once, avoiding metal brushes that can gouge concrete.
Rinse thoroughly with clean water, directing runoff away from plants and drains if required. Use a low-pressure hose stream; don’t power-wash, which can erode the slab surface.
For Efflorescence removal, rinse twice and brush while rinsing to lift loosened salts. Let the slab air-dry, then inspect and spot-treat remaining marks.
Use Vinegar Safely on Concrete Slabs Only
Use vinegar only on concrete slabs, and keep it diluted to control etching risk—start at 1:1 vinegar to water, and don’t exceed 2:1 for stubborn residue.
Apply it to a small, inconspicuous spot first, wait 5–10 minutes, then rinse and check for whitening or surface roughness.
If the test area stays stable, you can proceed in sections, keeping contact time short and rinsing thoroughly.
Dilute Vinegar Ratios
Although vinegar can lift light mineral haze and mildew, you’ll need to dilute it carefully to avoid etching concrete and weakening the surface paste.
For routine film, mix 1 part white vinegar (5% acetic acid) with 4 parts water (about 1% acid).
For heavier grime, use 1:2, but don’t exceed that ratio on concrete.
Keep Vinegar concentration low and control contact time to protect the cement binder while maintaining Cleaning effectiveness.
Apply with a pump sprayer or microfiber mop, keeping the slab damp, not flooded.
Let it dwell 3–5 minutes, then scrub with a nylon brush.
Rinse thoroughly with clean water to stop the reaction.
Wear nitrile gloves and eye protection, and avoid metal tools that can stain.
Spot-Test Concrete Areas
Before you treat the full patio, spot-test your diluted vinegar on a small, inconspicuous section of the concrete slab to confirm it won’t etch, lighten the color, or expose aggregate.
Choose a corner near an edge, wet the area with clean water, then apply the vinegar mix with a nylon brush for 60–90 seconds. Don’t let it dry; keep it damp and controlled.
Rinse thoroughly and neutralize with a light baking-soda-water wipe, then rinse again.
Let the spot dry fully (at least 2 hours) and inspect in angled light. If you see chalking, roughened paste, or uneven Color enhancement, stop and increase dilution.
If the finish looks even and you get subtle texture improvement, you can proceed safely.
Rinse Thoroughly and Let Patio Slabs Dry
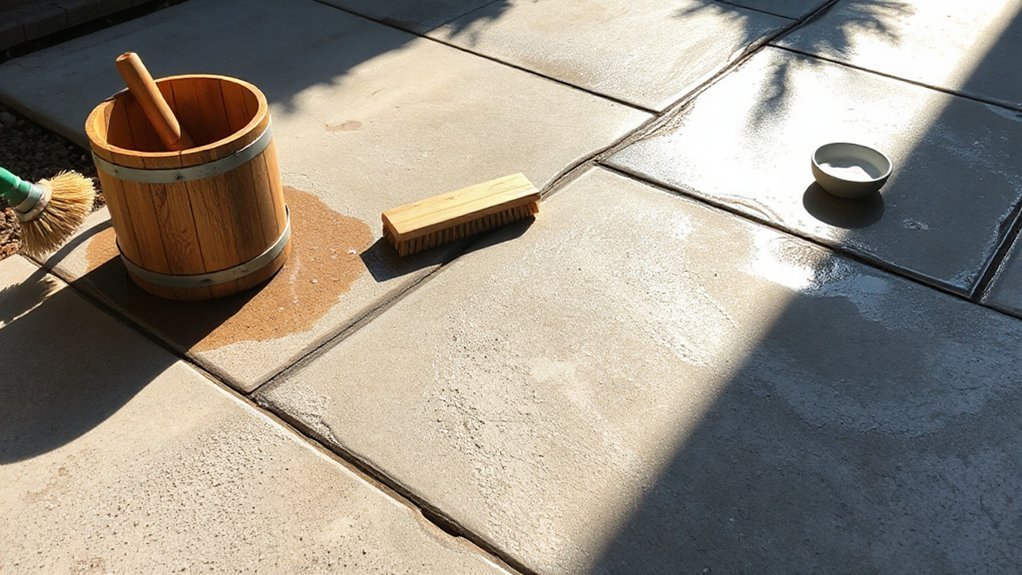
Once you’ve finished scrubbing and spot-treating, rinse the patio slabs thoroughly with clean water to flush away loosened grime and any remaining residue that could dry into a film. Work from the highest edge down, using a hose with a gentle spray; avoid pressure that can etch soft concrete.
Keep runoff out of drains by sweeping slurry toward soil or a collection area. Wear eye protection and non-slip footwear, and keep children and pets off the wet surface.
After rinsing, remove obstacles and reset furniture arrangement only after the slabs dry. Promote even drying with airflow and sunlight; don’t cover the area.
Pause lawn maintenance nearby to prevent clippings and soil from recontaminating the surface. Wait until the slabs feel dry and look uniformly matte.
Seal Patio Slabs and Prevent New Grime
When the slabs have dried to a uniform, matte finish, seal them to lock out moisture, reduce staining, and slow algae regrowth. Choose a breathable, water-based paving sealer rated for your slab material and slip resistance.
Wear nitrile gloves, eye protection, and a respirator if the label requires it, and keep pets away.
Mask decorative borders you don’t want darkened, and test a small corner for color change.
Apply with a low-pressure sprayer or roller in thin, even coats; don’t puddle in joints.
Maintain ventilation and avoid open flames.
Let the first coat tack, then apply the second within the recoat window.
Keep outdoor furniture off until fully cured, typically 24–72 hours.
Sweep regularly to prevent grit abrasion.
Conclusion
You’ve restored your weathered patio slabs without harsh chemicals by matching the cleaner to the material, working from a protected, prepped surface, and escalating from hot soapy water to targeted treatments. You’ve removed moss and algae safely, used baking soda for stains, and limited vinegar to concrete only. After a thorough rinse and full dry, seal the slabs to lock out moisture and grime. Treat maintenance like calibrating a tool: precise, repeatable, and safe.