
You’ll swap a shower smoothly by measuring the rough opening stud-to-stud and recording the smallest dimensions, then confirming wall plumb, finish thickness, and valve depth for flush trim. Verify drain centerline, trap, venting, and required slope to meet code. Choose a stall, tub-to-shower, or walk-in that matches your drainage and waterproofing plan. Pick a rated pan, waterproofed walls, and tempered glass hardware. Keep going to see pro-level prep steps.
Key Takeaways
- Measure the existing unit and rough opening accurately, noting out-of-plumb walls, smallest dimensions, and valve and shower arm heights.
- Choose the shower type (stall, tub-to-shower, walk-in) based on drainage layout, waterproofing needs, entry clearance, and splash control.
- Confirm valve and drain compatibility by checking pipe sizes, rough-in depth, drain centerline, trap and venting, and code requirements.
- Select durable materials for pan, walls, and doors, prioritizing proper slope, waterproofing systems, slip resistance, and tempered safety glass hardware.
- Do pre-demo inspections for hidden leaks, rot, stud blocking, shutoffs, and nearby electrical, and verify permits before altering plumbing or structure.
Measure for a Shower Replacement (Size and Rough Opening)
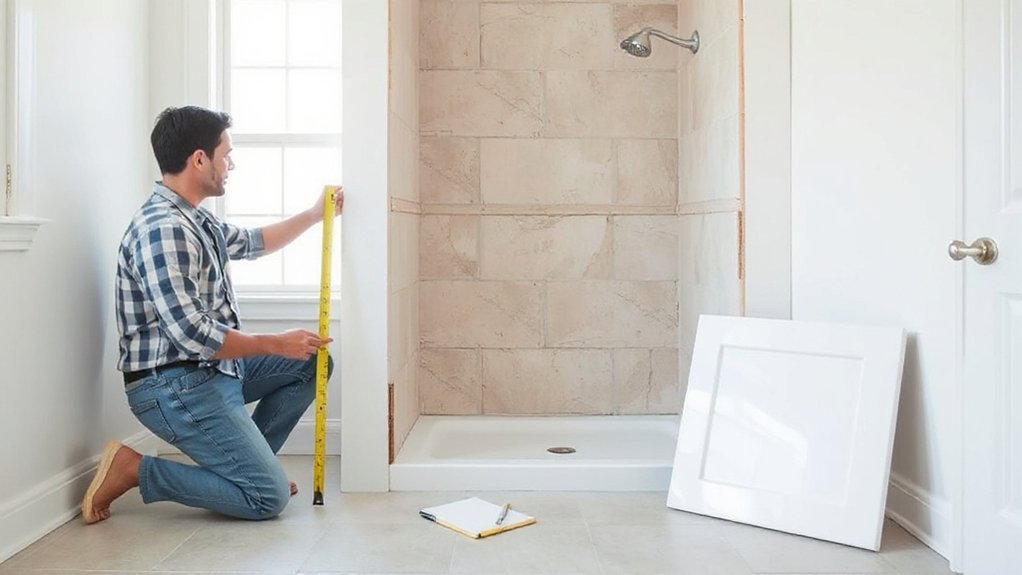
Before you order a replacement shower, measure the existing unit and the rough opening so the new base and wall kit fit without forcing framing changes that can compromise waterproofing.
Remove trim, then measure width and depth stud-to-stud at the curb line and back wall, plus height to the valve and shower arm.
Check for out-of-plumb walls and record the smallest dimension; you can’t assume a square opening.
Verify drain centerline from each wall and confirm trap location stays within code-required slope.
Note wall finish thickness so your tile patterns align at corners and niches without slivers.
Measure valve depth to ensure the trim plate seats flush.
Confirm supply line size and spacing so water pressure won’t drop after reconnecting.
Choose Your Shower Type (Stall, Tub-to-Shower, Walk-In)
Although your rough opening may accept several configurations, you should choose the shower type—standard stall, tub-to-shower conversion, or walk-in—based on drainage layout, waterproofing method, and the clearance requirements you must meet for safe entry, door swing, and service access.
A standard stall fits tight bathrooms and simplifies wall-to-pan waterproof progressions; select slip-resistant flooring and tempered-glass doors with required clearances.
A tub-to-shower conversion boosts accessibility, but you’ll need a continuous water containment strategy, solid backing at grab-bar locations, and a threshold that won’t trip users.
A walk-in suits aging-in-place plans; keep entry width generous and control splash with panels, slopes, and properly located floor waterproofing.
Match Shower aesthetic to maintenance needs and choose Water saving features.
Confirm Shower Valve and Drain Compatibility
Once you’ve settled on a shower format, verify that the new valve and drain will match your existing plumbing sizes, locations, and code requirements so you don’t end up opening more wall or slab than planned.
Confirm your supply line diameter and valve inlet type (threaded, solder, or PEX) and choose a pressure-balancing or thermostatic valve as required.
Check water pressure and validate the valve’s flow rate meets fixture and local limits.
Measure rough-in depth and stud bay clearance so the trim sits flush and the stop valves remain accessible.
For the drain, match outlet size, trap type, and centerline location, and confirm the trap arm ties into a properly sized vent.
Review ventilation requirements before closing walls, and pressure-test for leaks.
Select Shower Pan, Wall, and Door Materials
When you choose shower pan, wall, and door materials, balance durability, water management, and the installation method your framing and subfloor can safely support. Pick an acrylic or fiberglass pan for lighter loads, or a mortar-set solid-surface pan for rigidity. Verify it’s listed for wet locations and slopes 1/4 inch per foot to the drain.
For walls, use tile over a bonded waterproof membrane or solid panels with sealed joints. Keep fasteners out of horizontal surfaces and follow manufacturer-approved sealants. Favor eco-friendly materials like low-VOC sealants and recycled-content panels where available.
For doors, choose tempered safety glass with corrosion-resistant hardware. Confirm clearances, and plan shower fixture selection so spray patterns stay inside the enclosure.
Prevent Shower Replacement Surprises Before Demo Day
After you’ve locked in the pan, wall system, and door style, head off demo-day problems by verifying what’s behind and under the old shower. Pull the trim plate and inspect the valve type, pipe material, and shutoffs; plan upgrades if they won’t meet Plumbing codes.
Check stud spacing, blocking for grab bars/doors, and whether the drain is centered for your new pan. Probe the subfloor from an access panel for rot, deflection, or prior leaks, and confirm you’ve got adequate joist notching clearance.
Identify electrical nearby (fans, lights, outlets) and protect circuits before you swing tools. Confirm permits requirements with your local building department, especially for valve or drain relocation, so inspections don’t halt progress.
Conclusion
You’ve measured the rough opening, chosen the right shower type, verified valve and drain alignment, and selected durable pan, wall, and door materials—now you’re ready to swap units without drama. Treat demo day like opening a wall with a seatbelt on: shut off water, verify circuits, wear PPE, and protect framing from moisture. Follow manufacturer specs, slope the pan to the drain, seal per code, and test for leaks before closing.