
First, you confirm the floor’s refinishability by measuring wear layer above the tongue at a register and checking for cupping, rot, pet stains, or engineered delamination. Next, you clear the room, seal vents and openings with plastic, set exhaust ventilation, and wear a P100 respirator, eye and hearing protection. Then you sand systematically from 36–60 grit through 120–150, edge-sand each pass, and screen to remove swirls. Repair loose boards, gaps, and stains, then stain (optional) and seal with a compatible sealer and low-VOC waterborne polyurethane. Keep going for detailed grit choices, repair fixes, and finish timing.
Key Takeaways
- Confirm the floor can be refinished by measuring wear layer thickness, checking damage, and identifying prior coatings needing special handling.
- Empty and seal the room, protect HVAC openings, and set ventilation to control dust while preventing appliance backdrafting.
- Sand in grit stages from coarse to fine, vacuum between passes, and use raking light to verify the previous scratch pattern is removed.
- Repair loose boards, gaps, stains, and nail pops before finishing, then spot-sand repairs flush and tack thoroughly.
- Test stain colors, apply evenly, then seal and topcoat with low-VOC waterborne polyurethane within recoat windows for a durable finish.
Decide If Your Hardwood Floors Are Refinishable
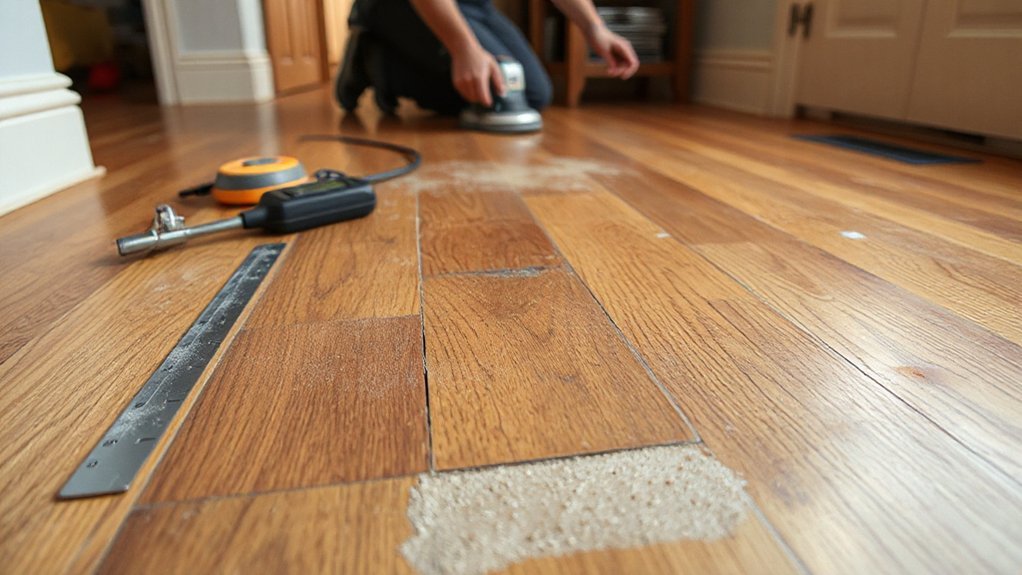
Before you rent a drum sander or buy finish, confirm your floor can actually take a refinish. Identify the wood and its Hardwood history: strip flooring, plank, or parquet may dictate thickness and repair strategy.
Remove a floor register and measure remaining wear layer above the tongue; you’ll generally need enough meat for one more sanding. Check for cupping, deep pet stains, rot, active insect damage, or widespread delamination in engineered boards—these can make refinishing unsafe or ineffective.
Verify the subfloor feels rigid; excessive bounce can crack future finish. Note prior coatings: wax, acrylic, or lead-era paint overspray require special testing and may push you toward Flooring alternatives like replacement or overlay.
If boards are thin or split throughout, don’t sand; plan another approach.
Prep the Room, Safety Gear, and Floor Tools
Once you’ve confirmed the floor can be refinished, clear the room to create a controlled, dust-managed work zone and stage the right PPE and tools. Complete Furniture removal, then take down curtains, rugs, grilles, and doors you can’t protect. Seal HVAC registers, hang 6-mil plastic at openings, and tape seams to limit migration.
For Ventilation setup, exhaust air with a box fan in a window and crack an opposite window for make-up air; avoid backdrafting combustion appliances.
Wear a P100 respirator, safety glasses, hearing protection, gloves, and knee pads. Keep a Class A/B/C extinguisher nearby and manage cords to prevent trips. Stage a HEPA vacuum, tack cloths, painter’s tape, utility knife, pry bar, nail set, putty knife, and wood filler for fast, safe corrections.
Sand Hardwood Floors Smooth (Grits + Swirl Tips)
After you’ve sealed the space and suited up, sand the floor in controlled passes that step through grits—coarse to cut old finish and flatten high spots, then progressively finer to erase scratch patterns without leaving swirls.
Start with 36–40 grit on heavy finish or cupping, or 60 grit on lighter wear; that’s your Grit selection baseline. Run the drum/belt sander with the grain, keep it moving, and lift before stopping to prevent divots.
Edge-sand after each main pass using the same grit sequence so the field and perimeter match. Vacuum between grits and inspect under raking light to confirm the previous scratch pattern is gone.
For Swirl technique, use a buffer with a 100–120 grit screen, overlapping passes and feathering edges. Finish with 120–150 grit for uniformity.
Fix Boards, Gaps, and Stains Before Finishing
Even if your sanding looks uniform, you’ll lock flaws in permanently if you don’t correct loose boards, open seams, and discoloration now. Walk the floor slowly and mark squeaks, movement, dark pet stains, water marks, and nail pops. Wear eye protection and a respirator when cutting or scraping.
Secure loose boards by driving finish nails into joists or adding trim screws where plugs will hide. For split, cupped, or rotten planks, plan to replace boards: cut back to the nearest joist, remove fasteners, and fit a matching board with proper expansion.
Start filling gaps only after humidity stabilizes. Pack narrow seams with latex wood filler, and use slivers for wider gaps. Spot-sand repairs flush, then vacuum and tack thoroughly.
Stain or Go Natural, Then Seal for Protection
Although a freshly sanded floor looks clean, you still need to choose a stain (or stay natural) and lock the surface down with a compatible sealer before foot traffic, UV light, and spills start degrading the wood.
Start with Color matching: test stains on offcuts or an inconspicuous corner, then let samples dry fully under your actual lighting. If you go natural, confirm the wood’s undertone won’t amber excessively under finish.
Wear gloves and a respirator; maintain cross-ventilation and eliminate ignition sources.
Apply stain with a pad, wipe evenly, and control lap marks by working in manageable rows.
After cure, vacuum and tack carefully, then seal with a dewaxed shellac or manufacturer-approved sealer.
Choose Eco friendly finishes like low-VOC waterborne polyurethane, and follow recoat windows precisely.
Conclusion
You’ve checked refinishability, cleared the room, and geared up, so finish strong. Sand with the right grits, vacuum between passes, and keep the sander moving to prevent swirls. Repair loose boards, fill gaps, and treat stains, so defects don’t telegraph through the finish. Choose stain or natural, then seal with even coats, proper dry times, and solid ventilation. Work clean, work level, work safe—and you’ll restore durable, original hardwood.