General Property Repairs

fix outdoor tap leak
General Property Repairs

How to Stop a Leaking Outdoor Tap Before It Causes Bigger Problems

Shut off the stop valve (or main) and open the outdoor tap fully to bleed pressure; keep it open while you work. Identify the first wet point: spout, handle, or threads. If it leaks at the handle, snug the packing nut in 1/8 turns while holding the body. If it drips from the spout, replace the washer and inspect the valve seat. For thread leaks, reseat and wrap PTFE tape clockwise 3–5 turns—next you’ll see deeper fixes.

Key Takeaways

  • Shut off the stop valve or main supply, then open the tap fully to depressurize and drain residual water before repairs.
  • Identify the leak source by drying the tap and watching where water first appears: spout, handle, or threaded connections.
  • Stop handle leaks by tightening the packing nut in 1/8-turn increments while holding the valve body to avoid twisting pipes.
  • Fix thread leaks by reseating fittings and applying PTFE tape clockwise 3–5 wraps on dry threads, then tightening snugly.
  • End spout drips by replacing worn washers, O-rings, or cartridges; replace the entire tap if cracked or frost-damaged.

Turn Off the Water and Bleed Pressure
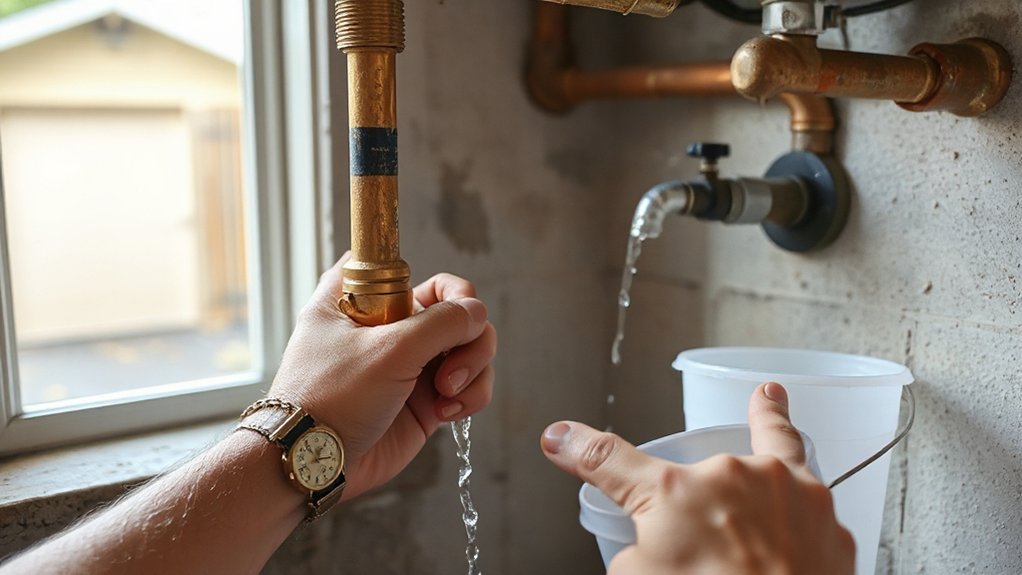
turn off open verify drain

Before you touch the outdoor tap or pull any parts, shut off the water supply at the dedicated stop valve (if installed) or at the home’s main shutoff. Then open the tap fully to bleed off line pressure and drain residual water.

Verify the shutoff holds by confirming flow stops after a few seconds; if it doesn’t, don’t proceed until you can isolate the line. Keep the spout open while you work so trapped pressure can’t force water past seals or fittings.

If a hose or backflow device is attached, remove it to prevent siphon issues and comply with outdoor plumbing best practices.

Capture the drained water in a bucket for water conservation, and keep the area dry to prevent slips and electrical hazards.

Find the Outdoor Tap Leak: Spout, Handle, or Threads

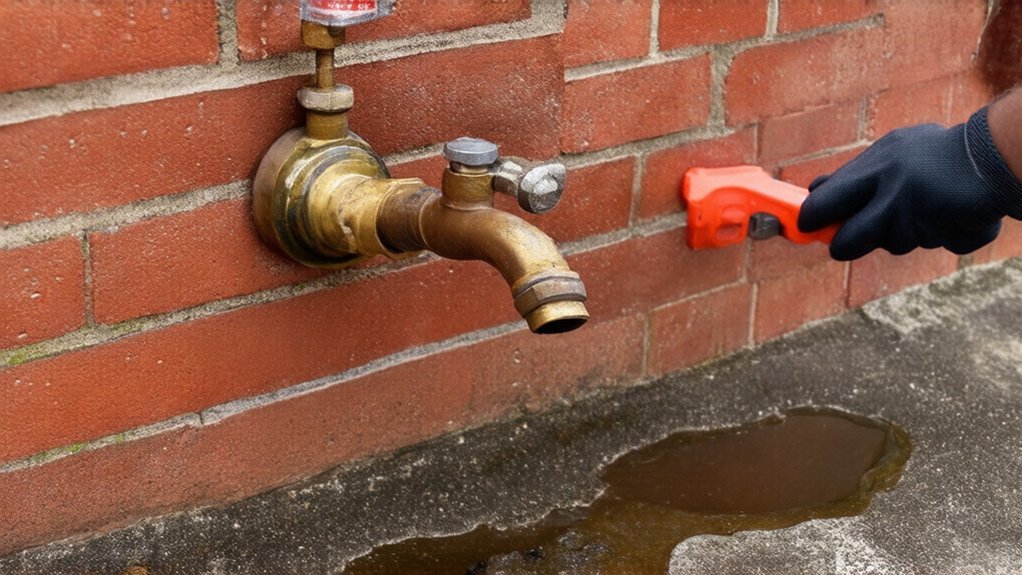
Once the line is depressurized, pinpoint the leak source by watching where water first appears: the spout (drip from the outlet), the handle/stem (water weeping from under the handle or packing nut), or the hose threads/vacuum breaker (leaks only when a hose or cap is installed).

Dry the assembly with a rag, then place paper towel strips under each suspect point to reveal the first wet spot.

For spout drips, confirm the valve is fully closed and note whether dripping continues after several minutes; persistent flow suggests a worn internal seal.

For thread leaks, inspect gasket condition, cross-threading, and the vacuum breaker’s seating; replace cracked washers and confirm a code-required backflow device remains installed.

Document findings for outdoor plumbing repairs and safer garden maintenance.

Leaking at the Handle? Tighten the Packing Nut

If water seeps from under the handle or around the stem while the spout itself stays dry, the packing nut has likely loosened and needs a controlled retighten.

Shut off the branch supply at the interior stop valve, then open the outdoor tap to verify pressure is relieved.

Hold the valve body with a wrench to avoid twisting soldered or threaded joints, and use an adjustable wrench to turn the packing nut clockwise in 1/8-turn increments.

Recheck by cycling the tap handle from fully closed to fully open; you want smooth movement without seepage.

Don’t overtighten—excess compression can bind the stem and damage packing.

Restore water, inspect for leaks, and confirm the handle stays dry under full line pressure.

Dripping From the Spout? Replace the Washer

If your outdoor tap drips from the spout when it’s fully closed, you’ve likely got a worn washer on the valve stem.

Shut off the water supply at the isolation valve (or main), then open the tap to relieve pressure before you disassemble it.

Fit a matching, code-approved washer squarely in the retainer and tighten it securely so it seats flat and seals without binding.

Identify Worn Tap Washer

When water drips steadily from the spout even with the tap fully closed, a worn washer inside the valve usually fails to seal against the valve seat.

For Tap maintenance, confirm the leak path: dry the spout, close the handle firmly (don’t overtighten), and watch for renewed droplets within 60 seconds. If dripping returns, the washer or seat interface is suspect, not the packing nut.

For Washer inspection, note handle feel and sound. A gritty, notchy turn or metal-on-metal squeal suggests the rubber washer has hardened, cracked, or detached from its screw.

Check for pulsing drips that worsen with higher upstream pressure; that pattern also points to poor sealing.

Plan to replace the washer with a matching size and material rated for potable water use.

Shut Off Water Supply

A confirmed spout drip puts the washer and valve seat at the top of the suspect list, so shut off the water supply before you open the tap body. Locate the dedicated stop valve for the outdoor bibb or shut the main if none exists, as many codes require an accessible, serviceable shutoff.

Turn the valve clockwise until it seats; don’t force it. Open the outdoor tap fully to depressurize and drain the line, then close it once flow stops.

Verify isolation with Leak detection: watch the spout for continued flow and confirm the meter isn’t advancing.

Protect Water conservation by limiting discharge into landscaping and capturing runoff in a bucket. If the shutoff won’t hold, stop and replace that valve first.

Fit New Washer Properly

After you’ve isolated and drained the line, pull the old washer from the bibb’s stem and fit the replacement so it matches the original diameter and thickness, seats flat, and aligns cleanly with the valve seat.

Use OEM or plumbing-rated rubber/neoprene, not generic soft washers that deform and fail.

For code-compliant, leak-free sealing, inspect the screw and retainer: replace corroded hardware and tighten to snug, not crushed.

Confirm the stem face is clean; remove grit with a non-marring pad.

Your tool selection matters—use a correctly sized screwdriver to avoid cam-out and stem damage.

Before reassembly, check for a nicked valve seat; if damaged, dress it with a seat tool or replace the bibb.

Restore water slowly, test under pressure, and verify no drip during garden maintenance.

Handle Still Leaks? Replace the O-Ring or Cartridge

If tightening the packing nut and handle hardware doesn’t stop the drip, the faucet’s internal seal has likely failed, so you’ll need to replace the O-ring or the cartridge.

Shut off the fixture’s supply at the interior stop and open the tap to relieve pressure; follow local code requirements for isolation and backflow protection.

Remove the handle, then pull the stem or cartridge per the manufacturer’s diagram.

Inspect the O-ring for nicks, flattening, or mineral scoring; replace with the exact size and material (EPDM for potable water).

If the valve uses a cartridge, install an OEM replacement and align ports correctly.

Lightly lubricate O-rings with silicone grease only.

Restore flow slowly, check for drips, and confirm reliable Garden irrigation while supporting Water conservation year-round.

Leak at Outdoor Tap Threads? Reseat and Seal Connections

If water’s seeping from the hose bibb threads, confirm the leak is at the threaded joint—not the stem or vacuum breaker. Then shut off the supply and relieve pressure.

Reseat the hose or fitting by backing it off, cleaning the threads and gasket face, and threading it on straight to avoid cross-threading.

Wrap PTFE thread seal tape in the tightening direction (as permitted for the connection type) and re-tighten snugly with a wrench—don’t over-torque and crack the fitting.

Identify Thread Leak Source

Although a drip at the outdoor tap often looks like a valve failure, water that beads or runs from the threaded outlet typically points to a compromised hose-thread seal rather than an internal washer.

Confirm the source by drying the spout, then cracking the valve open briefly and watching where moisture first appears. If the threads wet up while the body and stem stay dry, you’ve isolated a thread-side leak.

Inspect for cross-threading, flattened hose washers, debris on the male threads, or a damaged vacuum breaker; replace parts only with listed components that meet local code.

Shut off pressure before touching fittings, and relieve residual pressure to prevent spray injuries.

Address leaks promptly to protect Garden irrigation reliability and support Pest prevention by eliminating standing water.

Reseat Hose Or Fitting

Once you’ve confirmed the moisture starts at the hose threads, shut off the water supply, open the outdoor tap to relieve residual pressure, and then reseat the connection.

Disconnect the hose and inspect the female coupling for grit, cross-threading, or a distorted swivel. Check the washer or O-ring; replace it if it’s cracked, flattened, or missing.

Clean both mating faces, then thread the hose on by hand to avoid damaging the spout’s male threads. Tighten until snug; don’t use pliers unless the fitting is designed for it, since over-torque can split plastic couplings and violate manufacturer instructions.

Restore water and verify no drips under normal garden irrigation flow. Add this check to routine outdoor faucet maintenance to prevent repeat leaks.

Apply Thread Seal Tape

When water beads at the outdoor tap’s threaded joint even after you’ve reseated the hose or fitting, wrap the male threads with PTFE (thread seal) tape to improve sealing without overstressing the connection.

Shut off the supply, open the tap to depressurize, and dry the threads. Wrap Thread seal tape clockwise (as you face the end) 3–5 turns, keeping it back from the first thread so debris can’t enter the line. Smooth it into the grooves, then reinstall the hose or adapter hand-tight plus a small wrench nudge; don’t crack the bibb or fitting.

Restore pressure and check for seepage. If the tap sits in a freeze zone, add pipe insulation to the supply stub to reduce stress from icing.

Replace the Outdoor Tap If It’s Cracked or Frost-Damaged

If freezing temperatures cracked the tap body or split the frost-proof stem, you’ll need to replace the outdoor tap rather than keep tightening parts that can’t seal.

Shut off the interior isolation valve, open the spigot to depressurize, and verify zero flow. If none exists, shut off the main.

Disconnect the supply using two wrenches to prevent twisting the piping, and cut back to sound copper/PEX as required by local code.

Install a listed frost-proof sillcock of correct length so the shutoff seats inside conditioned space, with the barrel pitched slightly downward.

Use approved fittings, tape/dope per manufacturer, and restore flow while checking for leaks.

Outdoor faucet maintenance includes replacing damaged units promptly; winterizing outdoor taps prevents recurrence.

Conclusion

Don’t let that outdoor tap drip turn into a “Trojan horse” behind your siding. You’ve already shut off the supply, bled pressure, and verified whether the leak starts at the handle, spout, or threads. By tightening the packing nut, replacing washers, O-rings, or cartridges, and resealing threaded joints with approved tape or compound, you’ll restore a watertight seal. If you spot cracks or frost damage, replace the faucet to code and prevent structural water damage.…
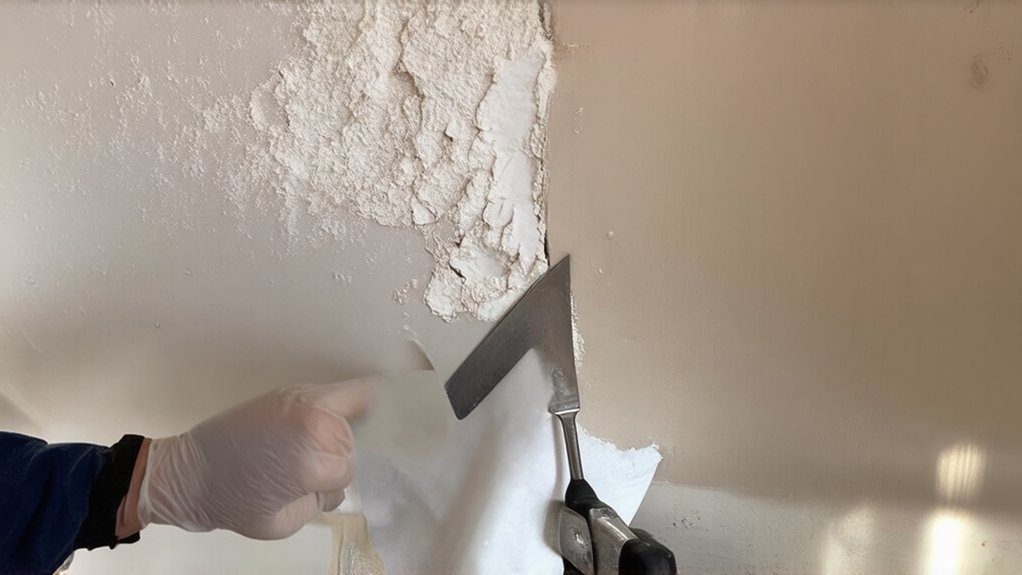
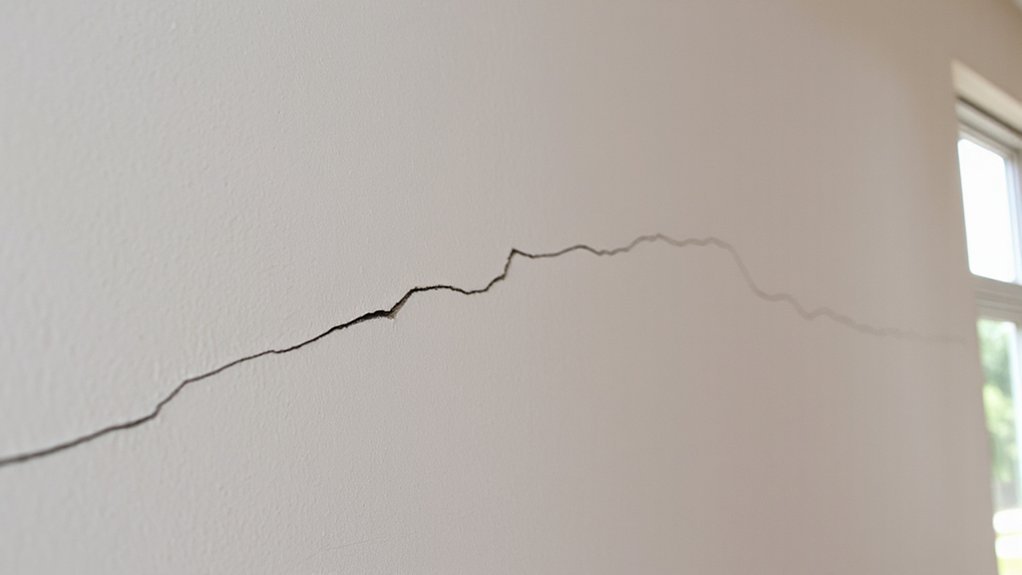
fixing cracked wall plaster
General Property Repairs

Repairing Cracked Wall Plaster: Quick Methods That Give a Smooth Finish

First, confirm the crack isn’t moving: check for a “step” with a straightedge, moisture stains, and any widening after 7–14 days. Score it into a shallow V, undercut slightly, vacuum dust, wipe lightly, and seal with primer or bonding agent. For hairlines, press in paintable flexible filler and feather 50–75 mm. For wider cracks, embed fiberglass mesh in compound, skim, sand, prime, paint. Next, you’ll refine material choice and texture matching.

Key Takeaways

  • Check if the crack is hairline or moving; look for widening, steps, or damp stains, and recheck after 7–14 days.
  • Choose the right filler: spackle for hairline cracks, setting joint compound for medium defects, or real plaster for deep voids.
  • Prep for a smooth finish by scoring a shallow V, slightly undercutting, vacuuming dust, and sealing with bonding agent or primer.
  • For hairline cracks, press flexible filler in thinly, feather 50–75 mm past the crack, then sand lightly and prime.
  • For wider cracks, embed fiberglass mesh tape in compound, apply feathered coats 100–150 mm out, sand smooth, prime, and paint.

Decide If Your Plaster Crack Is Cosmetic or Moving

assess crack movement and stability

Before you mix plaster or reach for tape, determine whether the crack is purely cosmetic or still moving, because the repair method depends on that distinction. Start by mapping the crack: note length, width, and whether it follows lath lines, corners, or openings.

Hairline, uniform cracks that don’t offset surfaces usually indicate shrinkage or age, not loss of Structural stability. Check for displacement by running a straightedge across both sides; any step suggests movement.

Next, assess Moisture impact: look for staining, efflorescence, soft plaster, or recurring dampness near bathrooms, chimneys, or exterior walls. Mark both ends with pencil ticks and date them, or apply a small paper “tell-tale” with tape.

Recheck in 7–14 days; widening confirms active movement.

Pick the Right Repair Material (Filler vs Compound vs Plaster)

Once you’ve confirmed the crack isn’t actively moving, match the repair material to the substrate and the defect’s depth. Use lightweight spackle or vinyl filler for hairline surface cracks; it sands fast and minimizes shrinkage.

Choose setting-type joint compound for shallow-to-medium defects on painted plaster where you need longer working time and strong feathering.

Use real plaster (gypsum or lime-based) when the break exposes brown coat, lath keys, or deep voids; it bonds chemically and restores hardness.

For color matching, pick a repair that won’t telegraph through paint: white fillers under light colors, neutral bases for tinted topcoats.

Tool selection matters: flexible putty knife for spackle, wider taping knife for compound, and a hawk/trowel for plaster.

Prep Plaster Cracks: Open, Clean, and Seal the Area

Although a plaster crack can look like a simple line, you need to prep it like a joint so the repair bonds to solid material instead of dust and loose edges. Score the crack into a shallow V with a utility knife, widening it just enough to remove feathered edges and expose firm plaster.

Undercut slightly where you can so the patch keys in mechanically. Vacuum the groove, then brush out remaining grit; don’t leave powder that weakens adhesion.

Wipe with a barely damp sponge and let it dry fully. Seal the exposed plaster with a thin coat of bonding agent or primer to control suction and prevent flash-drying.

Mask adjacent paint to protect Surface texture. Note existing sheen and Color matching needs for later.

Fix Hairline Plaster Cracks With Flexible Filler

Why do hairline plaster cracks keep reappearing after a “quick” patch? Rigid compounds can’t tolerate seasonal movement, so the crack prints through the repair.

For crack prevention, switch to a paintable flexible filler designed for fine cracking. Load a small amount onto a flexible putty knife and press it across the crack at a shallow angle, forcing filler into the void. Then skim a tight pass 50–75 mm beyond the line to feather edges. Keep the layer thin; thick beads shrink and telegraph.

Let it cure fully per the label, then lightly sand with 180–220 grit to match the surrounding wall texture. If the surface is textured, stipple or sponge the still-damp filler to replicate the pattern before drying. Prime only after dust removal.

Repair Wide Plaster Cracks With Mesh Tape, Then Sand and Paint

When a plaster crack opens wider than a hairline, you need reinforcement—not just filler—to stop the joint from re-splitting under movement. Rake the crack into a shallow V with a utility knife, remove dust, and mist lightly.

Apply a thin coat of setting-type joint compound or plaster repair, then embed self-adhesive fiberglass mesh tape centered over the gap. Knife another coat through the mesh to fully wet it out, feathering 100–150 mm past the tape.

Let it set hard, then apply a skim coat to level and match Decorative wall textures, if needed, with a sponge or stipple brush. Sand with 120–180 grit, vacuum, prime, then paint.

In Historical restoration techniques, use compatible lime-based plaster where required.

Conclusion

Now you’ve sized up whether the crack’s just cosmetic or still moving, matched it with the right filler, compound, or plaster, and prepped the joint by opening, cleaning, and sealing it. For hairlines, you’ve pressed in a flexible filler to tolerate slight movement. For wider gaps, you’ve reinforced with mesh tape, layered compound, then sanded flat. Once you prime and paint, the finish’s smooth—no cutting corners, just a durable repair.…

tighten door handle screws
General Property Repairs

How to Fix a Loose Door Handle Without Replacing the Entire Mechanism

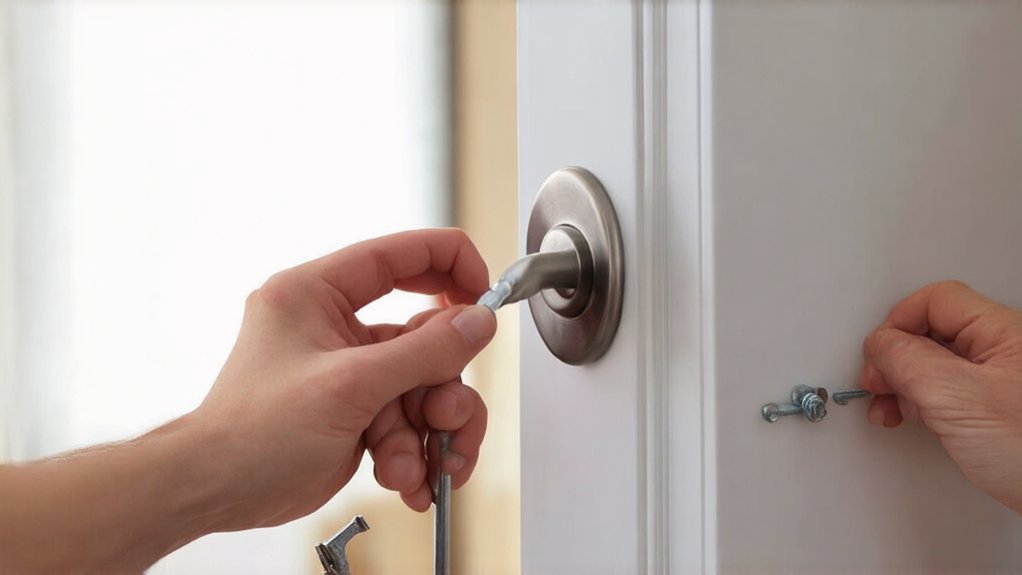
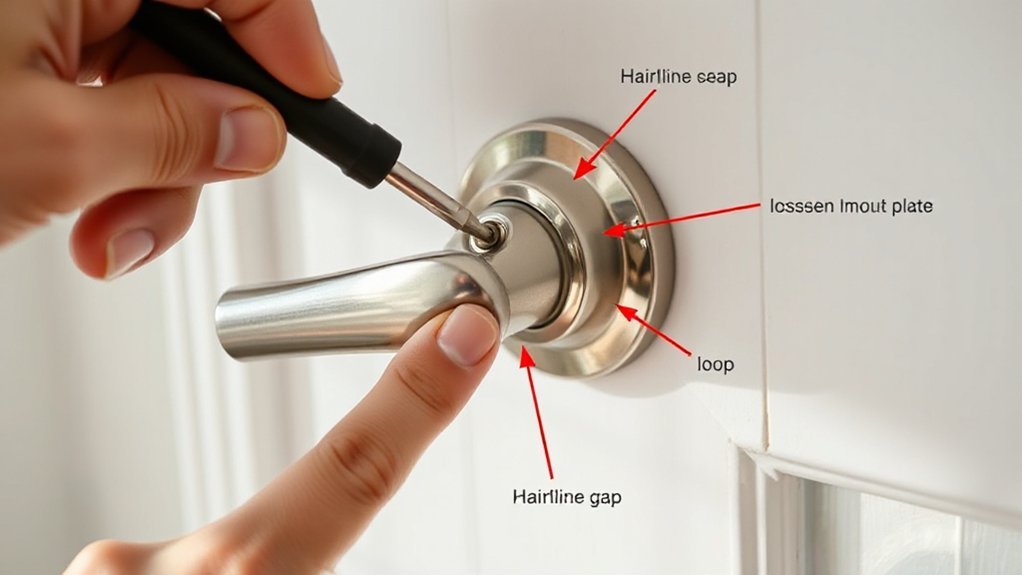
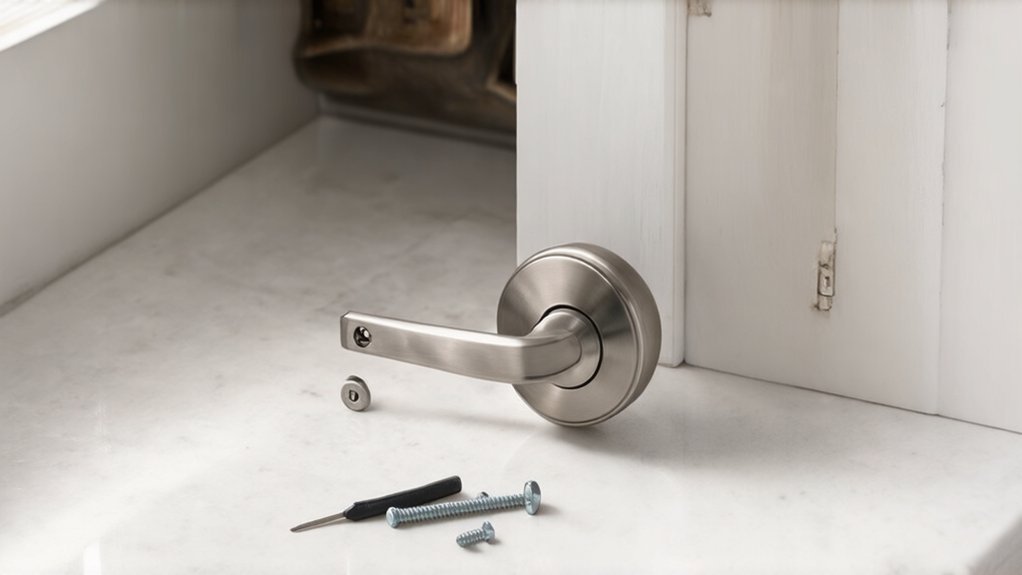
You can usually fix a loose door handle by tightening what’s already there. Wiggle the handle to locate play, then score any paint and pop off the rosette cover with a flat screwdriver. Tighten the mounting screws evenly until snug, and tighten the handle’s set screw with the correct Allen key without over-torquing. If it still wobbles, inspect the spindle for wear and re-seat the latch and strike for alignment. Keep going to learn the full checklist.

Key Takeaways

  • Wiggle the handle to pinpoint looseness at the rosette, spindle, set screw, or latch alignment before disassembling anything.
  • Pop off the rosette cover, then tighten mounting screws evenly until snug to stop the whole plate from shifting.
  • Tighten the handle’s set screw with the correct Allen key, seating it firmly on the spindle flat without overtightening.
  • Inspect the spindle and hub for wear or wrong length; replace only the spindle if it’s rounded, burred, or undersized.
  • Re-align the latch and strike plate to prevent binding, then test operation and add blue threadlocker to screws that repeatedly loosen.

Why Your Door Handle Is Loose (Quick Checks)

identify handle movement causes

Before you grab a screwdriver, pinpoint what’s actually moving: grip the handle and wiggle it while watching the rosettes/plates and spindle area, because that motion tells you where the looseness originates.

If the whole plate shifts against the door, the mounting screws or through-bolts have likely backed out from vibration and repeated use.

If the lever droops but the plate stays tight, the handle’s set screw may be loose on the spindle.

If you feel play only when turning, suspect a worn spring cassette or a misaligned latch hub.

Check the door edge: a latch that drags in the strike can torque the handle loose over time.

For DIY home repairs, these quick observations isolate common hardware issues before you touch anything.

Tools You Need to Fix a Loose Door Handle

Although most loose-handle fixes only take a few minutes, you’ll work faster and safer if you stage the right tools first: a #2 Phillips and a flathead screwdriver, a small hex/Allen key set (common for lever set screws), a tape measure, and a flashlight or headlamp to clearly see the spindle, screws, and latch alignment.

Add a small parts tray or magnetic bowl so you don’t lose fasteners. Keep needle-nose pliers for stabilizing a loose spindle or extracting a stubborn screw, and a utility knife to score paint at the rosette edge without chipping.

Use a non-marring pry tool if you’re working on softer door handle materials like brass. If you’re dealing with historical design hardware, bring a hand screwdriver (not an impact driver) to avoid stripping fine threads.

Wear safety glasses.

Tighten Mounting Screws Behind the Rosette (Cover Plate)

Pop the rosette (cover plate) off with a flat screwdriver or release tab, and keep your other hand braced so you don’t slip and scratch the door.

Once the cover’s off, you’ll see the mounting screws—tighten them evenly with the correct driver until snug, not over-torqued.

Refit the rosette and confirm the handle feels solid and rotates smoothly.

Remove Rosette Cover Plate

Once you’ve confirmed the handle still wiggles, remove the rosette (cover plate) to access the mounting screws that anchor the lockset to the door. Start by closing the door for stability, then protect the finish with painter’s tape around the rosette—especially on Decorative accents and mixed-metal Handle styles that scratch easily.

Inspect the rosette edge for a release slot or seam. If there’s a detent hole, press it with a small flat screwdriver or paper clip while gently pulling the rosette away.

If it’s a snap-on cover, slide a thin putty knife under the edge and twist slightly to pop it free, keeping the blade flat to avoid gouging.

For threaded rings, rotate the rosette counterclockwise by hand.

Set parts aside in order.

Tighten Hidden Mounting Screws

With the rosette off, you can access the concealed mounting screws that clamp the lockset halves to the door and eliminate handle play.

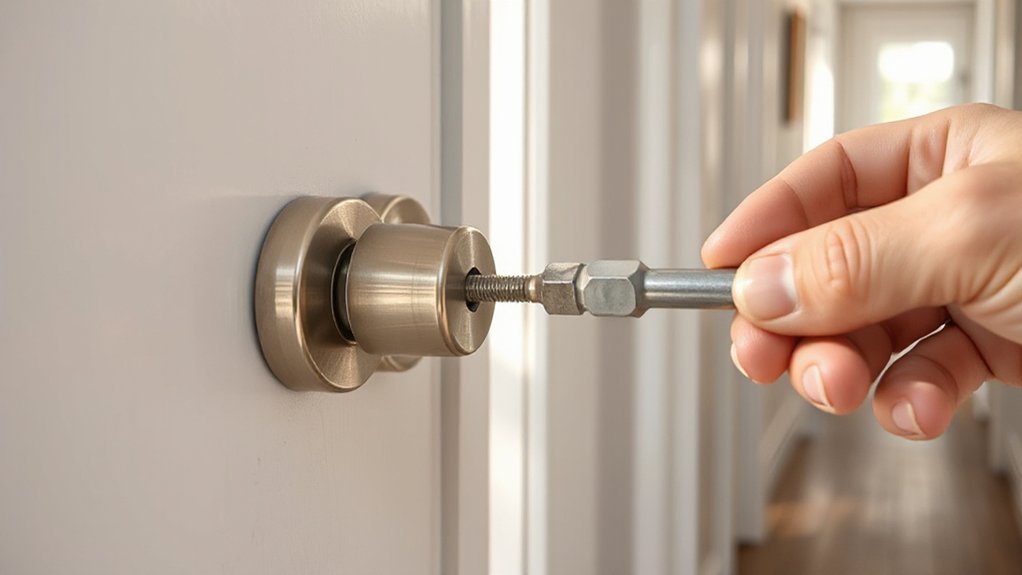
Support the exterior lever with one hand so you don’t twist the spindle or scratch decorative hardware. Using the correct Phillips or Torx driver, turn each screw clockwise in small, alternating increments to pull the chassis evenly against the door.

Don’t overtighten; stop when the rosette seats flat and the lever no longer rocks.

Check alignment: the latch should retract smoothly without binding, and the lever should return under spring tension.

If the screws bottom out before tightening, add a thin washer or verify you’re using the right screws for your handle styles.

Reinstall the rosette and test again.

Find and Tighten the Set Screw on a Loose Handle

tighten handle set screw

Before you reach for a screwdriver, locate the handle’s set screw—typically a small recessed screw on the underside or side of the lever near the base where it meets the rose (the round cover plate). Turn the lever to expose it, then steady the door so it can’t swing and pinch your fingers.

Select the correct driver (usually a 2–3 mm hex key or small flathead) to avoid stripping soft handle material like brass or zinc. Insert fully, then tighten clockwise in small increments until the handle stops wobbling.

Don’t overtighten; you can crack plated finishes and ruin aesthetic matching across the hardware set. Wipe away grit, then test by rotating and pulling the lever firmly. Recheck after several cycles for looseness.

If It’s Still Loose, Inspect and Replace the Spindle

If the handle still wiggles after you’ve tightened the set screw, the spindle (the square shaft that links both handles through the latch) likely has worn flats, is undersized, or isn’t seating fully in the lever hub.

For Spindle inspection, keep the door open, support the lever, and remove the handle per the manufacturer’s method (usually an Allen screw or release pin). Pull the spindle and check for rounding, twists, burrs, or uneven wear.

Verify it’s the correct length so it fully engages both hubs. Measure the spindle’s width against the hub’s square bore, and confirm the bore isn’t cracked.

Replace the spindle with a matching size and material, then reassemble and test for smooth rotation.

If play persists, plan Handle replacement.

Re-Seat the Latch and Adjust the Strike Plate

When the lever feels tight but the door still rattles or won’t latch cleanly, re-seat the latch and correct the strike alignment to remove binding and slack. Open the door, keep fingers clear of the latch edge, and support the handle so it can’t drop.

Remove the two latch-face screws, pull the latch straight out, and inspect for bent parts or debris. Reinsert it fully, keeping the bevel toward the strike, then tighten screws evenly to prevent twist—this is basic Door latch adjustment.

Next, close the door slowly and watch where the bolt hits. Loosen strike screws, shift the plate to center the bolt in the opening, and retighten firmly. If the jamb’s painted, score edges before shifting to avoid splintering during Strike plate alignment.

Test the Fix and Stop the Handle Loosening Again

Cycle the handle and latch several times with the door open, then closed. Confirm smooth return and full latch engagement without binding.

Recheck every mounting and set screw with the correct driver and snug them evenly—don’t overtighten and strip threads.

If the screws have a history of backing out, apply a small amount of medium-strength threadlocker to clean threads. Reassemble, and let it cure before heavy use.

Verify Handle Operation

After you’ve tightened the hardware and re-seated the handle, verify the mechanism operates smoothly before you consider the job finished. With the door open, cycle the lever or knob 10–15 times. You should feel consistent spring return with no grinding, binding, or lateral wobble. Keep fingers clear of the latch edge to prevent pinch injuries.

Next, close the door and test again: operate the handle, confirm the latch retracts fully, then release and ensure it extends completely. Check that the strike engagement feels clean and that you don’t need extra force.

Compare performance to the handle design (lever vs. knob) and account for door material; softer wood or hollow-core skins can flex and mimic looseness. If operation stays smooth under light push/pull loads, you’re done.

Check Screw Tightness

Even if the handle now feels solid, confirm the screws hold torque under real use so it doesn’t work loose again. With the door open, cycle the lever 20–30 times, then recheck each visible fastener. Use the correct driver size to prevent cam-out; keep your other hand clear of the latch edge to avoid pinches.

Tighten set screws first, then through-bolts, alternating sides to seat the rose evenly. Stop when resistance increases sharply; over-torquing can strip threads or crack trim.

Close the door and repeat the cycle while applying normal force where your hand naturally lands, checking door handle ergonomics. Finally, sight the handle and escutcheon for parallel alignment; a square, flush fit supports aesthetic improvements and reduces wobble.

Apply Threadlocker Preventatively

Once you’ve confirmed the screws stay tight under repeated use, apply a medium-strength threadlocker (e.g., blue) to the fasteners most likely to back out—typically the set screws and through-bolts—so vibration and daily lever force can’t walk them loose.

Remove one fastener at a time to keep alignment. Degrease threads with isopropyl alcohol, then add a small drop to the male threads only; wipe squeeze-out immediately to protect Door handle aesthetics. Reinstall and torque snugly with the correct driver to avoid stripping.

Verify Material compatibility: use products rated for plated steel, stainless, and brass, and avoid high-strength (red) on small screws.

Let it cure per label, typically 12–24 hours, before heavy use. Recheck once after curing.

Conclusion

You’ve now tightened the rosette screws, secured the set screw, checked the spindle, and verified latch alignment—without swapping the whole lock. That matters: loose hardware is a leading cause of in-home injuries, and door-related accidents send roughly 300,000 people to U.S. emergency departments each year. Before you walk away, cycle the handle 20–30 times, confirm smooth latch throw, and recheck screw torque. Add threadlocker and tighten annually to prevent repeat loosening.…

bathroom door lock replacement
General Property Repairs

The Easiest Way to Replace a Turn and Release Lock on a Bathroom Door

Start by measuring your existing lock’s backset, door thickness, spindle size (often 5 mm), and fixing type (through-bolts, surface screws, or a grub screw) so you can buy an exact match. Wedge the door, tape around the roses, pop off covers, and remove hidden screws while supporting the thumbturn. Pull out the spindle and latch, noting bevel orientation. Fit the new latch bevel toward the strike, tighten screws evenly, then test and adjust the strike if needed. Keep going to pick up quick fixes for sticking and wobble.

Key Takeaways

  • Measure spindle size, door thickness, backset, and fixing centres to buy a like-for-like turn and release set.
  • Photograph both sides and the door edge to match rosette size, faceplate shape, and screw positions.
  • Remove cover roses or grub screws, undo fixings, then slide out thumbturn, spindle, and the latch mechanism.
  • Fit the new latch with the bevel facing the strike, then reinstall spindle and roses, tightening screws evenly.
  • Test closing and turning; fix sticking or misalignment by adjusting the strike plate and using dry graphite lubricant.

Identify Your Turn-and-Release (Measurements + Fixings)

measure inspect record match

Before you buy anything, identify exactly what you’ve got by measuring the existing turn-and-release and noting how it’s fixed to the door. Keep the door open and latch engaged so you don’t trap yourself.

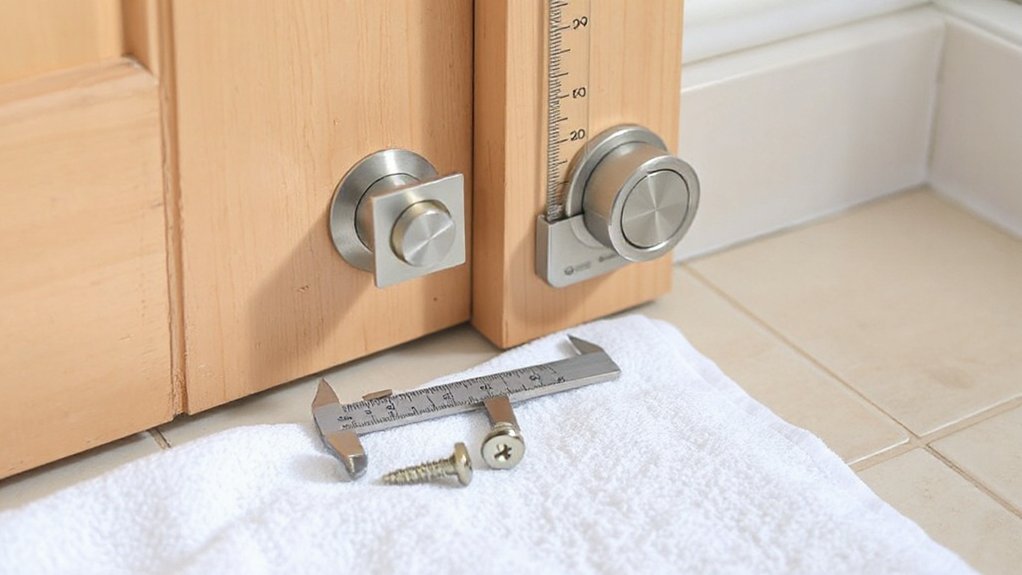
Measure the spindle size (typically 5 mm) and the door thickness. Record the backset and centre-to-centre spacing if it’s a combined handle/lock set.

Check whether it’s a mortice bathroom lock, a tubular latch with a privacy bolt, or a standalone thumbturn and emergency release.

Inspect the faceplate shape and screw centres, and confirm whether fixings are through-bolts or surface screws.

Photograph both sides and the edge.

Match these details to ensure lock security, then choose finishes from decorative options without changing dimensions or handing.

Gather Tools and Parts (No Drilling Needed)

Next, gather everything you’ll need so you can swap the turn-and-release in one controlled pass without drilling: a matching replacement set (same spindle size, screw centres, and door thickness range), a No.2 Pozi/Phillips screwdriver, a small flat screwdriver or pick for cover roses, a 3–5 mm Allen key if your thumbturn uses grub screws, a tape measure, a parts tray, and a door wedge.

Wear eye protection, keep the door propped open, and confirm the new screws match the existing holes so you don’t strip threads or force fixings.

Lay the new door hardware out in order: thumbturn, release, spindle, roses, screws.

Measure spindle length and compare to door thickness so the lock mechanism clamps without binding.

Check screw heads match your driver to prevent cam-out.

Keep a magnetic tray for tiny fixings, and have a torch ready to inspect alignment and wear.

Remove the Old Turn-and-Release (Hidden Screws, Grub Screws)

Once you’ve confirmed the door is wedged open and stable, start by finding how the roses (cover plates) are retained—most turn-and-release sets hide the fixings behind a snap-on cover or a tiny grub screw.

Protect decorative finishes with masking tape, then slide a thin plastic pry tool under the rose and pop it evenly, or loosen the grub screw with the correct hex key.

Pull the rose back to expose the fixing screws. Support the handle/turn with one hand, then remove screws with a screwdriver and set them aside.

If it’s through-bolted, undo both sides evenly to avoid twisting the spindle. Withdraw the turn, release, and spindle straight out.

Finally, remove the latch faceplate screws and slide the latch out, noting handing and locking mechanisms orientation.

Choose a Replacement Turn and Release Lock That Fits

Before you buy a new turn-and-release lock, measure the backset and the bore diameter so the latch and body seat correctly without forcing the door.

Then verify the spindle type, length, and orientation match your existing mechanism so the thumbturn engages smoothly and the emergency release works reliably.

Finally, check the rosette diameter and fixing points cover the old holes and align with the door thickness so you don’t compromise the door’s strength.

Match Backset And Bore

Although many turn-and-release locks look interchangeable, you need to match the backset and bore sizes so the new lock seats flat and latches reliably.

Start by opening the door and supporting it so it can’t swing while you measure door hardware.

Measure backset: from the door edge to the center of the existing bore, commonly 2-3/8 in. or 2-3/4 in.

Next, measure the cross-bore diameter (the big hole through the face), typically 2-1/8 in., and the edge-bore diameter for the latch, often 1 in.

Verify the door thickness, too, so the latch aligns with the strike.

If any dimension’s off, lock mechanisms can bind, the latch may not fully extend, and the lock can fail under force.

Confirm Spindle And Rosette

Because turn-and-release sets don’t share a universal spindle size or trim footprint, you should confirm the spindle type and rosette dimensions before you buy.

Remove one handle and thumbturn with a screwdriver, then pull the spindle out carefully so you don’t pinch fingers on sharp escutcheon edges. Measure spindle length end-to-end and note the cross-section (square, splined, or D). Check whether it’s fixed to one side or free-floating, since that affects compatibility and emergency-release function.

Next, measure the rosette’s outside diameter and thickness, and inspect the mounting pattern and screw spacing. Compare these to the new set’s rosette design so it fully covers old paint rings and screw holes.

Reassemble loosely to verify smooth rotation and no binding.

Install and Align the New Turn and Release Lock

Once you’ve confirmed the new lock matches the door thickness and backset, slide the latch into the edge bore with the bevel facing the strike plate, then secure it with the supplied screws without overtightening.

Insert the spindle through the latch hub and align both roses against the door faces. Hold the exterior release side steady while you seat the interior turn side, keeping the spindle centered so the lock mechanisms don’t bind.

Start mounting screws by hand, then tighten evenly in alternating turns to keep the trim square and support door security. Verify the turn rotates smoothly and the release slot engages without forcing.

Close the door and confirm the latch fully enters the strike; adjust strike screws only if needed. Recheck all fasteners.

Fix Common Turn-and-Release Problems (Sticking, Wobble, Misalignment)

Before you assume the new lock’s defective, diagnose the symptom so you fix the right cause.

If it sticks, open the door, remove the spindle, and confirm the latch retracts smoothly by hand. Lightly deburr paint or burrs on the strike and latch face, then apply a dry graphite lube—avoid oil that attracts grit.

If you feel wobble, tighten through-bolts evenly, confirm the rose sits flush, and replace stripped screws; don’t overtighten and crack the door.

For misalignment, mark where the latch hits the strike, then shift the strike plate, shim it, or deepen the mortise with a chisel, cutting away from your body.

Re-test the lock mechanism after each repair techniques step.

Conclusion

You’ve walked this little door-keeper’s path like a locksmith in a narrow castle corridor: measure first, match fixings, then loosen hidden or grub screws and lift the old set free. You didn’t drill; you controlled the risks. Now slide the new spindle through, seat both roses, tighten evenly, and test the turn and emergency release. If it sticks or wobbles, realign, re-seat, and re-tighten until the latch moves cleanly.…

replace broken window safely
General Property Repairs

How to Replace a Broken Glass Window Pane Safely and Securely

Put on cut-resistant gloves, safety glasses, and long sleeves, then clear the area, lay drop cloths, and use a HEPA vacuum to control shards and dust. Measure the opening in three spots each way, use the smallest numbers, and subtract 1/8 inch; match the original glass thickness and required safety rating. Tape and remove broken pieces, soften and scrape old putty, and pull glazing points. Bed the new pane, add points every 6–8 inches, tool fresh glazing, cure, and water-test for leaks. Next, you’ll see tips for tricky sashes and safer cleanup.

Key Takeaways

  • Wear cut-resistant gloves, safety glasses, and long sleeves; isolate the area with drop cloths and keep pets and bystanders away.
  • Measure the opening in multiple spots, use the smallest dimensions, and subtract 1/8 inch for safe glass clearance.
  • Choose the correct glass type and thickness; use tempered or laminated safety glass where codes or exposure risks require it.
  • Remove shards and old glazing safely: tape cracks, pull pieces inward, HEPA-vacuum debris, and scrape softened putty and glazing points.
  • Dry-fit and install the pane into fresh glazing compound, add glazing points every 6–8 inches, tool a sealed bead, then test for rattles and leaks.

Protect Yourself and Prep the Work Area

protect prepare contain illuminate

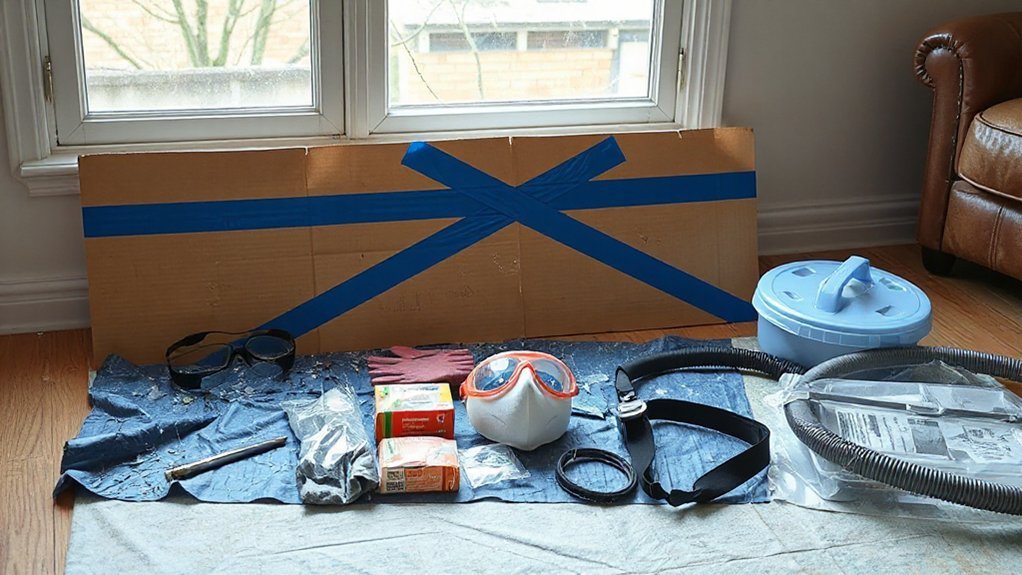
Before you touch the sash or remove any trim, suit up and control the area so you don’t get cut or spread glass shards. Put on Personal protective equipment: cut-resistant gloves, safety glasses, long sleeves, and sturdy shoes. If there’s lead paint risk, add a respirator and disposable coveralls. Keep bystanders and pets out, and post a warning.

Set up workspace organization next. Lay a drop cloth to catch fragments, then place a rigid board underneath to prevent punctures.

Position a sealed container for shards and a second bag for contaminated debris. Illuminate the pane with a work light so you can see hairline cracks. Vacuum loose particles with a HEPA unit, then mist and wipe surrounding surfaces to lock down dust.

Gather Tools and Choose the Right Glass

Once the area’s secure, gather your tools and confirm the replacement glass specs so you don’t force an ill-fitting pane into the sash. Set out cut-resistant gloves, safety glasses, a putty knife, glazing chisel, small pry bar, wire brush, glass pliers, and a vacuum with a HEPA filter. Keep a drop cloth and a rigid disposal container for shards.

Choose glass rated for the window’s location: tempered for doors, sidelites, or low sills; laminated for security or storm exposure. Match edge finish requirements and verify compatibility with existing glazing compound or gasket.

Inspect the sash for rot, corrosion, or loosened joints; plan Frame reinforcement before re-glazing. Confirm glass calibration marks, coatings orientation, and any insulated-unit labels before you proceed.

Measure the Window Opening and Glass Thickness

After you’ve removed loose shards and cleared the sash, measure the opening in three places—top, middle, and bottom for width, then left, center, and right for height—using a steel tape, and record the smallest values so the new pane won’t bind when the frame moves.

Subtract 1/8 inch from both the smallest width and height for safe clearance; note dimensions as W × H for accurate Glass measurement.

Next, determine glass thickness: measure an intact pane from the same window with calipers, or check the rabbet depth and subtract space needed for glazing.

Match the original when possible; too thin rattles, too thick stresses the frame.

For Thickness selection, confirm local code requirements for tempered safety glass in doors or low sills.

Remove Broken Window Pane and Old Glazing

How do you pull a broken pane without turning the sash into a hazard? Start with Safety precautions: wear cut-resistant gloves, eye protection, long sleeves, and a respirator if glazing is old. Lay a drop cloth, tape the cracked glass in a grid, and remove the sash if possible.

For Glass removal, pry out loose shards with pliers and lift larger pieces toward the center, never toward your hands. Vacuum fragments, then wipe with a damp disposable rag.

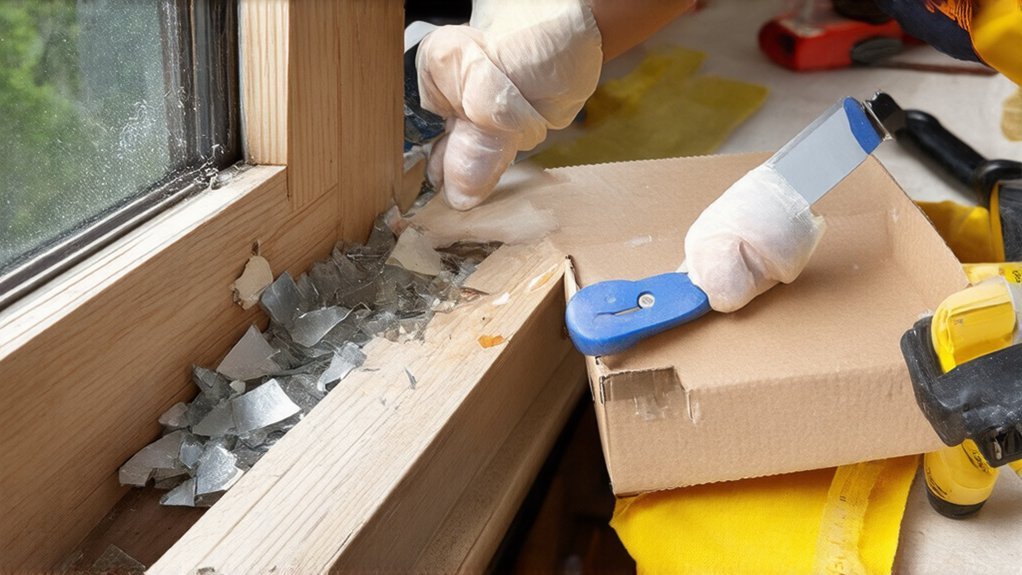
Soften old glazing with a heat gun on low or an infrared tool; keep heat moving to avoid scorching. Scrape putty with a stiff putty knife, then pull glazing points with needle-nose pliers.

Brush the rabbet clean and inspect for rot or bent muntins.

Install, Seal, and Test the New Window Pane

With the rabbet scraped clean and the glazing points removed, you’re ready to set the replacement pane and lock in a weather-tight seal.

Put on Safety equipment: cut-resistant gloves, eye protection, and a dust mask.

Dry-fit the glass, confirm even clearance, then bed it into a thin, continuous line of glazing compound or silicone rated for windows. Press the pane firmly until it seats, but don’t twist.

Install new glazing points every 6–8 inches, driving them flush to hold tension without cracking the glass.

Tool a smooth exterior bead, ensuring full contact with wood and glass; this is one of the most reliable Weatherproofing techniques. Let it cure per label.

Test by gently tapping, checking rattle, and running water to confirm no leaks.

Conclusion

You’ve now given that window a fresh start without guaranteeing any nasty surprises. Do a final sweep for “unwanted sparkles” of glass, then confirm the pane sits flat, centered, and fully supported. Press along the glazing to verify even contact, and check sealant continuity with no gaps or soft spots. Reinstall stops, tighten hardware just snug, and wipe the glass clean. Finally, open and close the sash to ensure smooth travel and a draft-free fit.…

Scroll to Top