Home Upgrades & Renovations

transforming spare room space
Home Upgrades & Renovations

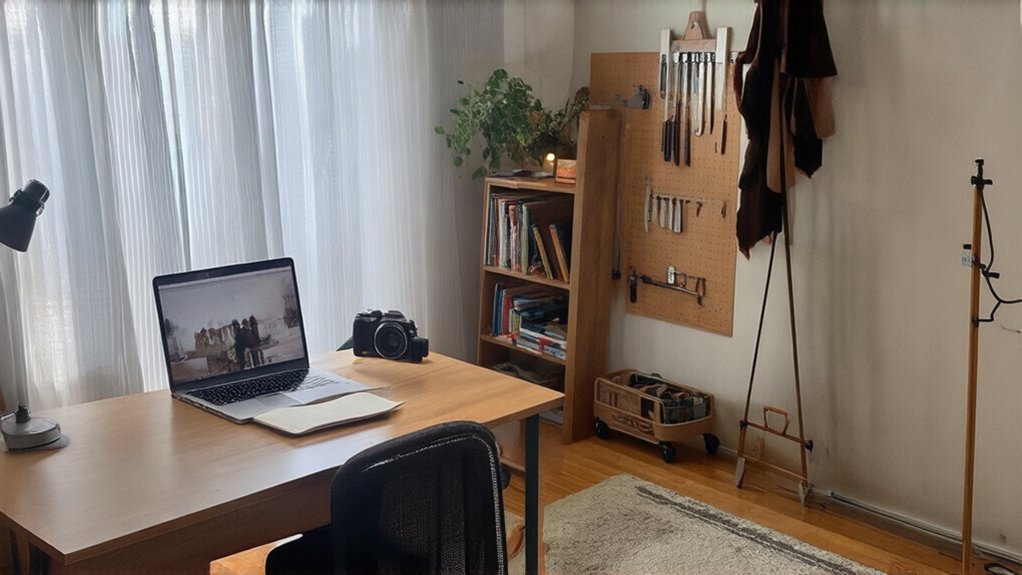
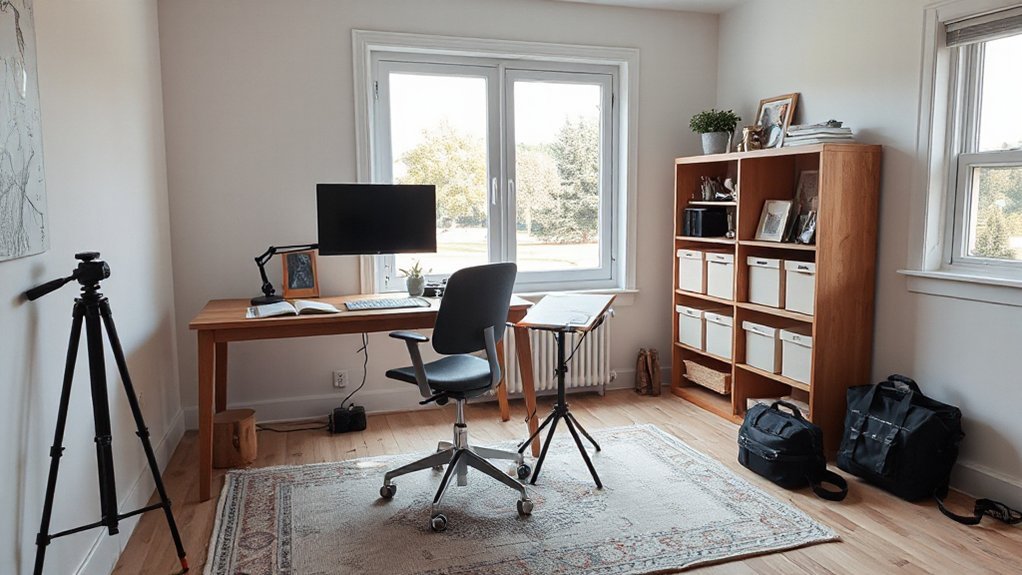
Turning a Spare Bedroom Into a Functional Home Office or Creative Studio

Start by ranking what you’ll do most—deep-focus work, messy making, calls, or writing—then zone the room around daylight and clear circulation. Place your desk perpendicular to the window, lift your laptop to eye level, and add a dimmable key light for calls. Choose slim, multi-use furniture and go vertical with shelves, rails, and labeled drawers. Quiet echoes with curtains, rugs, and fabric boards. Next, you’ll refine layout, storage, and sound.

Key Takeaways

  • List primary tasks and essential gear, then assign zones for focus work, making, calls, and storage to prevent cross-task clutter.
  • Place the main desk perpendicular to the window for flattering daylight, clear sightlines, and comfortable circulation through the room.
  • Choose compact, multi-purpose furniture and vertical storage like tall shelves, wall rails, and floating shelves to maximize floor space.
  • Build a video-call setup with eye-level screen, neutral background, dimmable key light, and tidy cables for a polished on-camera look.
  • Reduce noise and visual stress using curtains, rugs, door sweeps, labeled drawers, and minimal decor to keep the studio calm and functional.

Define Your Spare Bedroom Office or Studio Needs

optimize organize comfort budget

Before you buy a desk or hang a single shelf, get specific about what this room needs to do for you. Decide whether you’re primarily doing deep-focus computer work, messy making, client calls, or quiet writing, and rank those tasks by frequency.

List the gear each task demands—monitor, printer, easel, cutting mat—and note what must stay visible versus what can disappear into closed storage.

Set comfort targets: chair quality, task lighting, acoustic control, and a clear surface you can reset fast.

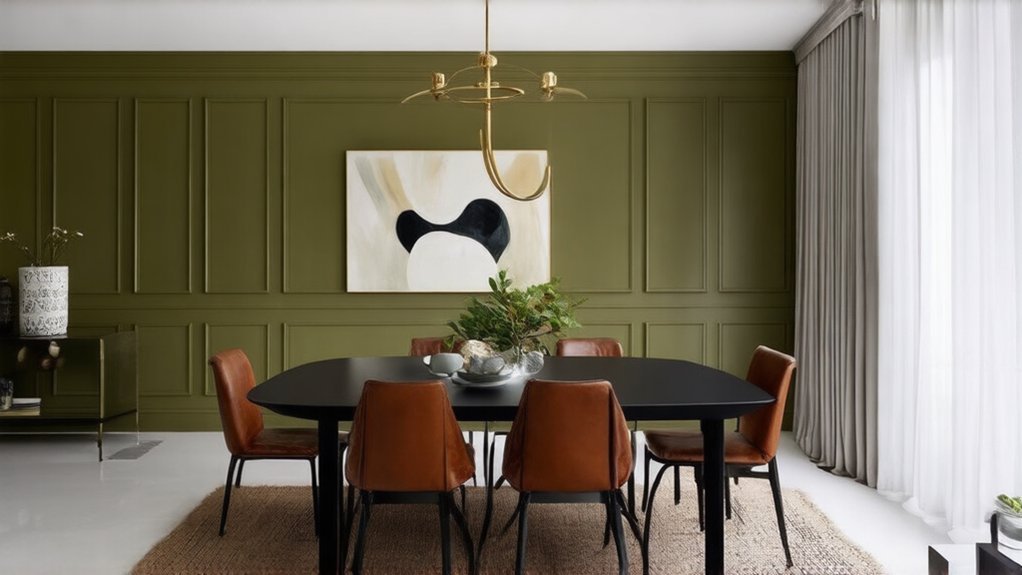
Choose color schemes that support the mood you want: calm neutrals for focus, warmer tones for creative energy, with one restrained accent.

Do budget planning early so upgrades land where they’ll matter most.

Plan the Spare Bedroom Layout and Zones

Once you’ve nailed down what you need to do in the room, map the space into clear zones that keep work flowing and clutter contained. Anchor your primary zone where daylight hits, then dedicate a secondary strip for making, scanning, or staging projects so tools don’t creep onto your main surface.

Keep circulation tight: leave a straight path from door to window and avoid pinch points near closets. Use vertical boundaries—rugs, curtain tracks, and wall grids—to signal zones without eating floor area.

Coordinate color schemes by zone: muted neutrals for focus, one restrained accent near the creative area for energy. Add soundproofing techniques where noise leaks: seal door gaps, hang dense textiles, and place soft panels on the wall shared with the busiest room.

Choose Compact Furniture for a Spare Bedroom Office

Because spare bedrooms rarely have endless floor space, you’ll get the best office setup by choosing compact furniture that works hard without looking cramped. Pick a slim writing desk or wall-mounted surface that leaves walking clearance and keeps sightlines open.

Choose a chair with a narrow profile and a low back so the room still reads like a bedroom. Add a rolling file cabinet that tucks under the desk, or use a storage ottoman that doubles as guest seating.

Keep shelving vertical: a tall bookcase or floating shelves hold supplies without stealing square footage.

Tie everything together with intentional color schemes—light woods, soft neutrals, or monochrome—to reduce visual noise. Then finish with minimal decor accents like a single framed print or a tidy tray.

Set Up Lighting and Video-Call Basics

Compact furniture keeps your spare-bedroom setup feeling open, and smart lighting makes it look just as polished on camera. Place your desk perpendicular to the window so daylight skims your face without backlighting. Add a dimmable key light at eye level, 45 degrees off-center, then soften shadows with a small bounce card or warm lamp. These lighting techniques keep skin tones even and artwork colors true.

For video conferencing, raise your laptop to eye height and angle it slightly down for a flattering frame. Choose a clean wall, curtain, or neutral art panel behind you, and keep distance so blur looks natural. Use wired earbuds or a small USB mic, and test levels before calls. Keep cords tucked to stay minimal and calm.

Build Storage for Tools, Papers, and Supplies

Keep clutter off your desk by anchoring the room with modular shelving that shifts as your projects change.

Sort papers and small tools into labeled drawers, so you can grab what you need in seconds and keep surfaces clean.

Then use vertical wall storage—rails, pegboards, slim ledges—to lift supplies into sight while preserving floor space and a calm, studio-ready look.

Modular Shelving Solutions

Two modular shelving elements—a wall-rail system and a few stackable cubes—can turn one blank bedroom wall into a clean, flexible storage zone for tools, papers, and supplies. Mount rails at eye level, then snap in shelves, bins, and hooks so you can reconfigure layouts as projects change.

Keep your most-used items within a single arm’s reach of the desk to reduce visual clutter and wasted steps.

Use cubes below for heavier gear and paper reams, and float a slim top shelf for reference books or display pieces that spark artistic inspiration. Choose matte finishes and matching hardware to unify the wall, then leave a few inches of breathing room around the grid for a calmer look.

Add felt-backed shelf liners for subtle acoustic treatment and quieter, cleaner workflows.

Labeled Drawer Organization

When your desktop starts collecting tools, loose papers, and half-finished ideas, shift the mess into a labeled drawer system that hides volume while preserving speed. Choose a compact drawer unit that slides under your desk, then assign categories: cutting tools, chargers, client files, sketch pads, adhesives, and backups.

Use shallow trays for pens and blades, deeper bins for devices and bulk supplies. Label fronts with clean typography or a small label maker, and add color dots to mirror your Color schemes for instant scanning.

Keep one “active” drawer for today’s project and reset it nightly. For Personal decor, swap plain pulls for brass, wood, or matte black, and line drawers with subtle patterned paper that matches your studio mood.

You’ll stay tidy without sacrificing style.

Vertical Wall Storage

Although floor space disappears fast in a spare bedroom, you can reclaim order by building upward with a clean, modular wall system that stores tools, papers, and supplies at arm’s reach. Mount a rail-and-hook track above your work zone, then add slim shelves for notebooks, archival boxes, and a printer stand.

Install pegboard panels for scissors, tape, rulers, and brushes, and keep the layout visually calm by repeating matching bins and hardware. Use magnetic wall strips for metal tools, blades, and binder clips, so small essentials don’t crowd your desktop.

Add a vertical file pocket for current projects and a lidded tray for loose parts. Pair the system with fold away desks, keeping circulation clear when you’re done.

Add Finishing Touches: Ergonomics, Acoustics, and Decor

Next, tame sound without bulky panels. Hang a thick curtain on a ceiling track, layer a low-pile rug, and place a fabric pinboard where reflections hit first.

If you record or take calls, add a small desktop mic shield and close gaps with a door sweep.

Finish with decorative accents that stay edited: one warm lamp, one plant, and a tight color palette that repeats across textiles and art.

Conclusion

You’ve turned a spare bedroom into a calm, high-function workspace by defining what you do, zoning the room, choosing compact pieces, nailing lighting for calls, and building storage that hides clutter fast. Picture a 10’×11′ room: you mount a slim desk under the window, tuck a rolling cart in the closet, and hang two cork rails above. With a supportive chair, a soft rug for acoustics, and one art print, it looks intentional—and works hard.…

enhance living space ambiance
Home Upgrades & Renovations

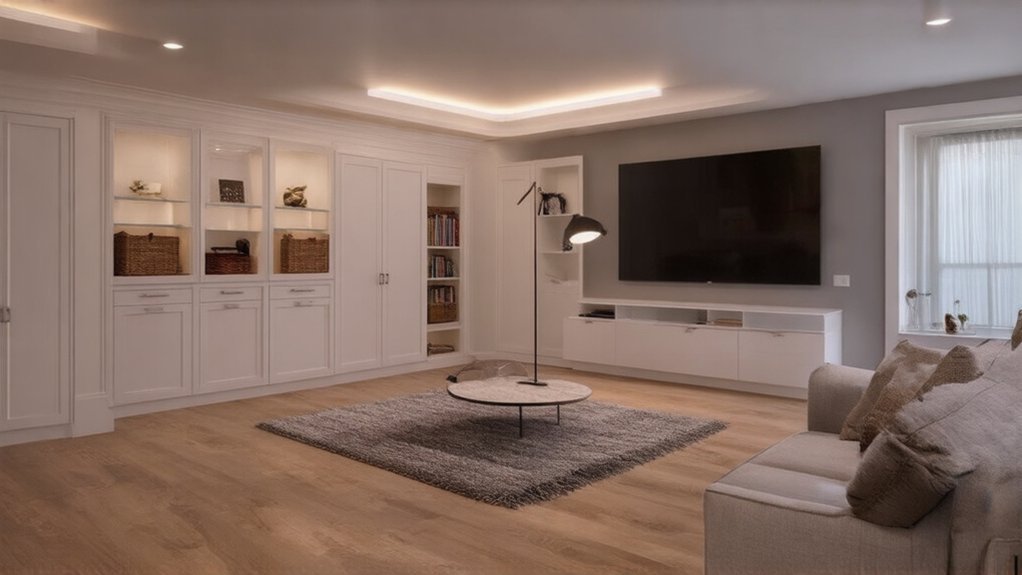
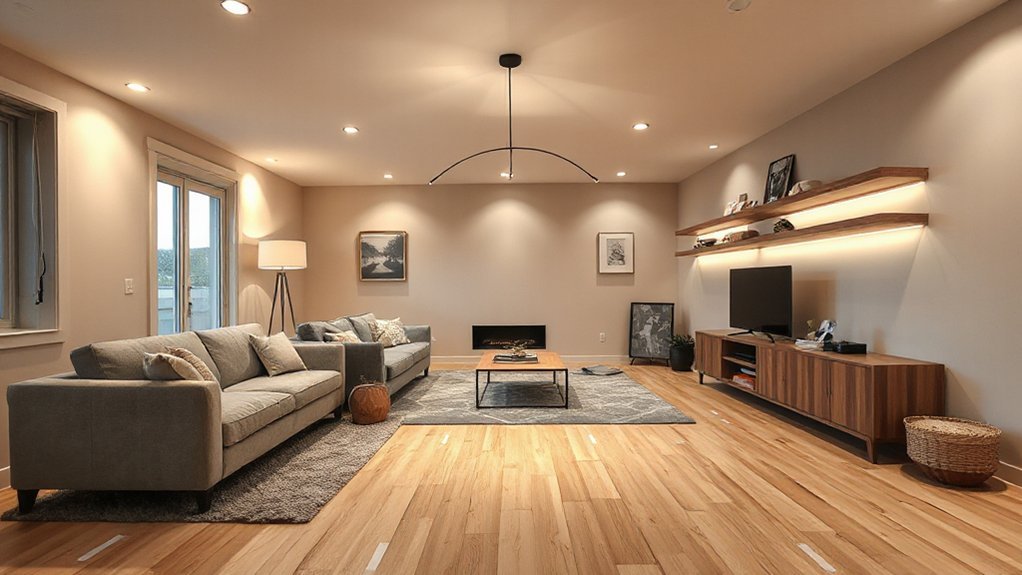
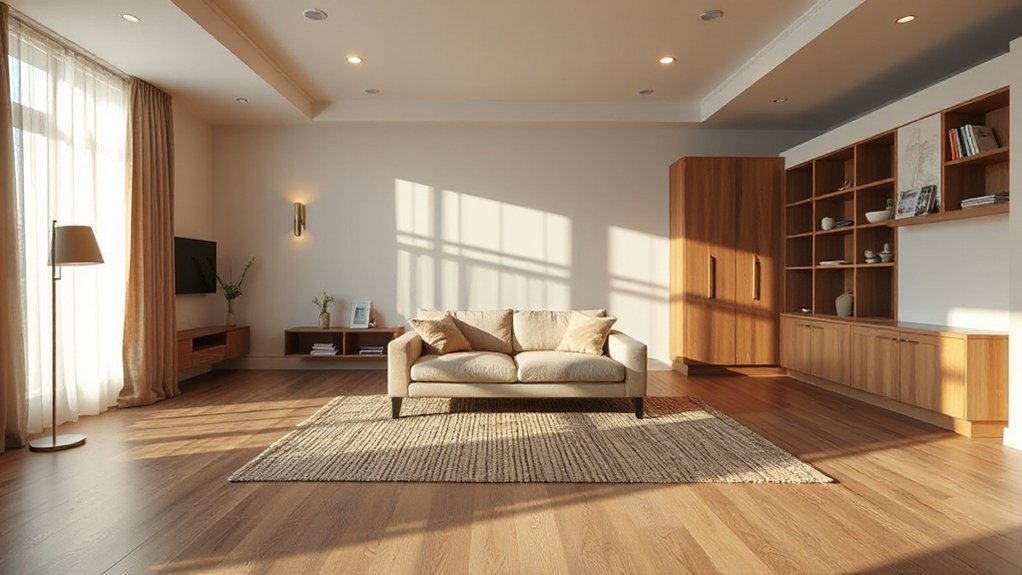
How to Upgrade a Living Room With Better Lighting, Flooring and Storage

Start by mapping your layout and traffic flow, keeping 30–36 inches clear, then edit surface clutter and assign everything a home. Upgrade fast with a larger rug, baskets, and re-floated seating, then layer lighting: a scaled overhead fixture, dimmable table or floor lamps for task zones, and picture lights or LED strips for accent. Choose warm, high-CRI LEDs (2700–3000K) and durable wide-plank LVP or engineered wood with acoustic underlayment. Keep going for smarter built-ins and styling.

Key Takeaways

  • Measure the layout, keep 30–36 inches for circulation, and reposition seating around a properly sized rug to improve flow.
  • Start with quick wins: declutter surfaces, add baskets or trays, and introduce closed storage pieces to reduce visual noise.
  • Build layered lighting: ambient overhead, task lamps for reading zones, and accent picture or shelf lights for depth.
  • Use warm, high-CRI LEDs (2700–3000K, CRI 90+) on dimmers to shift from bright daytime light to cozy evening mood.
  • Upgrade flooring with durable wide-plank engineered wood or LVP, add acoustic underlayment, and hide cords with paintable wall channels.

Assess Your Living Room: Layout, Paths, Clutter

living room layout and clutter assessment

Before you buy anything new, take a clear-eyed look at how your living room actually works: map the layout, trace the natural walking paths from entry to seating to adjacent rooms, and note where you’re forced to sidestep furniture or funnel through tight gaps.

Then measure: sofa depth, rug size, clearance behind chairs, and sightlines to windows and the TV.

Sketch alternative furniture arrangements that keep 30–36 inches for circulation and anchor seating on a rug’s front third.

Audit clutter by surface: coffee table, media console, sideboards, and the “drop zone” near the door; anything without a home goes on a list.

Finally, evaluate color schemes under daytime and lamp light—warm whites, muted earths, and layered neutrals read current and calm.

Decide What to Upgrade First (Fast vs. Big Wins)

Start with fast-impact swaps that instantly sharpen the room—layer in updated lighting, crisp textiles, and a tighter color palette.

Then map your big wins around the pieces that define the look and function, like the sofa, area rug scale, and built-ins.

You’ll get a quick style lift now while budgeting and timing the high-value upgrades that make the space feel truly new.

Prioritize Fast Impact Changes

If you want your living room to feel upgraded fast, prioritize the changes that instantly shift what you see and how the space functions—then save the messy, budget-heavy moves for later.

Start with lighting swaps: add a warm-dim LED floor lamp, a plug-in picture light, or an uplight behind a plant to layer glow and erase flat shadows.

Refresh your color schemes with a tight palette—two neutrals plus one accent—through pillows, a throw, and art.

Then redo your furniture arrangement: float the sofa, anchor it with a properly sized rug, and pull chairs into a conversation zone.

Finish with quick storage wins: matching baskets, a tray on the ottoman, and one closed cabinet to hide chargers, remotes, and mail.

Plan High-Value Major Upgrades

Once you’ve nailed the quick visual fixes, map out the major upgrades that actually change how your living room performs—then sequence them by payoff.

Start with lighting infrastructure: add layered circuits, dimmers, and ceiling junctions so future pendants and sconces feel intentional.

Next, tackle flooring if it’s worn or noisy; wide-plank engineered wood or luxe vinyl in warm oak tones reads current and boosts comfort underfoot.

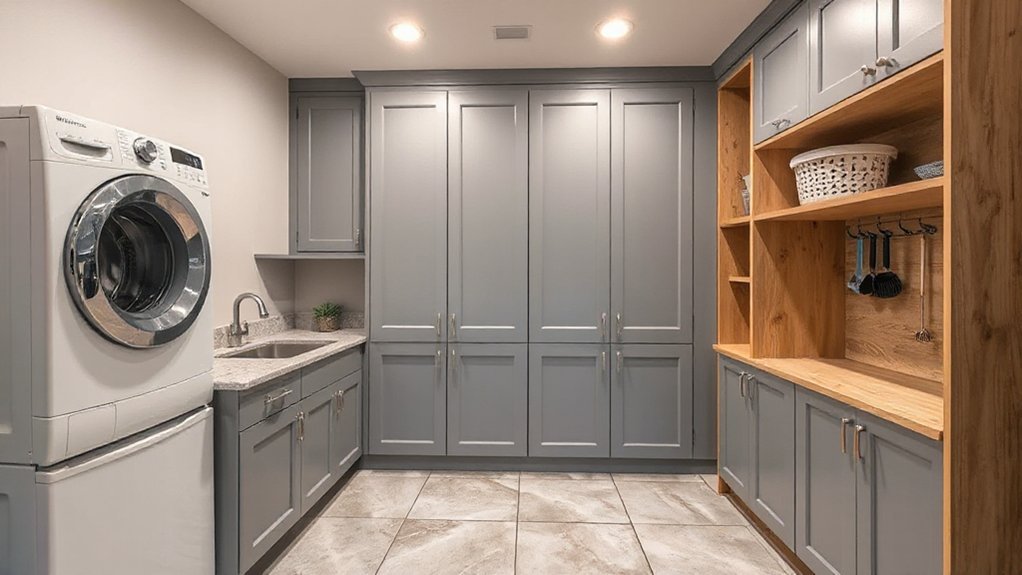
Then build storage: a media wall with closed bases and open shelves hides clutter while showcasing Decorative accents.

If you need speed, swap a dated fixture, add a large rug, and refine Color schemes with paint and textiles.

If you want big wins, invest in electrical, floors, and custom built-ins.

Budget these first, then style last.

Build Layered Lighting: Overhead, Task, Accent

Start with ambient overhead lighting that sets the room’s baseline—think a sculptural flush mount or a slim chandelier that matches your ceiling height and scale.

Then add focused task lighting where you actually live: an adjustable reading lamp by the sofa or a shaded floor lamp near a chair to control glare.

Finish with accent layers—picture lights, plug-in sconces, or a warm LED strip on shelves—to add depth, highlight texture, and make the space feel intentionally designed.

Choose Ambient Overhead Fixtures

Because overhead lighting sets the baseline mood for everything else in the room, choose an ambient fixture that delivers even, comfortable illumination without flattening the space. Prioritize diffused output: opal glass, fabric drums, or shaded LED discs soften glare and create an ambient glow across seating and circulation zones.

Scale matters—aim for a diameter that visually anchors the room (often 18–30 inches), and hang it so it clears sightlines while still feeling intentional.

Pick warm-dim LEDs (around 2700K) and put the circuit on a dimmer so you can shift from daytime clarity to evening coziness.

Explore fixture styles that suit your architecture: slim flush-mounts for low ceilings, sculptural pendants for height, or a modern chandelier to add rhythm without visual clutter.

Add Focused Task Lighting

Where do you actually read, work, scroll, or puzzle in your living room? Map those micro-zones, then add task lighting that targets them without flooding the whole space.

A slim floor lamp with an adjustable arm can tuck beside a sofa and aim light directly at pages. For a desk or console, choose a compact LED table lamp with a pivoting head so you can dial in focused illumination.

Look for warm, high-CRI bulbs (2700–3000K) so skin tones and textiles stay flattering, not gray. Add dimmers or touch controls to fine-tune brightness for daytime versus evening.

Keep finishes coordinated—matte black, aged brass, or soft nickel—to match your hardware and feel intentional.

Layer Accent Light Sources

Once your task lighting hits the spots you actually use, bring in accent sources to add depth and mood without bumping up overall brightness. Start with a pair of dimmable plug-in sconces to frame the sofa, or tuck an LED strip behind a media console for an ambient glow that feels architectural, not glaring.

Use accent spotlighting to guide the eye: aim a small, adjustable picture light at art, or place a discreet uplight in a tall planter to wash textured walls. Keep color temperature consistent—2700K to 3000K reads warm and modern—and control everything with smart dimmers or scene presets.

Vary heights and beam angles so shadows look intentional, and choose finishes that echo hardware: aged brass, matte black, or warm nickel.

Pick Fixtures and Bulbs (Size, Lumens, Warmth)

While your furniture sets the mood, your lighting seals it—so pick fixtures that scale to the room and bulbs that match how you actually live in it.

For fixture selection, anchor the space with a statement pendant or chandelier that’s roughly one-third the coffee-table width, then add slimmer floor and table lamps to keep sightlines airy and current.

Target 1,500–3,000 total lumens for a typical living room, then put everything on dimmers so you can shift from bright cleaning light to evening glow.

Choose bulb warmth intentionally: 2700K reads cozy and flattering, 3000K feels crisp but still residential, and anything cooler can look office-like.

Keep CRI 90+ for richer textiles, art, and skin tones throughout.

Make Lighting Look Built-In for Less

You’ve nailed fixture scale and bulb specs—now make the whole setup feel like it was planned with the house, not plugged in after the fact. Start by hiding cords: run lamp wire in paintable cord channel, then match it to your wall color. Swap plastic shades for linen or opal glass to mimic Built in lighting.

Add plug-in sconces, but mount them on backplates, center them to art, and hardwire later if you want. Use dimmer switches everywhere—plug-in dimmers for floor lamps, smart bulbs for table lamps—so light layers read intentional.

Upgrade with an oversized ceiling medallion, a clean canopy cover, and matching switch plates. These cost-effective upgrades give you a custom-looking glow without opening walls. Aim for warm, even ambience throughout.

Choose Living Room Flooring: Cozy, Tough, Quiet

durable quiet stylish flooring

If your living room needs to feel softer underfoot without sacrificing durability, flooring does most of the heavy lifting. Choose wide-plank engineered wood for warmth and stability, or luxury vinyl plank when you need scratch resistance and easy cleaning.

For quiet, prioritize cork, padded underlayment, or dense area rugs layered over hard surfaces to dampen footsteps and TV echo.

Match finishes to your color palettes: cool oak or light maple keeps a Scandinavian scheme airy, while walnut or smoked tones sharpen moody, saturated rooms.

Use furniture placement to protect traffic lanes—float seating on a rug that’s large enough for front legs, and leave a consistent border to frame the space.

Opt for low-sheen finishes and textured grains; they hide wear and feel current.

Install New Flooring Without Full Demo

Because a full tear-out can blow up your timeline (and your budget), you can often upgrade living room flooring by installing a floating system right over what’s there—think click-lock LVP, engineered wood, or laminate—so long as the surface is flat, dry, and firmly bonded.

Start by pulling base shoe, then skim-coat low spots and spot-sand ridges; even a 1/8-inch hump will telegraph in raking light. Add a thin acoustic underlayment for a quieter, softer feel, especially in open-plan homes.

Favor wide-plank, matte finishes and warm, natural tones that pair with today’s layered textiles.

Choose eco-friendly materials: low-VOC planks, FSC-certified cores, or recycled-content LVP.

Finally, integrate smart home comfort with radiant-heat-compatible flooring and discreet floor sensors.

Add Storage That Hides Mess and Shows Style

Fresh flooring sets the tone, but smart storage keeps the room looking intentional day to day. Start with concealed storage that earns its footprint: a lift-top coffee table for remotes and throws, an ottoman with a tray top, or a low credenza that hides games and charging clutter. Choose pieces with clean lines, warm wood, or matte fronts so they read like furniture, not utility.

Balance it with decorative shelving that feels curated, not crowded. Float shelves in matching finishes, then style in tight groupings—books stacked horizontally, a ceramic vessel, and one framed print. Mix closed and open zones so your eye lands on texture, not mess.

Add baskets in a consistent weave to soften corners and keep categories tidy.

Conclusion

Step back and you’ll see your living room’s upgrade path clearly. Start with what pays off fastest: layered lighting that mixes a dimmable overhead, focused task lamps, and subtle accent glow to highlight art and texture. Choose flooring that matches your lifestyle—quiet underfoot, durable, and warm-toned for today’s relaxed, modern look. Finish with storage that disappears clutter behind clean fronts and styled open shelves. Put these moves together, and you’ll hit the ground running.…

stylish and comfortable bathroom upgrades
Home Upgrades & Renovations

Bathroom Renovation Ideas That Add Style and Improve Everyday Comfort

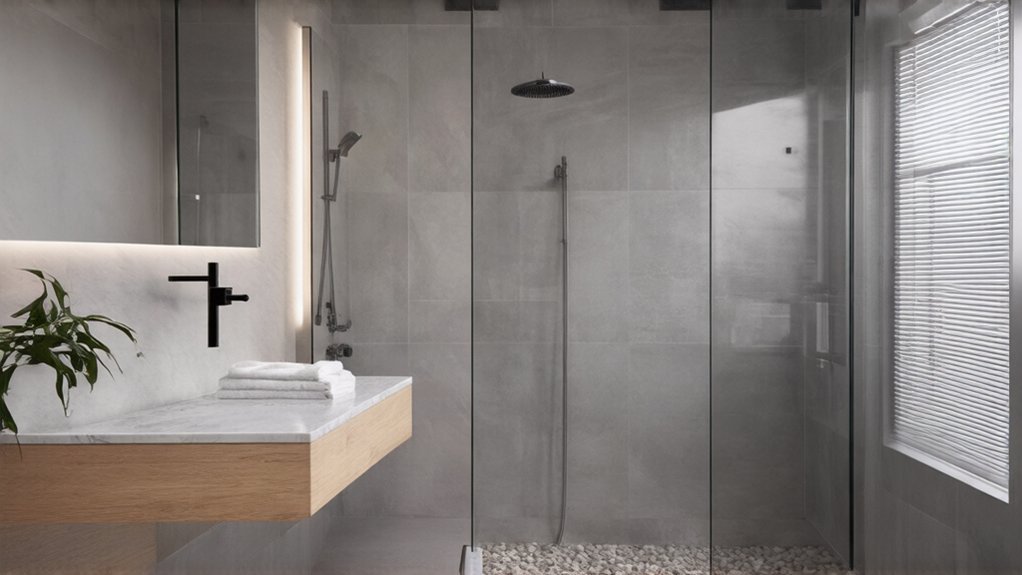
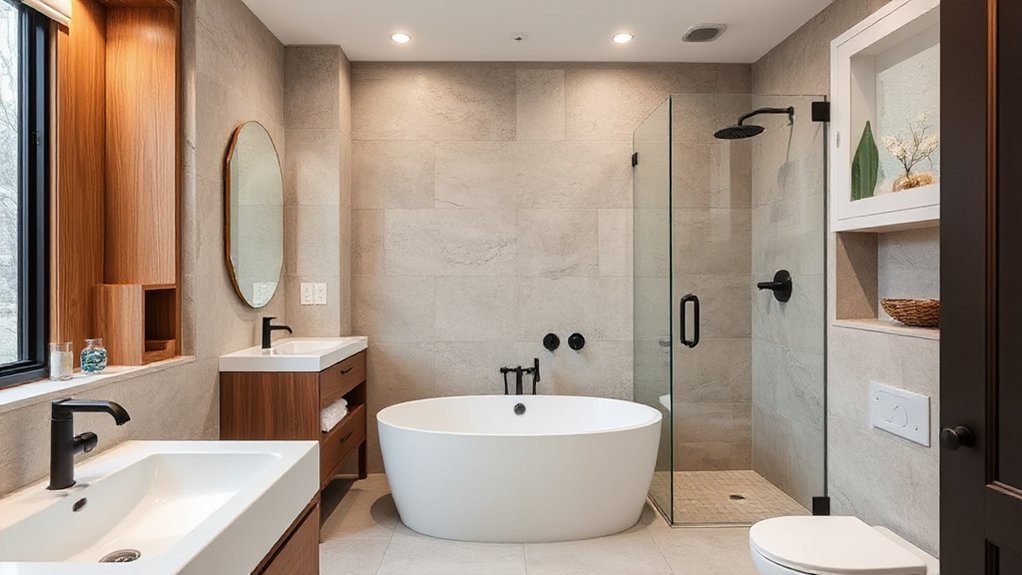
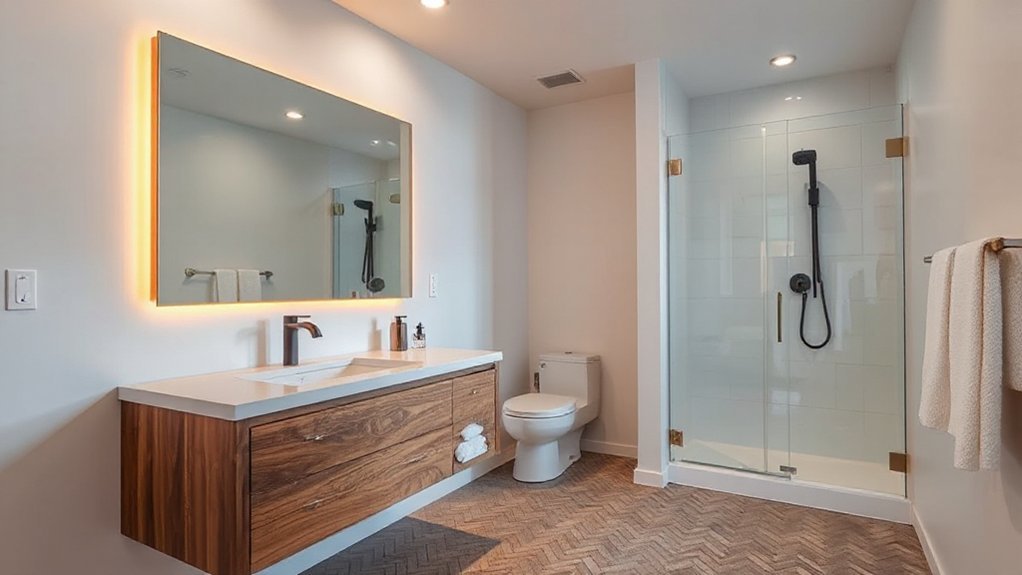
You’ll get more comfort fast by optimizing layout without moving plumbing: map door swings, keep clear pathways, and choose a wall-hung or shallow vanity to open knee space. Upgrade the shower with a thermostatic valve, a 2.0 gpm rain head, and a handheld on a slide bar, then use large-format porcelain tile for easier cleaning. Add vertical and recessed storage, layer high-CRI task plus dimmable ambient lighting, and install a quiet 80–110 CFM fan with a timer for what’s next.

Key Takeaways

  • Optimize layout without rerouting plumbing by mapping clearances and choosing wall-hung or shallow vanities to free floor space.
  • Upgrade the shower with thermostatic controls, a rain head, and a handheld on a slide bar for spa-like comfort.
  • Add vertical and hidden storage using recessed niches, mirrored medicine cabinets, and drawer organizers to reduce clutter in small bathrooms.
  • Layer lighting with high-CRI vanity fixtures, dimmable ambient LEDs, and motion-sensor night lights for comfort and safe navigation.
  • Improve finishes and moisture control with easy-clean large-format tiles, warm sealed wood accents, and a quiet 80–110 CFM exhaust fan.

Bathroom Renovation Layout Fixes Without Moving Plumbing

optimize bathroom layout efficiently

If you want a smarter bathroom layout without the cost and risk of rerouting pipes, you can still make major gains by rebalancing what’s already connected. Start by mapping door swings, clearances, and daily paths from entry to vanity to toilet, then shift fixtures within their current supply and drain reach.

Swap to a wall-hung vanity or a shallower cabinet to open knee and hip room. Replace a hinged door with a pocket or outswing to reclaim floor area. Use mirrored medicine storage and recessed niches between studs for vertical capacity without crowding.

Keep the wet wall intact to avoid a plumbing reroute, but allow small structural adjustments like moving non-load-bearing partitions, resizing openings, and aligning lighting with task zones.

Bathroom Renovation Shower Upgrades for a Spa Feel

Once your layout works hard without moving plumbing, put your upgrade budget into the shower—the one zone where small spec changes deliver the biggest “spa” payoff.

Start with a thermostatic valve and pressure-balancing cartridge so temperature stays locked even when fixtures run.

Add a Rain shower head on a correctly sized arm (8–12 inches) for full-body coverage; specify 2.0 gpm for comfort without waste.

Upgrade to a handheld on a slide bar for targeted rinse and easy cleaning.

Use large-format porcelain on walls to cut grout and improve hygiene.

If your electrical and ventilation can support it, a Steam shower generator with an insulated ceiling, vapor membrane, and dedicated exhaust timer turns daily rinses into recovery sessions.

Finish with a linear drain and slight slope for fast runoff.

Bathroom Renovation Storage Ideas for Small Spaces

In a small bathroom, you’ll reclaim floor space by specifying vertical storage—tall linen towers, wall-mounted cabinets, and recessed niches that use the full wall height.

You can also integrate hidden storage with mirrored medicine cabinets, vanity drawer organizers, and toe-kick pull-outs that keep essentials accessible but out of sight.

These upgrades reduce countertop clutter and improve daily comfort without expanding the room’s footprint.

Vertical Storage Solutions

How do you add serious storage without sacrificing elbow room? Go vertical and keep your floor clear. Install Floating shelves above the toilet or next to the mirror at eye level for daily-use items, then step them upward for backups. Specify moisture-rated materials, sealed edges, and stainless fasteners to prevent swelling and rust.

Add Overhead cabinets high on the wall to store bulk supplies while preserving sightlines; choose shallow depths (5–8 inches) so doors don’t clash with your head or lighting. Use adjustable shelf pins to fit tall bottles, and include soft-close hinges for quieter mornings.

Finish with wall-mounted towel bars or hooks stacked in a column to speed drying and reduce clutter, improving airflow too.

Hidden Storage Features

Where can you tuck away toiletries and backups without adding bulk to a tight bath? Build storage into what you already touch: the mirror, the vanity, and the wall cavity.

Specify a recessed medicine cabinet with Concealed shelving sized for bottles (3–4 in. depth) and add adjustable pins so you don’t waste vertical clearance.

Choose a vanity with toe-kick drawers for cleaning supplies and Hidden compartments behind a tilt-out false front for small items.

If you’re moving plumbing, frame a shallow niche beside the stack to create a service-friendly, code-clear chase with a hinged access panel.

Use soft-close hardware to cut noise, and line compartments with washable mats to control spills and keep daily routines smooth.

Bathroom Lighting Ideas for Task, Mood, and Night

optimal bathroom lighting setup

You’ll get the best daily performance by prioritizing vanity task lighting: place vertical fixtures at eye level on both sides of the mirror (or use a high-CRI, glare-controlled mirror light) to minimize shadows.

Then you’ll round out comfort with balanced ambient lighting that fills the room evenly without hot spots or harsh reflections.

For nights, add low-lumen, warm lighting on a motion sensor—at toe-kick or under-vanity height—so you can navigate safely without fully waking up.

Vanity Task Lighting Essentials

Although ambient fixtures set the overall tone, vanity task lighting does the precision work—shaving clean lines, accurate makeup, and comfortable contact lens handling. Place light at face height to eliminate under-eye shadows: mount vertical sconces 28–36 inches apart, centered on your cheeks, or use an LED bar above the vanity mirror paired with side lights.

Target 500–1,000 lux at the sink with a neutral 3,000–3,500K color temperature and 90+ CRI for true skin tones. Choose diffused lenses to reduce glare, especially with glossy tile.

Put task lighting on a dedicated dimmer so you can fine-tune brightness without losing color accuracy. Keep fixtures rated for damp locations and easy-clean finishes.

Ambient And Night Lighting

After you’ve dialed in vanity task lighting, set the room’s baseline comfort with layered ambient light plus a low-output night option. Use a sealed ceiling fixture or recessed LEDs to deliver even, shadow-free fill, sized for the room and rated for damp locations. Put it on dimmer switches so you can drop levels for baths, glare control, or early mornings without killing visibility.

For night guidance, add LED strips under the vanity toe-kick, along a recessed shelf, or inside a niche. Choose warm-white (2200–2700K) at 1–5 watts, aimed at the floor to protect dark adaptation and reduce stumble risk. Add a motion sensor or timer, keep drivers accessible, and separate night from ambient circuits for maximum comfort.

Warm Bathroom Finishes: Wood Tones, Brass, Earthy Tile

When cool white tile and chrome start to feel clinical, warm finishes bring balance and comfort without sacrificing performance. Choose Wood accents in sealed oak or teak for vanities, open shelves, or a mirror frame; they soften acoustics and feel warmer to the touch. Keep profiles slim to preserve clearance around doors and swings.

Specify brass fixtures in a brushed or PVD-coated finish for faucets, drains, and hardware; they add visual warmth while resisting fingerprints and tarnish. Pair them with earthy tile—clay, sand, or terracotta tones—in matte or lightly textured surfaces for better slip control.

Use larger-format tiles to reduce grout lines and simplify cleaning, or add a warm mosaic band to define zones without shrinking the room.

Bathroom Renovation Ventilation Upgrades to Stop Moisture

Warm wood tones and brass feel best in a bathroom that stays dry, so upgrade ventilation to control humidity at the source. Size airflow to your room: target 1 CFM per sq ft, or use 80–110 CFM for most baths, then vent outdoors with smooth, insulated duct to prevent backdraft and condensation.

Prioritize quiet operation (≤1.5 sones) so you’ll actually run it. Place the grille near the shower, add a timer or humidity sensor, and keep the door undercut for make-up air.

During exhaust fan installation, seal penetrations and slope horizontal duct runs slightly to the exterior. Finish with moisture resistant paint on ceilings and walls to slow vapor absorption and reduce peeling.

Conclusion

You don’t need a full re-plumb to get a smarter bathroom. Keep the layout, then upgrade the shower for spa-grade comfort, add tight-footprint storage, and layer lighting for task, mood, and safe night use. Choose warm wood tones, brass, and earthy tile to soften hard surfaces without sacrificing cleanability. Finally, improve ventilation with a right-sized fan and timer so humidity leaves fast, like a well-tuned exhaust system, protecting finishes and daily comfort.…

revamped modern kitchen design
Home Upgrades & Renovations

Transforming a Tired Kitchen With Smart Layout Changes and Modern Finishes

You can refresh a tired kitchen by tightening prep, cook, clean, and store zones, then fixing traffic so primary aisles stay 36 inches wide (42 for two cooks) and appliance doors don’t collide. Add proper landing space: 15 inches by the fridge and cooktop, 24 inches by the sink. Replace dated cabinets and counters with full-overlay, soft-close boxes and durable quartz or stainless. Finish with CRI 90+ layered LEDs, plus updated hardware, faucet, and sink. Next, you’ll see upgrade options that fit your layout and budget.

Key Takeaways

  • Replace dated cabinets, counters, hardware, and flooring with durable modern finishes like full-overlay doors, quartz, and consistent pulls.
  • Rework the layout into prep, cook, clean, and store zones, keeping tools grouped to reduce steps and clutter.
  • Protect traffic flow with 36–42 inch aisles, clear appliance door swings, and adequate landing space beside fridge, sink, and cooktop.
  • Maximize storage using ceiling-height cabinets, roll-outs, toe-kick drawers, and adjustable pantry shelving to reclaim dead space.
  • Modernize lighting and plumbing with layered CRI 90+ LEDs, accessible GFCIs, leak testing, proper trap alignment, and future-ready fixtures.

Quick Checklist: What Makes a Kitchen Look Dated

dated kitchen features checklist

If you’re trying to pinpoint why your kitchen feels stuck in another decade, run a quick visual and functional check for the most common dated features: glossy honey-oak cabinets, busy laminate or 4-inch tile countertops, short 4-inch backsplashes, yellowed grout, exposed fluorescent box fixtures, mismatched appliance finishes, brass or ornate hardware, and worn vinyl or small-pattern ceramic floors.

Next, verify basics that affect both appearance and compliance: outlets should be GFCI-protected at countertop runs, cover plates uncracked, and lighting should provide task illumination without glare. Check that cabinet doors align, drawers glide smoothly, and toe-kicks aren’t broken or water-swollen.

Review Color schemes for yellow-beige dominance and low-CRI bulbs that shift finishes. Limit decorative accents like roosters, ivy borders, or sponge-painted walls that date the room fast.

Fix Kitchen Flow With Smart Work Zones

Dated finishes stand out fast, but poor layout slows you down every day, so fix the flow by setting up clear work zones: prep, cook, clean, and store. Use Smart zoning to group tools where you use them: knives, boards, and trash at prep; pans, oils, and spices at cook.

Keep prep counters uninterrupted and aim for 15 inches of landing space at each side of the cooktop when possible.

For clean, keep the sink, dishwasher, and waste pull-out adjacent, with a clear 36-inch walkway so doors can open without conflicts.

Store daily items between knee and shoulder height, and put heavy cookware in lower drawers.

Add dedicated circuits and GFCI protection at countertop receptacles per code.

This workflow optimization cuts steps and reduces cross-traffic.

Rethink the Work Triangle (Not a Rulebook)

Although designers still reference the classic sink–stove–fridge “work triangle,” you’ll get better results by treating it as a diagnostic tool, not a strict layout formula. Map your actual routes: prep at the sink, cook at the range, grab cold items, then plate. If one leg forces you through a traffic lane, revise.

Use a creative layout that respects clearances and access. Keep primary aisles at least 36 inches wide (42 inches if two cooks share), and don’t let appliance doors collide.

Provide 15 inches of landing space beside the refrigerator latch side, 12 inches on one side of the cooktop and 15 inches on the other, and 24 inches near the sink. With unconventional planning, you can shift tasks to adjacent runs or an island while maintaining safe, efficient paths.

Add Storage Without Expanding Your Kitchen

You can add capacity without changing your kitchen’s footprint by using vertical storage solutions—take cabinets to the ceiling, install rated wall shelving into studs, and keep required clearances around cooking and ventilation.

You’ll also gain space with hidden storage upgrades like toe-kick drawers, pull-out tray bases, and full-extension roll-outs that meet manufacturer load specs.

You don’t need more square footage; you need every cubic inch planned, anchored, and accessible.

Vertical Storage Solutions

Where can extra storage go when your cabinet footprint can’t change? Look up. Add vertical shelving in the pantry, above the refrigerator, or on a blank wall between openings.

Keep shelves at least 18 inches above the countertop where required for small-appliance clearance, and don’t block required receptacle access or range hood capture.

For pantry organization, install adjustable standards so you can re-space shelves as needs shift; anchor into studs or use rated toggles per manufacturer loads.

Use 10–12-inch shelf depths for cans and dry goods, and label zones to prevent overstacking.

Add a ceiling-height cabinet or soffit-height shelf to reclaim dead space, but maintain clearance around HVAC registers and sprinkler heads.

Hidden Storage Upgrades

When every cabinet is already spoken for, hidden storage upgrades let you add capacity inside the same footprint by using the voids behind doors, under shelves, and between studs.

Add toe-kick concealed drawers for sheet pans and pet bowls; specify full-extension, soft-close slides rated for the load and keep clearances from baseboard heat or ducting.

Use a shallow pull-out behind a false drawer front at the sink for sponges, but maintain access to the shutoff valves and GFCI-protected receptacles.

Build Hidden compartments in an end panel or island support leg for charging stations; route cords through listed grommets and keep wiring in approved raceways.

Between-stud niches beside the fridge can store trays without reducing required appliance ventilation space.

Choose Modern Kitchen Cabinets That Look Custom

Three details make modern kitchen cabinets look custom: clean construction, consistent reveals, and hardware that’s sized and placed with intention. Specify full-overlay doors, 3/4-inch plywood boxes, and soft-close, adjustable hinges so gaps stay even and operation stays quiet.

Use scribed fillers and finished end panels so runs terminate cleanly at walls and appliances. Choose custom cabinet styles like slab fronts, slim Shaker, or flat-panel with integrated pulls, and keep one door profile throughout for visual discipline.

For innovative finish options, select factory-cured lacquer, UV matte, or thermofoil rated for heat and moisture; confirm CARB Phase 2/TSCA Title VI compliance.

Plan clearances: don’t block required appliance vents, and keep uppers below hood and sprinkler limits. Align pulls by jig for repeatability.

Pick Durable Countertops for a Modern Kitchen

Because countertops take the most abuse in a modern kitchen—heat, knives, acids, and constant cleaning—you should pick a surface that matches how you actually cook and that installs to manufacturer specs.

For low maintenance, choose engineered quartz and require sealed seams, radiused edges, and heat-resistant trivets near ranges.

If you prep heavily, consider stainless for hygiene and easy sanitizing; specify integral backsplashes at wet walls.

For Eco friendly materials, look at recycled-glass composite or paper-resin slabs, and verify VOC limits on adhesives and sealers.

For cost effective options, use quality laminate with postformed edges, but keep joints away from sinks.

Template after cabinets are fastened, leave required appliance clearances, and support overhangs per code with brackets.

Upgrade Kitchen Lighting for Task and Mood

Durable countertops handle the wear, but good lighting lets you prep safely and makes the room feel finished. Start with layered light: ambient lighting for overall coverage, then task illumination where you cut, mix, and read labels.

Put recessed LEDs on a dimmer and aim for even spacing to avoid shadow pockets. Add under-cabinet LED strips at the front rail so your body doesn’t block the beam. Choose 2700–3000K for warmth, or 3000–3500K if you want a cleaner look, and keep CRI 90+ for accurate food color.

Use damp-rated fixtures near sinks and cooking zones. Meet code with GFCI-protected circuits as required and switch locations at entries. Verify clearances above cooktops and maintain ventilation access.

Update Kitchen Hardware, Faucet, and Sink Fast

Where can you get the biggest visual and functional upgrade in a single afternoon? Swap cabinet pulls, the faucet, and even the sink.

Measure hole spacing (center-to-center) and match it to new hardware to avoid re-drilling. Choose corrosion-resistant finishes and verify sharp edges aren’t exposed.

Shut off water, open the faucet to relieve pressure, and use listed supply lines with proper thread sealant where required.

For the sink, confirm cabinet clearance, drain location, and that the disposal/air gap (if required locally) stays accessible.

Pick eco-friendly materials like recycled stainless or composite granite.

Add a pull-down faucet that supports Smart appliance integration via compatible sensors or leak shutoff valves.

Test for leaks and proper trap alignment.

Conclusion

It’s funny how your “fine” old kitchen suddenly feels outdated once you fix flow, zones, and storage. You don’t need more square footage—you need clearances, landing space, and a safer work triangle that actually works. Add cabinets that read custom, pair them with durable counters, and layer task plus ambient lighting on proper circuits. Then swap hardware, faucet, and sink. Ironically, the smallest code-smart upgrades make it feel brand-new.…

Scroll to Top